Powering a Create Network Using a Windmill Bearing
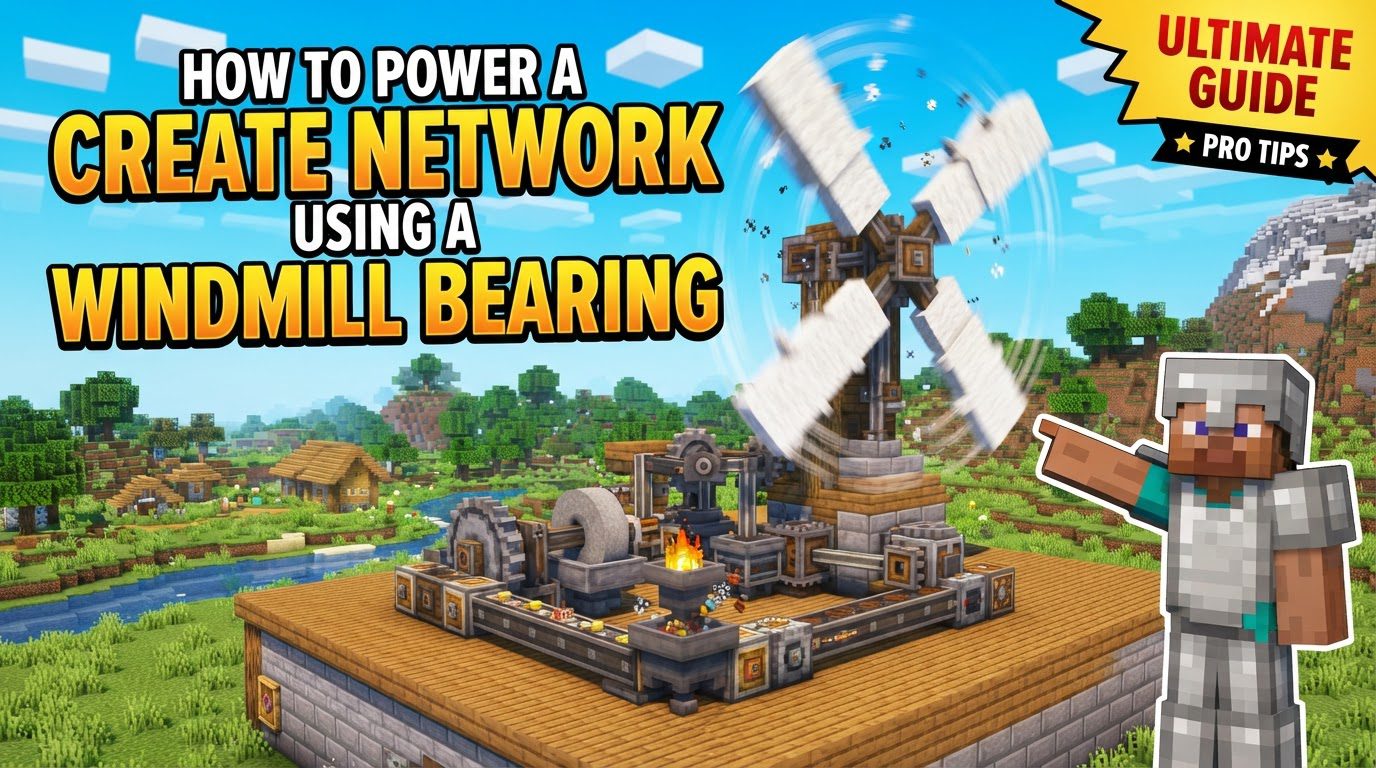
Harnessing the power of the wind is a fundamental and often essential step in establishing a robust automated system within the Create mod for Minecraft. The Windmill Bearing serves as the cornerstone for this endeavor, translating the elegant rotation of sail-type blocks into rotational force that can drive a myriad of machines. Understanding its mechanics and proper implementation is key to a successful and efficient power grid.
Understanding Windmill Mechanics
At its core, a Windmill Bearing generates rotational force, which is measured using two primary metrics: Stress Units (SU) and Rotations per Minute (RPM). These values determine the total capacity and speed at which your Create network can operate.
- Minimum Requirement: A windmill requires a minimum of 8 “sail-type” blocks to begin generating any power. Without this crucial threshold, the contraption will not activate.
-
Valid Sail-Type Blocks: The blocks recognized as contributing to the windmill’s power are specifically designed for this purpose. These include:
- Windmill Sails
- Sail Frames
- Wool blocks (of any color)
- Copycat Panels that have been equipped with wool
- Power Generation Scaling: For every increment of 8 sail-type blocks attached to the contraption, the windmill gains a consistent boost in its output. Specifically, it gains 1 RPM and 512 SU. This linear scaling allows for precise control over your power generation.
- Maximum Capacity: A single Windmill Bearing is capable of supporting a significant number of sail-type blocks. It can accommodate up to 128 such blocks. At this maximum capacity, it will generate an impressive 8192 SU (equivalent to its output at 1 RPM) and achieve a rotational speed of 16 RPM.
- Environmental Independence: One of the most advantageous features of the Windmill Bearing is its consistent performance. The power output generated by your windmill is completely unaffected by external factors such as its height above ground, the biome it is constructed within, or prevailing weather conditions. This reliability makes it a predictable power source.
- Directional Control: The rotation direction of the windmill contraption, whether clockwise or counter-clockwise, can be easily toggled. This is achieved by right-clicking the Windmill Bearing with a Wrench, allowing for flexibility in contraption design.
Step-by-Step Guide to Building Your Windmill
Constructing a functional windmill is a straightforward process when following these steps:
- Place the Windmill Bearing: Begin by placing the Windmill Bearing itself. The orientation of this block is critical, as it will determine the rotational plane of your entire contraption. The sticky face of the bearing is where the central block of your rotor will attach.
- Build the Rotor: Attach a single, solid block directly to the sticky face of the Windmill Bearing. This block will serve as the central anchor point from which your windmill’s blades will extend.
- Attach Sail Blocks: From the central block you just placed, begin to attach your chosen sail-type blocks. These can be Windmill Sails, Sail Frames, or Wool blocks. Extend these blocks outwards in a pattern that forms your desired blade design. These blocks will automatically become part of the contraption due to their inherent properties.
- Apply Super Glue (Optional but Recommended): If your windmill design incorporates any blocks that are not sail-type blocks – perhaps for decorative elements, structural reinforcement, or unique aesthetics – you must use Super Glue. Apply Super Glue to these non-sail blocks to ensure they properly adhere to the contraption and move in unison with the rotating blades. Without Super Glue, these blocks will remain stationary.
- Ensure Minimum Sails: Before attempting to activate your windmill, double-check that your contraption includes at least 8 valid sail-type blocks. As noted earlier, this is the absolute minimum required for the Windmill Bearing to generate any power and begin rotating.
- Clear Rotation Arc: It is paramount to ensure that the entire path through which your windmill blades will rotate is completely unobstructed. Any solid block that intersects with the intended rotation arc will either prevent the windmill from starting or cause it to stop abruptly if it encounters an obstacle during operation. Clear a generous space around your contraption.
- Activate the Windmill: Once all components are in place and the path is clear, activate your windmill. To do this, right-click the Windmill Bearing with an empty hand. Ensure you click slightly off-center on the bearing block, as clicking directly in the center might interact with other components.
- Deactivate the Windmill: Should you need to stop your windmill for maintenance, modifications, or simply to save power, perform the same action: right-click the Windmill Bearing with an empty hand.
Important Tips for Windmill Operation
- Early to Mid-Game Powerhouse: Windmills are an exceptionally reliable and adaptable power source, making them ideal for players progressing through the early to mid-game stages of Create. They require no fuel, are relatively simple to construct, and provide a consistent output.
- Cost-Effective Wool: Wool blocks provide an excellent, cost-effective alternative to crafting dedicated Windmill Sails. If resources are tight or you need to quickly scale up power, wool is an efficient choice for generating rotational force.
- Aesthetic Customization: Windmill Sails offer aesthetic flexibility. They can be dyed any color to match your base’s theme and can also be sheared to become Sail Frames. This allows for significant aesthetic customization without compromising the power generation capabilities of the sail-type blocks.
- Understanding “Capacity”: The total “capacity” of your windmill is best understood as the product of its Stress Units (SU) and its Rotations per Minute (RPM, at 1 RPM equivalent). This value indicates the overall potential of your windmill to power various machines and handle demanding operations within your Create network. A higher capacity means more machines can be run simultaneously or more intensive tasks can be performed.
Common Mistakes to Avoid
Even experienced players can make oversights. Being aware of these common pitfalls will help ensure your windmill operates smoothly:
- Insufficient Sail Blocks: The most frequent mistake is having fewer than 8 valid sail-type blocks attached to the contraption. If this minimum is not met, the windmill simply will not activate, regardless of how perfectly everything else is set up. Always double-check your count.
- Blocked Rotation Path: Any solid block that obstructs the windmill’s rotation arc will cause issues. The contraption will either fail to start or will abruptly stop if it collides with an obstruction during operation. Ensure a wide, clear area around your windmill.
- Forgetting Super Glue: Non-sail blocks, even if they appear connected, will not move with the rotating contraption unless they are explicitly attached using Super Glue. This can lead to unexpected breakages or parts of your design being left behind.
- Activating with an Item in Hand: Always remember to activate or deactivate the Windmill Bearing by right-clicking it with an empty hand. Attempting to interact with it while holding an item might trigger the item’s function instead of the bearing’s, preventing activation.
- Overstressing the Network: Each machine in the Create mod has a specific “impact” value, representing the Stress Units it consumes. Connecting too many machines, or machines with a very high impact, can exceed the windmill’s total “capacity.” When the demand for SU outstrips the supply, the entire rotational system will grind to a halt, requiring you to either add more power or reduce the load.
- Chunk Loading Issues: In environments where multiple players are present, or even in single-player worlds with complex setups, ensuring that all components of your windmill contraption reside within a loaded chunk is paramount. If part of the contraption unloads, it can cause the windmill to stop or behave erratically. Utilizing chunk loaders can mitigate this issue.
By carefully following these guidelines, understanding the core mechanics, and being mindful of common pitfalls, you can successfully implement a Windmill Bearing to power your Create mod contraptions, providing a stable and reliable source of rotational force for your automated endeavors.
Tags:
YOU MAY ALSO LIKE...