

Programming a Deployer Using a Redstone Link
In the vast and intricate world of Minecraft’s Create mod, automation is key to unlocking complex contraptions and efficient resource management. Among the most versatile tools for interaction are Deployers, which can simulate player actions, and Redstone Links, which provide wireless redstone communication. Combining these two elements allows for highly flexible and remote control over automated tasks, from farming to crafting. This guide will walk you through the process of programming a Deployer using a Redstone Link, ensuring your creations operate seamlessly across distances.
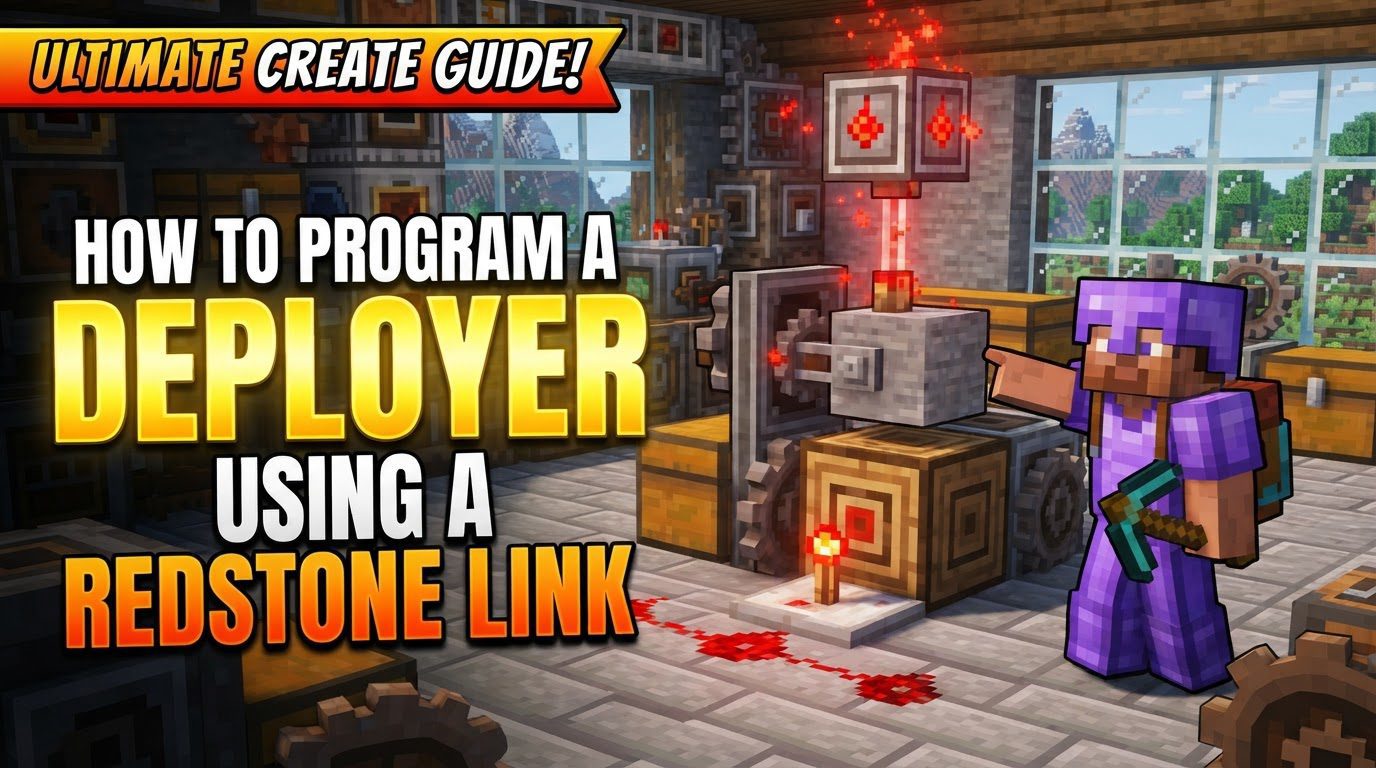
Understanding the Core Components
Before diving into the setup, it’s crucial to understand the individual mechanics of Redstone Links and Deployers.
Redstone Links
- Wireless Transmission: Redstone Links are designed to transmit redstone signals wirelessly. They can cover impressive distances, up to 256 blocks by default, without requiring line-of-sight. This capability allows for compact and hidden redstone networks, bypassing the need for extensive redstone dust trails.
- Emitter and Receiver Roles: A functional Redstone Link setup always requires at least two components: an “emitter” and a “receiver.” The emitter sends the signal, and the receiver picks it up. By default, a newly placed Redstone Link acts as an emitter.
- Frequencies: To prevent signal interference, Redstone Links utilize a frequency system. You assign a specific frequency to a pair (or group) of links by placing the same item or block into their respective frequency slots. Only links sharing the exact same frequency will communicate with each other.
- Signal Types: Redstone Links can convey both continuous redstone signals (on/off states) and short pulses, offering flexibility for various automation needs.
- Power Dynamics: One emitter can power multiple receivers simultaneously. Conversely, if multiple emitters are sending signals to a single receiver on the same frequency, the receiver will output the highest power input it receives.
Deployers
- Simulated Interactions: Deployers are mechanical arms that simulate player interactions. By default, they perform a right-click action, which can be used to place blocks, use items, or activate other contraptions. This interaction occurs in the space directly two blocks in front of the Deployer.
- Left-Click Mode: For tasks requiring attacking or breaking, a Deployer can be switched to left-click (attack) mode. This is done by right-clicking the Deployer with a Wrench.
- Power Requirement: To function, Deployers require rotational power, typically supplied by shafts, gearboxes, or other Create mod power sources. Without rotational power, they will not operate, even if given a redstone signal.
- Redstone Toggle: A redstone signal can toggle a Deployer on or off. When powered by redstone, it will become active (assuming it also has rotational power); when the redstone signal is removed, it will cease its actions.
- Inventory Slots: Deployers have internal inventory slots. They can hold items that they are meant to use or place. Additionally, they have a separate internal slot for items they harvest or obtain through their actions.
Step-by-Step Programming Guide
Now, let’s connect these two powerful components to create a wirelessly controlled Deployer system.
- Step 1: Place the Emitter Redstone Link. Begin by placing a Redstone Link at the location where you want to control the Deployer’s activation. This could be next to a lever, button, or any redstone dust line that will provide the input signal. By default, this Redstone Link will be in “emitter” mode, indicated by its antenna not having a small dish.
- Step 2: Place the Receiver Redstone Link. Next, place a second Redstone Link near the Deployer you intend to control. This link will be responsible for receiving the signal from your emitter.
- Step 3: Set the Receiver Mode. Crucially, you must convert this second Redstone Link into a “receiver.” To do this, sneak-right-click it with an empty hand, or simply right-click it with a Wrench. You will observe a small dish appearing on its antenna, confirming it is now in receiver mode.
- Step 4: Assign Matching Frequencies. This is a critical step for establishing communication. Open the GUI of both the emitter and receiver Redstone Links. Place the exact same item or block into their respective frequency slots. For example, if you place a dirt block into the emitter’s frequency slot, you must place a dirt block into the receiver’s frequency slot as well. This creates a dedicated channel for them to communicate.
- Step 5: Connect the Receiver to the Deployer. Once frequencies are set, connect the output of your receiver Redstone Link to the Deployer. The simplest way to do this is by placing redstone dust directly adjacent to the Deployer, with the receiver Redstone Link powering that dust. Alternatively, you can use a redstone component like a repeater or comparator between the receiver and the Deployer. This connection allows the Redstone Link’s output signal to toggle the Deployer’s activation.
- Step 6: Provide Rotational Power. For the Deployer to actually perform its actions, it needs continuous rotational power. Connect a source of kinetic energy (e.g., a shaft from a water wheel, windmill, or engine) to the Deployer. Ensure it’s receiving sufficient power for its operation. Without this, even with a redstone signal, the Deployer will remain inactive.
Important Tips for Advanced Control
- Frequency Management: When building more complex contraptions with multiple wirelessly controlled Deployers or other redstone-activated devices, make extensive use of the frequency system. Assign unique item/block combinations to different Redstone Link pairs to prevent unintended signal overlaps and maintain precise control over each component.
- Discreet Placement: Leverage the Redstone Link’s ability to transmit signals without line-of-sight. This allows you to place emitters and receivers discreetly, even underground or behind walls, making your contraptions cleaner and more aesthetically pleasing.
- Deployer Interaction Gap: Always ensure there is a one-block gap between the Deployer and its intended target. Deployers interact with the block two spaces directly in front of them. Placing them too close or too far will result in operational failures.
- Item Extraction: When a Deployer obtains items through its actions (e.g., harvesting crops or breaking blocks), these items go into its internal slot. If this slot fills up, the Deployer will stall and cease to function until the items are removed. Use funnels, chutes, or other item extraction methods from the Create mod to automatically pull harvested items out of the Deployer’s inventory.
- Utilize Filters: Deployers can be equipped with filters to specify which items they should use, place, or interact with. This is particularly useful in automated farms or sorting systems, ensuring the Deployer only handles the desired materials.
Troubleshooting and Avoiding Common Mistakes
Even with careful planning, issues can arise. Here are common pitfalls to watch out for:
- Incorrect Redstone Link Modes: A frequent error is having both Redstone Links set to “emitter” mode. Remember, one must always be configured as a “receiver” (the one with the dish on its antenna) for any signal transmission to occur.
- Mismatched Frequencies: The emitter and receiver Redstone Links will not communicate if their frequencies do not perfectly match. Double-check that the exact same item or block is in the frequency slot of both links. Even a minor difference will prevent communication.
- Lack of Rotational Power: A Deployer requires continuous rotational power to operate. If your Deployer is receiving a redstone signal but remains inactive, verify that it is properly connected to a kinetic energy source and that the source is active.
- Incorrect Deployer Mode: Ensure the Deployer is in the correct mode for its task. If you’re trying to place blocks but it’s in “attack” (left-click) mode, it won’t work. Similarly, it won’t attack mobs if it’s in “use” (right-click) mode. Use a Wrench to toggle its mode as needed.
- Chunk Loading and Protection: In some cases, issues with claimed chunks or world spawn protection (even in single-player worlds) can prevent Deployers from functioning correctly. Ensure the Deployer and its target area are properly chunk-loaded and not within protected regions that restrict block interaction.
- Deployer Inventory Stalling: As mentioned, if harvested items are not extracted from the Deployer’s internal inventory, it will eventually fill up and stall operations. Implement an automated item extraction system to prevent this.
- Incorrect Placement or Distance: Deployers are particular about their placement relative to their target. If they are too close, too far, or pointed incorrectly, they will fail to interact. This is especially critical in automated farms where precise positioning is required for efficient operation.
By mastering the synergy between Deployers and Redstone Links, you can unlock a new level of automation in your Create mod builds, controlling complex machinery from a distance with unparalleled precision and efficiency.
Tags:
YOU MAY ALSO LIKE...


