

Reading a Mod’s Crash Log Stack Trace, Explained
Minecraft crash logs are invaluable diagnostic tools, automatically generated when your game or server encounters a critical error that forces it to shut down. These detailed files document the specific technical cause of the failure, providing crucial insights into what went wrong. Understanding how to interpret these logs, particularly the stack trace, is a fundamental skill for anyone managing a modded Minecraft experience. A typical crash report is structured into several key sections: a Header, which provides basic information like the Minecraft and Java versions and a timestamp; a concise Description summarizing the nature of the failure; the Stack Trace, which is the core of the diagnostic information; and System Details, offering specifics about memory, loaded mods, and hardware.
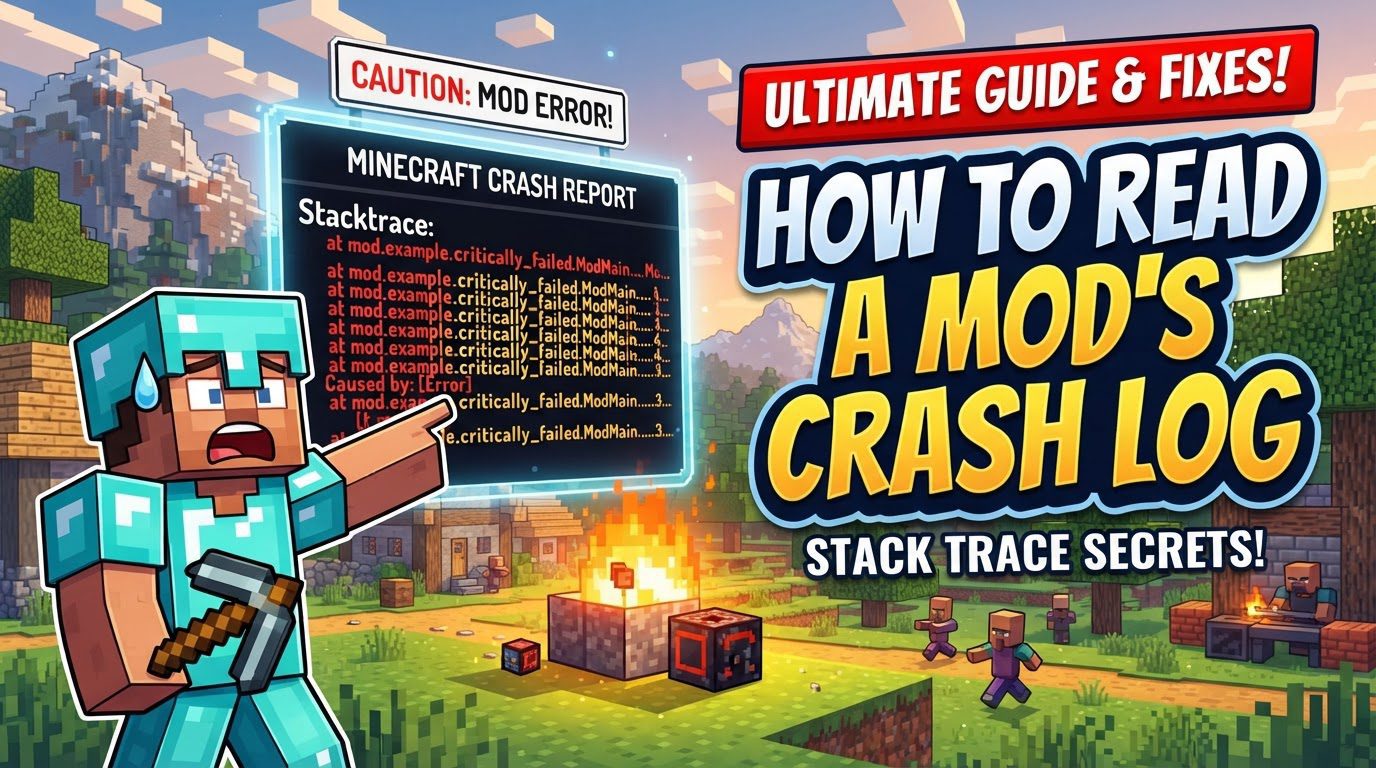
The stack trace stands as the central component for troubleshooting. It presents a sequence of code execution, illustrating the call chain from the initial problem to the fatal error. This section is designed to indicate the precise error type, pinpoint the mod or system that triggered the crash, and identify the exact location within the code path where the issue occurred. Within the stack trace, you will often encounter “Caused by:” lines. These are particularly important as they frequently point directly to the underlying root cause of the crash, unwrapping layers of errors to reveal the fundamental issue. Furthermore, crash reports often include information about mod states, which are single-letter indicators (U, L, C, H, I, J, A, D, E) that describe a mod’s loading status; ‘E’ specifically signifies an error that occurred during the mod’s loading process, making it an immediate suspect.
Locating and Opening Your Crash Report
The first step in diagnosing a crash is to locate the crash report itself. These files are typically found in the crash-reports folder, which resides either in your Minecraft server directory or your client’s .minecraft folder. Crash reports are conveniently timestamped, making it easy to identify the most recent incident; an example filename might be crash-2026-06-08_14.23.51-server.txt. It is crucial to always refer to the latest crash report to ensure you are addressing the most recent and relevant issue. If, for some reason, a specific crash report file isn’t generated, you can often find the error information at the very bottom of the logs/latest.log file, which records all activity during your Minecraft session.
Once you’ve located the appropriate file, open it using a plain text editor. While standard Notepad will work, a more advanced editor like Notepad++ is recommended for its enhanced readability features, such as syntax highlighting and line numbering, which can make navigating complex logs much easier.
Analyzing the Crash Report: A Step-by-Step Guide
With the crash report open, begin your analysis by following these steps:
- Read the “Description” line first: This line is designed to provide a plain-English summary of what exactly failed. For instance, you might see something like “Exception ticking entity,” which immediately tells you the crash is related to an entity’s update cycle. This description offers a high-level overview before you dive into the technical specifics. The “Description” and “Caused by:” lines are often the quickest way to diagnose the problem, serving as immediate pointers to the core issue.
-
Analyze the stack trace: This is where the in-depth investigation begins.
-
Identify the exception type at the top: The very first line of the stack trace usually states the specific type of exception that occurred. Common examples include
NullPointerException(indicating an attempt to use an object that hasn’t been initialized),OutOfMemoryError(meaning the game ran out of allocated memory), orNoClassDefFoundError(suggesting a required class file could not be found, often due to a missing dependency). Understanding the exception type provides a foundational understanding of the problem’s nature. - Look for the last “Caused by:” entry: As mentioned, these lines are exceptionally important. The stack trace can have multiple “Caused by:” entries, each detailing a preceding cause that led to the subsequent error. The last “Caused by:” entry in the chain often reveals the true, fundamental root cause of the crash, as it represents the initial trigger of the entire error cascade. Overlooking these lines is a common mistake that can lead to misdiagnosing the problem.
-
Pinpoint mod or plugin names within package paths: As you scroll through the stack trace, look for recognizable mod or plugin names embedded within the package paths. These paths typically follow a structure like
com.somemod.ClassName.methodName(SourceFile.java:LineNumber). Thecom.somemodpart is often a strong indicator of the problematic mod. Forge crash reports, in particular, may directly display mod IDs and names, making identification even easier. Identifying these mod names is crucial for narrowing down the potential culprit.
-
Identify the exception type at the top: The very first line of the stack trace usually states the specific type of exception that occurred. Common examples include
- Review “System Details”: After examining the stack trace, turn your attention to the “System Details” section. This area provides vital environmental information. Confirm your Java version and the amount of allocated memory, as incorrect settings or insufficient memory can be direct causes of crashes. Most importantly, review the full list of loaded mods. This can help identify outdated entries or potential conflicts between mods. An ‘E’ (Errored) mod state in this list is a strong indicator that the specific mod encountered an error during loading and is likely the source of the problem.
- Search for solutions: Once you have identified potential error lines, exception types, or suspect mod names, use search engines to look up this specific information. Copying and pasting the exact exception type or a relevant “Caused by:” line into a search engine can often lead you to forums, issue trackers, or wikis where others have encountered and solved similar problems. This community knowledge is an invaluable resource for troubleshooting.
Important Tips for Effective Troubleshooting
- Always use the latest crash report: Ensure you are always working with the most recent crash file. Older reports might pertain to issues that have already been resolved or are no longer relevant, leading you down the wrong diagnostic path.
- Prioritize “Description” and “Caused by:”: These lines offer the most direct and often the quickest route to understanding the problem. They summarize the error and point to its root, saving you time wading through extensive stack trace details.
- Check for mod state ‘E’: If a mod’s state is marked ‘E’ (Errored) during the loading process, as indicated in the system details, it immediately becomes the primary suspect. This means the mod itself failed to load correctly, almost certainly causing or contributing to the crash.
- Employ the binary search method: If a direct cause isn’t immediately apparent from the log, the binary search method is a highly effective, albeit time-consuming, technique. This involves removing approximately half of your installed mods, testing the game, and repeating the process with the half that continues to cause the crash. By systematically narrowing down the mod list, you can isolate the problematic mod or mod interaction.
-
Verify dependencies and compatibility: A frequent cause of crashes, often manifesting as
MissingModsExceptionorNoClassDefFoundError, is the absence of required dependencies for a mod. Always ensure that all mods have their necessary prerequisite mods installed and that they are all compatible with your specific game version and mod loader (e.g., Forge, Fabric, Quilt).
Common Mistakes to Avoid
While crash logs can seem intimidating, avoiding certain common pitfalls will significantly improve your troubleshooting success:
- Dismissing the crash log as unintelligible “noise”: This is perhaps the most critical mistake. While complex, crash logs have a structured format that, with a little guidance, can be understood. They are not random errors but precise records of what went wrong.
- Overlooking the “Caused by:” lines: As highlighted, these lines are paramount. They often cut through layers of symptoms to reveal the core issue. Ignoring them means missing crucial insights into the root cause.
-
Failing to check for missing mod dependencies: Many mods require other mods to function correctly. A common crash cause is attempting to run a mod without its required dependencies, leading to errors like
MissingModsException. Always consult mod documentation for prerequisites. - Using incompatible mod versions or loaders: Mods are designed for specific Minecraft versions and mod loaders (Forge, Fabric, etc.). Attempting to run a mod intended for Minecraft 1.16.5 on 1.19.2, or a Forge mod with Fabric, will almost certainly result in crashes. Always double-check compatibility.
- Installing multiple performance-enhancing mods that perform the same function: While optimizing performance is good, installing several mods that aim to do the same thing (e.g., multiple different chunk loading or rendering optimization mods) can lead to conflicts and instability, resulting in crashes. Choose one primary mod for each specific optimization task to minimize conflicts.
By systematically applying these steps and avoiding common pitfalls, you can transform the daunting task of reading a Minecraft crash log stack trace into an effective and manageable diagnostic process, ultimately leading to a more stable and enjoyable modded Minecraft experience.
Tags:
YOU MAY ALSO LIKE...


