Reverting From a Snapshot Back to a Stable Release (Step by Step)
Understanding the Risks of Reverting from Snapshots
Minecraft snapshots are experimental development versions, offering a sneak peek at upcoming features and changes. While exciting, they are inherently unstable and designed for testing, not for playing on important or long-term worlds. Reverting your Minecraft client or server from a snapshot back to a stable release requires careful consideration, primarily due to the significant risk of world corruption.
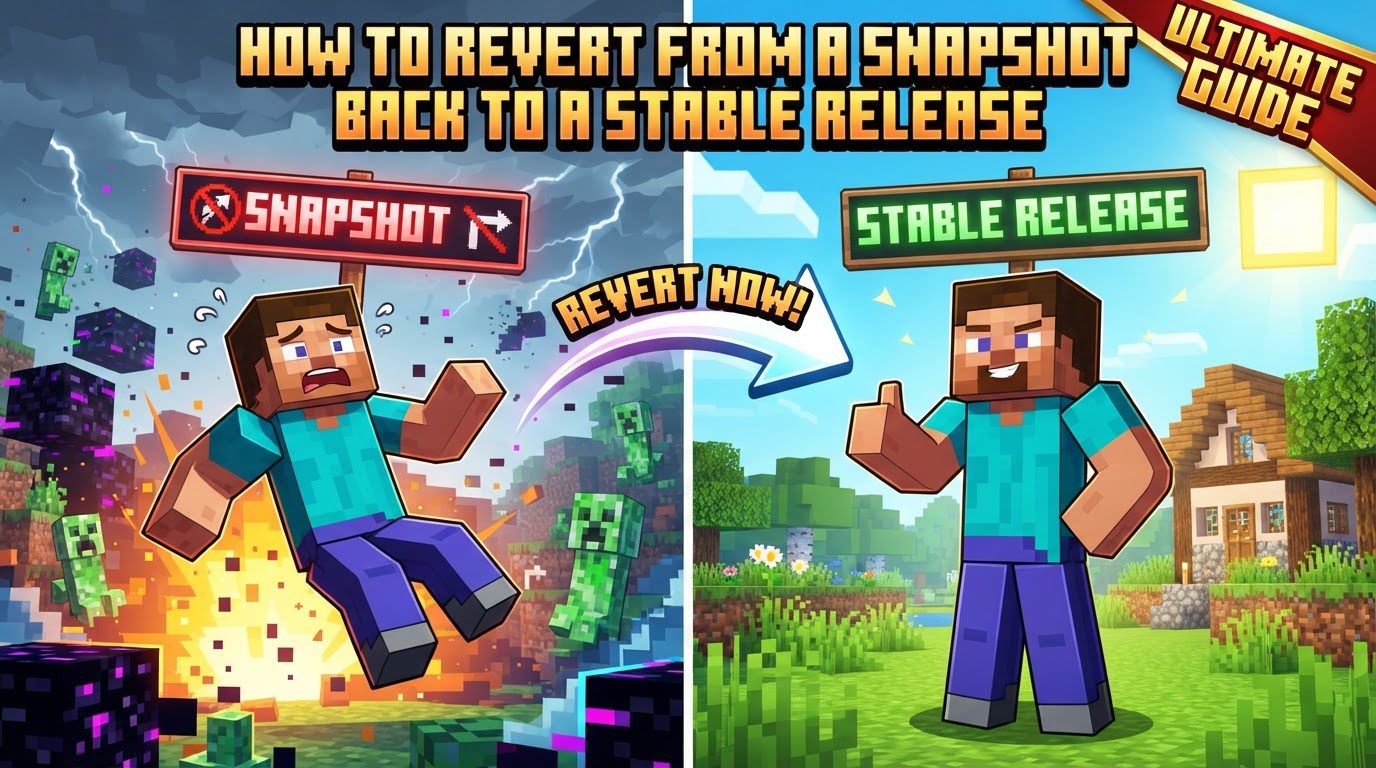
The most critical aspect to understand is that downgrading a Minecraft world that has been opened in a snapshot to an older stable release is generally not supported. Minecraft’s internal world structure and chunk data often undergo fundamental changes between versions. When a world is loaded in a snapshot, it’s updated to that snapshot’s data format. Attempting to load this “snapshot-updated” world in an older, stable version can lead to irreversible world corruption. This corruption can manifest as missing blocks, overwritten terrain, glitched entities, or even the complete inability to load the world.
Therefore, it is paramount to acknowledge that any world opened in a snapshot should ideally continue to be played only in subsequent snapshots or, eventually, the stable release it was leading up to. For all practical purposes, a world updated by a snapshot should be considered incompatible with previous stable versions. This guide will focus on how to switch your game client or server back to a stable version while mitigating the risks to your existing worlds.
Preparing for a Smooth Transition
Before attempting any version changes, especially when moving between snapshots and stable releases, preparation is key. Ignoring these steps is a common mistake that leads to irreversible world loss.
- Always back up your world saves: This is the single most critical step. Before you do anything else, locate your Minecraft saves folder (typically in your `.minecraft` directory for client worlds, or your server’s main directory for server worlds) and create a complete copy of any worlds you value. Store this backup in a safe, separate location. This ensures that if anything goes wrong during the reversion process or if a world becomes corrupted, you have a fallback.
- Use separate game directories: To isolate files and prevent potential conflicts, it is highly recommended to use separate game directories or installations for playing on snapshots versus stable releases. This prevents snapshot data from potentially affecting your stable game files or vice-versa. The Minecraft launcher provides functionality to set a unique game directory for each installation.
Reverting the Minecraft Client
Switching your Minecraft client from a snapshot to a stable release is a straightforward process handled by the official Minecraft Launcher. This allows you to play stable versions without deleting your snapshot installations.
- Step 1: Open the Minecraft Launcher. Start your Minecraft Launcher application.
- Step 2: Navigate to the “Installations” tab. At the top of the launcher window, you’ll see several tabs. Click on “Installations.”
- Step 3: Create a new game installation. Click the “+ New” button, usually located near the top left of the “Installations” tab. This will open a new configuration window.
- Step 4: Assign a descriptive name. Give your new installation a clear and descriptive name, such as “Minecraft 1.XX Stable” (where 1.XX is your desired stable version). This helps you easily identify it later.
- Step 5: Select the desired stable release version. From the “Version” drop-down menu, scroll through the list and select the specific stable release version you wish to play. Ensure you pick a non-snapshot version.
- Step 6: Select a unique game directory (Highly Recommended). Below the version selection, you’ll find an option for “Game Directory.” Click the “Browse” button and choose a new, empty folder outside of your main `.minecraft` directory. This is crucial for keeping your stable game files separate from any snapshot data, preventing file contamination and potential issues. If you skip this, the stable installation will use your default `.minecraft` directory, which might contain snapshot-related files.
- Step 7: Save the new installation. Once you’ve configured the name, version, and game directory, click the “Create” or “Save” button to finalize your new installation.
- Step 8: Play the stable release. Go back to the main “Play” tab of your Minecraft Launcher. From the version selector drop-down menu (usually located to the left of the “Play” button), select the new stable installation you just created. You can now click “Play” to launch Minecraft using the chosen stable release.
By following these steps, you can easily switch between your snapshot installations and stable installations from within the launcher, ensuring that each version operates in its own isolated environment (especially if you used separate game directories).
Reverting a Minecraft Server
For server administrators, reverting from a snapshot to a stable release involves replacing the server’s core executable file. This process is generally straightforward but requires careful execution.
- Step 1: Stop your Minecraft server. Before making any changes, ensure your Minecraft server is completely shut down. This prevents data loss or corruption that could occur if files are modified while the server is running.
- Step 2: Download the stable server JAR file. You need the server `.jar` file for the stable release you wish to use. The easiest way to find this is often through the Minecraft launcher:
- Open your Minecraft Launcher.
- Go to the “Installations” tab.
- Select the desired stable version (e.g., “latest release”).
- Hover over the stable version and click the “Server” button (often a small arrow or link) to download the official server JAR file for that version.
Alternatively, you can find official server JAR files on the Minecraft website or through trusted community sources.
- Step 3: Rename the new JAR file (if necessary). Once downloaded, it’s good practice to rename the new stable `.jar` file to something clear, like `server-1.xx.jar`, to differentiate it from your previous snapshot `.jar` file.
- Step 4: Update your server’s startup script. Most Minecraft servers are started using a script (e.g., a `.bat` file on Windows, or a `.sh` script on Linux). You need to edit this script to point to the newly downloaded stable release `.jar` file.
- Locate your server’s startup script.
- Open it with a text editor (like Notepad, Notepad++, or VS Code).
- Find the line that executes the Java command, which typically looks something like: `java -Xmx1024M -Xms1024M -jar server.jar nogui`.
- Change `server.jar` to the exact name of your new stable server JAR file (e.g., `java -Xmx1024M -Xms1024M -jar server-1.xx.jar nogui`).
- Save the changes to the startup script.
- Step 5: Start the server with the updated script. Execute your modified startup script. Your Minecraft server should now launch using the stable release version. Monitor the console for any errors during startup.
Crucial Safeguards and Best Practices
To avoid common pitfalls and ensure a smooth experience, keep the following in mind:
- Do not attempt to directly downgrade a world: This cannot be stressed enough. If a world has been loaded in a snapshot, it has been irrevocably updated to that snapshot’s format. Loading it in an older stable release will almost certainly corrupt it. The data structure changes are too significant for backward compatibility.
- Back up religiously: Before any major change, especially version changes, back up your world data. This is your ultimate safety net against permanent loss of progress. A good backup strategy can save you countless hours of grief.
- Snapshots are for testing, not primary worlds: Never use a snapshot for a primary, long-term survival world. Snapshots are unstable, prone to bugs (including world corruption bugs), and can introduce features that might be removed or drastically changed before a stable release. Treat snapshot worlds as temporary and experimental.
- Separate environments are your friend: Maintain distinct game directories for different Minecraft versions (stable releases, snapshots, modded instances). This compartmentalization prevents file conflicts, ensures stability, and makes troubleshooting much easier.
World Data Management After Snapshots
If you’ve opened a world in a snapshot, you have a few options, none of which involve safely downgrading it to an older stable release:
- Continue with snapshots: You can choose to continue playing that particular world only in subsequent snapshots, eventually transitioning it to the corresponding stable release when it becomes available. This is the safest path for a world that has already been exposed to snapshot data.
- Treat the world as snapshot-specific: Accept that the world is now tied to the snapshot progression. If you want to play a stable version, you’ll need to start a new world or use a backup from before it was ever opened in a snapshot.
- Start fresh for stable versions: The most recommended approach if you need to revert to a stable release for long-term play is to start a brand new world. This ensures your world data is clean, stable, and compatible with the chosen stable version from day one.
By understanding these principles and diligently following the steps for client and server reversion, you can effectively move back to a stable Minecraft experience while protecting your valuable creations.
Tags:
YOU MAY ALSO LIKE...