Scheduling Automated Train Routes in Create — A Quick Guide
Understanding the Fundamentals of Automated Train Routes
Automating train routes in Create allows for efficient transportation of items, players, or even just for aesthetic purposes within your Minecraft world. The system relies on several key components working in conjunction to define paths, manage movement, and prevent collisions. Mastering these elements is crucial for building a robust and reliable railway network.
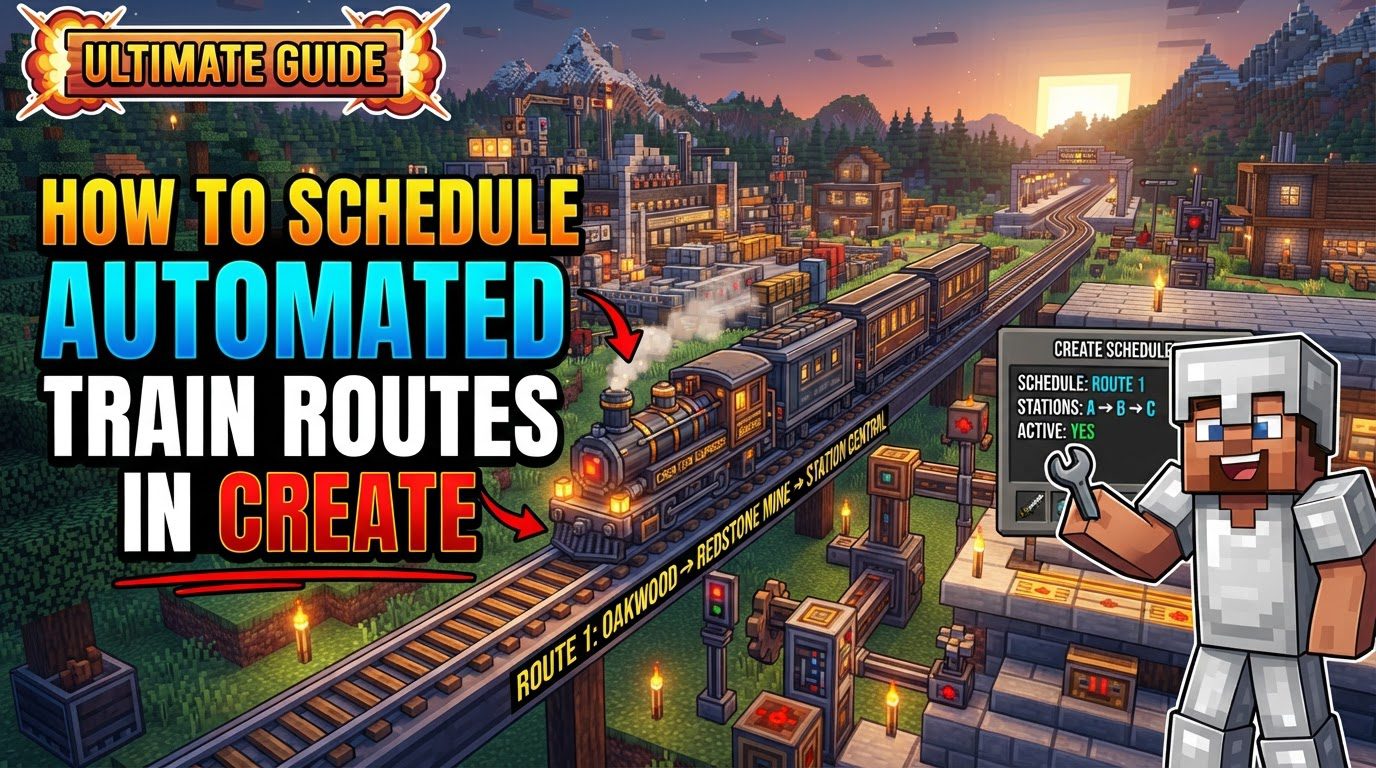
- Train Station: This block is the cornerstone of any automated route. It is essential for assembling trains, defining specific stops along a track, and managing the schedules assigned to trains. When placing a Train Station, ensure it is on a straight section of track. Pay close attention to its directional arrow, as this indicates the entry point for trains.
- Train Schedule: An item crafted using a sturdy sheet and paper, the Train Schedule is where you program your train’s journey. It stores a precise sequence of actions and instructions that the train will follow, dictating where it goes and what it does at each stop.
- Conductor: For a train to operate automatically, it needs a “driver.” This role is fulfilled by a Conductor, which can be an entity like a Blaze Burner or any mob placed on a cushion or seat. The Conductor must be positioned directly adjacent to the train controls to effectively “drive” the automated train.
- Train Controls: These are vital components that must be present on your train. They serve as the interface through which the Conductor interacts with the train, allowing it to interpret and execute the commands stored in the Train Schedule.
- Train Signals: On more complex track networks, especially those with intersections or shared sections, Train Signals are indispensable. They function as traffic lights for trains, managing the flow of traffic and preventing collisions by allowing or denying passage into specific track segments. Train Signals are also directional, requiring careful placement.
Setting Up Your Automated Train Route: A Step-by-Step Guide
Implementing an automated train route involves a series of carefully executed steps, from constructing your train to programming its every move. Follow these instructions to bring your railway system to life.
- Build Your Train and Track:
- Begin by constructing your train. This typically involves placing bogeys, followed by casings to form the body of the train.
- Crucially, include train controls and a designated seat or a Blaze Burner for the conductor.
- Next, lay down your tracks. Ensure they are properly laid, accounting for smooth curves and appropriate slopes.
- Place and Name Train Stations:
- Place at least two Train Stations along your intended route. These will serve as the start and end points, or intermediate stops, for your train.
- Right-click each station to open its interface and rename it. Clear, descriptive names will make it much easier to identify and select stations when creating your schedule.
- Always be mindful of the station’s directional arrow; this determines how trains will enter and depart.
- Create a Train Schedule:
- Craft a Train Schedule item using a sturdy sheet and paper.
- Hold the crafted Train Schedule in your hand and right-click to open its dedicated scheduling interface. This is where you will define your train’s actions.
- Add Actions to the Schedule:
- Within the scheduling interface, click the “+” button to add your first instruction.
- Select “Travel to Station” from the available options.
- Choose a named station from the list you created earlier.
- For each station stop, you must define “Wait Conditions.” These conditions dictate how long or under what circumstances the train will wait at that station before proceeding. Examples include a specific time delay (the default is usually 5 seconds), cargo levels (e.g., waiting until a certain item count is reached), players being seated, the station receiving redstone power, or ensuring the chunk is loaded.
- Continue adding more “Travel to Station” actions, defining a distinct path and wait conditions for each stop, until your complete route is mapped out.
- Set Loop Behavior:
- If you desire your train to continuously repeat its programmed schedule, ensure you enable the “Loop Forever” option within the schedule interface. This will send the train back to the beginning of its schedule once it completes the last action.
- Assign the Schedule to the Conductor:
- Once your train is assembled, the Conductor (Blaze Burner or mob) is in place, and the Train Schedule is complete, hold the finished Train Schedule in your hand.
- Right-click the Conductor on your assembled train to assign the schedule. The train is now ready for automated operation.
Advanced Tips for Optimal Train Operation
To enhance the functionality and reliability of your automated train network, consider these advanced tips and best practices.
- Directional Stations: Remember that Train Stations are one-directional. For a continuous loop, ensure all stations are generally facing the same direction to allow for seamless progression. For a simple back-and-forth route, the stations at each end should face towards the center of the track, allowing the train to enter and exit in opposing directions.
- Conductor Placement: The Conductor, whether a Blaze Burner or a mob, must be placed directly adjacent to the train controls. Incorrect placement will prevent the train from recognizing its driver and thus, from operating autonomously.
- Complex Wait Conditions: Leverage the full potential of wait conditions. You can set trains to wait based on item or fluid cargo levels for automated loading/unloading, redstone power at the station for external control, or even the number of players seated for passenger services. These conditions enable sophisticated automation and logistics.
- Train Signals for Intersections: For any track network involving intersections, branches, or shared track sections, implementing Train Signals is paramount. They prevent collisions between multiple automated trains by controlling access to track segments. Remember that signals are also directional and must be placed appropriately.
- Modifying Schedules: If you need to make changes to an existing schedule, simply right-click the Conductor on the train to retrieve the schedule item. Make your desired modifications in the schedule interface, and then re-assign it to the Conductor.
- Throttle Control: Beyond just travel and wait commands, schedules can also include actions to dynamically change the train’s maximum speed. By setting a specific throttle percentage, you can control how fast or slow your train travels between different points on its route.
Common Pitfalls and How to Avoid Them
Even with careful planning, certain issues can arise. Being aware of common mistakes can save you significant troubleshooting time.
- Missing Conductor: This is a frequent oversight. An automated train will not move an inch without a Conductor (Blaze Burner or mob) properly assigned and placed next to its controls.
- Incorrect Station Direction: If your Train Stations are not oriented correctly, or if the train cannot physically access a destination due to track layout or station placement, it will fail to follow its schedule. Always double-check the directional arrow.
- Lack of Signals: On busy or branched railway networks, neglecting to use Train Signals is a recipe for disaster. Without them, multiple trains will inevitably collide, leading to blockages and operational failures.
- Insufficient Track Length: While Create trains are robust, extremely tight curves or excessively steep inclines can cause issues, especially for longer trains. Larger trains, in particular, require larger radius curves to navigate smoothly.
- Nether Portal Issues: Trains passing through Nether portals can sometimes experience pathfinding errors immediately after exiting. To mitigate this, ensure there is ample straight track space between the portal exit and any immediate junctions or turns.
- Only One Station in Schedule: A schedule requires at least two distinct destinations to function correctly and create movement. A schedule containing only a single station will result in the train simply remaining at that station indefinitely, as it has no other programmed destination.
Tags:
YOU MAY ALSO LIKE...