

Setting Up a Create Mod Elevator Using Pistons, Explained
143
views ❘
July 8, 2026
Key Mechanics
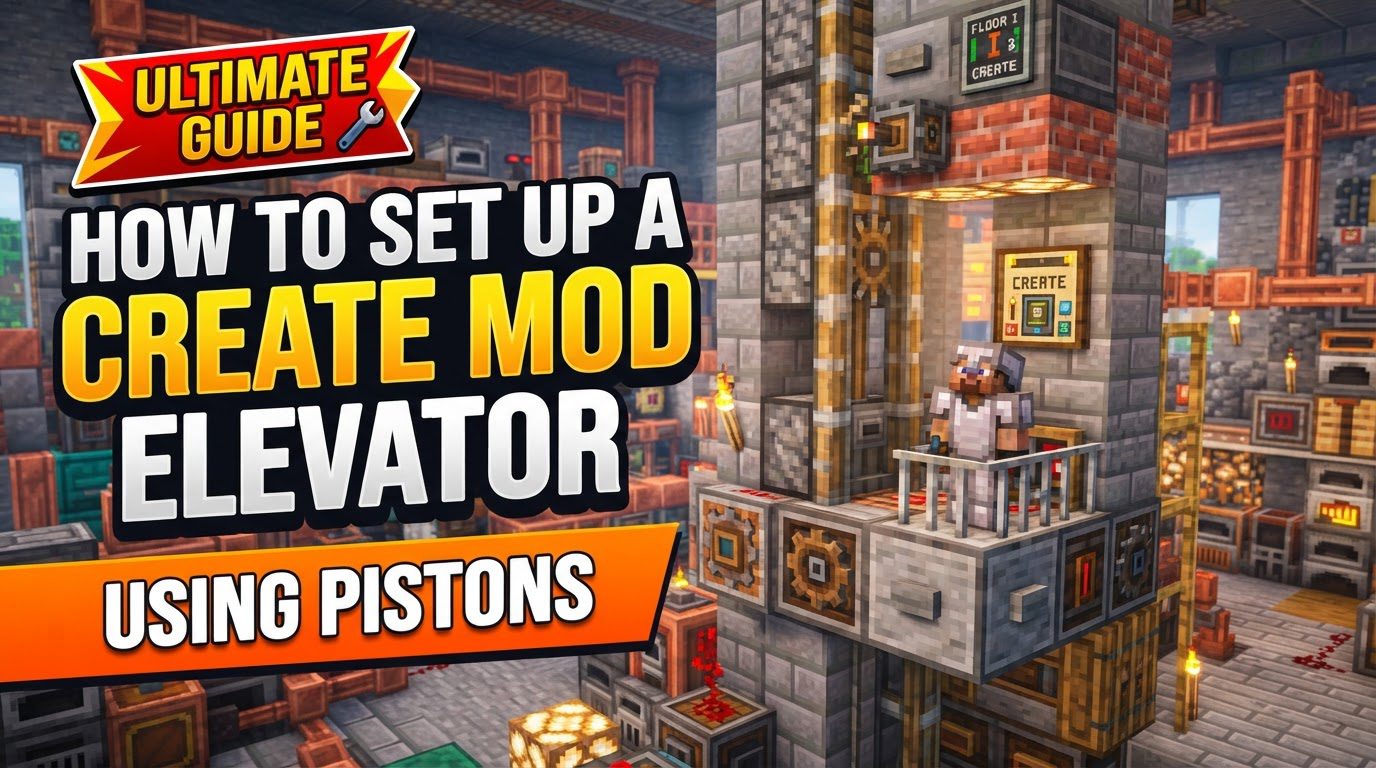
Understanding the fundamental components and how they interact is crucial for a successful elevator build. Each part plays a specific role in the vertical movement and control of your contraption.
- Elevator Pulley: This block serves as the heart of your elevator system. It functions similarly to a traditional piston but is specifically designed for vertical contraption movement. To operate, the Elevator Pulley requires a continuous supply of rotational force, which dictates the speed and capability of your elevator.
- Rotational Force: Powering the Elevator Pulley is paramount. Rotational force, measured in RPM (Rotations Per Minute), can be generated through various Create mod mechanisms. Common sources include highly efficient creative motors, which provide infinite power, or more survival-friendly options like water wheels and windmills, which harness natural energy sources. The amount of rotational force provided directly impacts the elevator’s speed.
- Redstone Contacts: These are vital for defining the stopping points, or “floors,” of your elevator. For proper functionality, one Redstone Contact must be placed on the elevator platform itself, and another must be positioned at each desired floor level. A critical requirement is that all Redstone Contacts intended to interact must be aligned precisely in the same X and Z coordinates and face the exact same direction. When correctly linked and aligned, these contacts will illuminate, indicating a successful connection.
- Contraption Controls: While optional, the Contraption Control block offers a significant quality-of-life improvement for users inside the elevator. It provides an intuitive interface for selecting specific floors directly from within the moving platform, enhancing the user experience.
- Elevator Platform: This is the actual car or cabin of your elevator. It can be constructed from any solid blocks available in Minecraft, with the crucial exception of unmovable blocks like bedrock. After assembling the desired shape and size of your platform, all constituent blocks must be “superglued” together. This step is essential to ensure that the entire structure moves as a single, cohesive unit when actuated by the Elevator Pulley.
- Sequenced Gearshift: For more sophisticated and automated elevator systems, especially those with multiple floors or complex movement patterns, the Sequenced Gearshift is an invaluable tool. It allows you to program specific sequences of actions, enabling precise control over the elevator’s movement, stopping points, and even integrated door operations.
- Redstone Links: These powerful components facilitate wireless Redstone signal transmission. Redstone Links are particularly useful for operating the elevator from different floors without the need for extensive and often unsightly Redstone wiring. They enable remote activation and control, making your elevator system much cleaner and more versatile.
Step-by-Step Process
Follow these steps carefully to construct and configure your Create mod elevator system.
- 1. Build the Elevator Platform: Begin by designing and constructing the physical structure of your elevator car. Use any solid blocks that suit your aesthetic and functional needs. Once the platform is built, it is absolutely crucial to “superglue” all blocks together. This ensures that every part of your elevator car moves as one unified contraption when activated by the pulley. Failing to superglue blocks will result in parts of your elevator being left behind.
- 2. Place the Elevator Pulley: Position the Elevator Pulley directly above the intended path of your elevator platform. This block will be responsible for lifting and lowering the entire contraption. Ensure there is adequate vertical space for the pulley to operate and for your elevator to move freely.
- 3. Place Redstone Contacts: Install one Redstone Contact onto your elevator platform itself. Then, place a corresponding Redstone Contact at each desired floor level where your elevator should stop. Precision is key here: these contacts must share the exact same X and Z coordinates and face the same direction. When correctly aligned, they will glow, indicating a successful connection that allows them to communicate floor positions.
- 4. Connect Rotational Power: Supply the Elevator Pulley with sufficient rotational force. This can be achieved by connecting it to a power source such as a Creative Motor for immediate, high-power solutions, or a Water Wheel or Windmill for a more integrated, survival-friendly setup. Ensure the RPM provided is adequate for the size and weight of your elevator platform.
- 5. Assemble the Elevator: Once the platform is built, the pulley is in place, and power is connected, right-click the Elevator Pulley. This action finalizes the setup and assembles the entire elevator contraption, making it ready for operation.
- 6. Configure Controls:
- Buttons: For basic control, you can attach buttons directly to the stationary Redstone Contacts at each floor. Pressing a button will send a signal to call the elevator to that specific floor.
- Redstone Links: For more advanced or wireless control, utilize Redstone Links. Place a Redstone Link near your control buttons (or other Redstone inputs) and another near the gearshift that manages the pulley’s rotation. Configure them to transmit signals wirelessly, allowing you to operate the elevator from various locations without direct Redstone wiring.
- Contraption Controls: Enhance user experience by placing a Contraption Control block inside your elevator car. To name floors, right-click on the stationary Redstone Contacts at each level. These custom names will then appear as selectable options on the Contraption Control, allowing passengers to easily choose their destination.
Important Tips
Consider these tips to optimize your elevator’s functionality and design.
- Multi-Floor Setup: When designing an elevator for multiple stops, integrate a Redstone Contact at every single floor level. This allows the elevator to accurately detect and stop at each desired destination.
- Wireless Control: Leverage Redstone Links to establish seamless and aesthetically pleasing control of your elevator. They are particularly useful in situations where direct Redstone wiring would be impractical, messy, or too resource-intensive, allowing for remote activation from any floor.
- Floor Naming: Personalize your elevator system by assigning custom names to your floors. Simply right-click the stationary Redstone Contacts at each level to input a name. These names will then be conveniently displayed on the Contraption Controls inside the elevator, making navigation intuitive for users.
- Customization: The elevator platform offers extensive opportunities for creative customization. You can decorate it with various blocks, add lighting, and even incorporate doors. If integrated correctly, doors can be designed to open and close automatically when the elevator arrives at a floor, enhancing the realism and functionality of a closed carriage design.
- Speed Enhancement: If you desire a faster elevator, consider incorporating an Adjustable Chain Gearshift into your power train. This component allows you to increase the rotational speed supplied to the Elevator Pulley, directly translating to a quicker ascent and descent for your elevator.
- Advanced Sequences: For highly complex movement patterns or automated systems, a Sequenced Gearshift is invaluable. It can be programmed to execute specific actions in a precise order, such as “push piston > await > push piston > end,” enabling intricate automated sequences for your elevator or other contraptions.
Common Mistakes to Avoid
Being aware of these common errors can save you time and frustration during your elevator build.
- Unglued Blocks: One of the most frequent mistakes is failing to properly “superglue” all the intended blocks of your elevator platform. If blocks are not glued together, they will be left behind when the elevator moves, resulting in a partial or non-functional platform. Always double-check your superglue application.
- Including Stationary Blocks: Be extremely careful not to accidentally glue stationary blocks, such as parts of the surrounding shaft walls or floor structures, to your elevator platform. Doing so will prevent the contraption from assembling or moving at all, as it attempts to move an immovable object.
- Insufficient Power: The Elevator Pulley requires an adequate amount of rotational force (RPM) to function correctly. If the power supply is too low, the elevator may move very slowly, struggle to lift its weight, or not operate at all. Ensure your power source provides sufficient RPM for your contraption’s size.
- Incorrect Redstone Contact Placement: Precision is paramount for Redstone Contacts. They must be aligned perfectly in the same X and Z coordinates and face the exact same direction. Additionally, ensure there is sufficient vertical clearance above the Redstone contact on the platform for the elevator cabin to move freely without obstruction, especially when reaching the top floor.
- Observers on Upward-Facing Pistons: Avoid placing observers directly above upward-facing pistons within your elevator mechanism. This specific configuration can lead to pistons becoming stuck due to game tick order issues, disrupting the elevator’s operation.
- Using Immovable Blocks: Do not incorporate blocks that cannot be moved by pistons into your elevator contraption. Examples include sturdy stone, bedrock, or command blocks. Such blocks will prevent the contraption from moving, as they are hard-coded to be stationary.
- Forgetting to Assemble: After constructing and powering your elevator, it’s easy to overlook the final assembly step. Always remember to right-click the Elevator Pulley to officially assemble the contraption and make it operational. Without this step, it will remain a collection of static blocks.
- Missing Pulse Extender: When using Redstone Links in conjunction with sequenced gearshifts for multi-floor systems, a brief Redstone pulse might not be sufficient. A pulse extender is often necessary to ensure the gearshift remains powered long enough to complete its sequence, preventing the elevator from stopping prematurely or mid-floor.
Click to rate this post!
[Total: 0 Average: 0]
Tags:
YOU MAY ALSO LIKE...

Minecraft How to Build a Yacht
22
views
Many aspiring Minecraft builders dive headfirst into constructing massive vessels, only to find their grand…

Minecraft How to Build Fnaf 1
15
views
Many aspiring builders overlook the intricate dance of redstone and command blocks required to truly…

Minecraft How to Build Your Own Village
12
views
Many aspiring Minecraft architects dream of a bustling village, but fail to realize that the…

Minecraft How to Build Youtube
16
views
Transforming the iconic red and white YouTube logo or even an entire content creation studio…
Minecraft How to Craft Anvil
23
views
To craft a single Anvil in Minecraft, you'll need a surprising total of 31 Iron…

Minecraft How to Craft Lead
8
views
The most common pitfall when attempting to craft a lead in Minecraft often involves a…

Minecraft How to Craft Saddle
10
views
For years, a common refrain echoed through the blocky landscapes of Minecraft: "Saddles are uncraftable."…

Minecraft How to Do 9 Hearts of Damage
14
views
Eighteen points of damage in a single strike – that's the formidable power of a…

Minecraft How to Enchant Higher Than 5
28
views
Most players, after spending countless hours grinding for experience and perfectly placed bookshelves, quickly realize…