

Setting Up a PvP Arena Plugin with Kits
Setting Up a PvP Arena Plugin with Kits in Minecraft
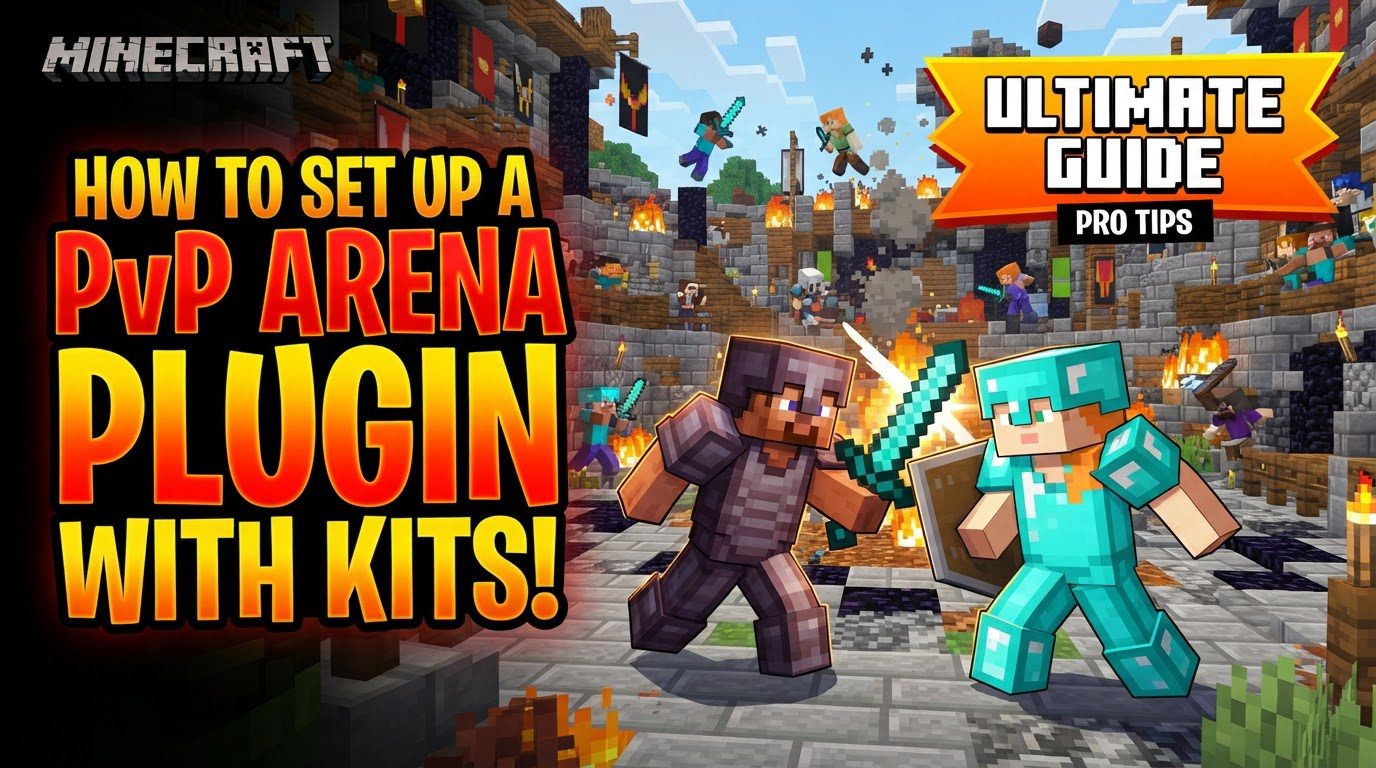
Creating an engaging Player-versus-Player (PvP) experience on your Minecraft server can significantly boost player interaction and retention. A well-configured PvP arena plugin, complete with a robust kit system, allows players to dive into competitive combat with pre-defined loadouts and structured game modes. This guide will walk you through the essential mechanics, a step-by-step setup process, crucial tips, and common pitfalls to avoid, ensuring you build a thrilling combat environment for your community.
Understanding Key Mechanics
Before diving into the setup, it’s vital to grasp the core functionalities offered by most PvP arena plugins:
- Kit System: At the heart of a good PvP arena is its kit system. Players can select from various predefined kits, each offering a unique combination of gear, weapons, and specialized items. These might include health kits for in-combat healing, infinite arrows for ranged combat, or even custom mobs to aid players. This system ensures balanced gameplay and diverse combat strategies.
- Arena Management: These plugins provide comprehensive tools for creating and managing multiple arenas. This includes defining the exact combat zones, setting up comfortable lobby areas for players to wait, designating specific spawn points within the arena, and establishing spectator locations for those watching the action.
- Game Modes: To keep gameplay fresh and exciting, most plugins support a variety of PvP formats. Popular options include Team Deathmatch (TDM), where teams compete for the most kills; Free For All (FFA), an every-player-for-themselves battle; and Capture the Flag (CTF), a strategic objective-based mode.
- Stats Tracking: A crucial element for competitive play, stats tracking records various player metrics. This typically includes kills, deaths, assists, and killstreaks. These statistics can then be prominently displayed on in-game scoreboards or leaderboards, fostering competition and bragging rights.
- Arena Reset/Restoration: To maintain fairness and prevent environmental damage from lingering between matches, plugins often feature automatic or manual arena reset capabilities. This restores the arena to its pristine state after each game, ensuring a consistent battleground.
- Combat Mechanics: Beyond basic combat, some plugins introduce enhanced mechanics. “Combat tagging” is a common feature that prevents players from logging out or teleporting away during a fight, ensuring engagements are seen through. Other features might include custom knockback systems or even custom mob AI designed to target enemy players within the arena.
- Permissions: Granular permission systems are integrated to give server administrators fine-tuned control. This allows for managing access to specific kits, controlling who can enter certain arenas, and delegating administrative commands to trusted staff members.
Step-by-Step Setup Process
Setting up your PvP arena involves a methodical approach to ensure all components are correctly configured:
- Choose and Install a Plugin: The first step is to select a PvP arena plugin that is compatible with your Minecraft server version. Examples include PureKitPvP, PvPKit, KP-PVP, PvPArena, or BattleArena. Once chosen, download its JAR file and place it into your server’s
/plugins/folder. After placing the file, restart your server to load the plugin. - Define Arena Regions: With the plugin installed, you’ll need to define the physical boundaries of your arena. This is typically done using in-game commands or a visual setup wizard provided by the plugin. Mark the combat area, as well as distinct lobby and exit points. Tools like WorldEdit and WorldGuard can be incredibly beneficial for precisely selecting and managing these regions.
- Set Spawn Points: Configure designated spawn points within your arena. This includes general player spawns, team-specific spawns if your chosen game modes require them, and separate spectator spawns so observers can watch without interfering.
- Create and Configure Kits: This is where the “kits” part of your arena comes to life. Utilize the plugin’s in-game commands or GUI-based menus to design your custom kits. This involves selecting armor, weapons, and various items. You can also integrate unique abilities if the plugin supports them. For advanced setups, especially with command block-based kits, you can prepare inventories, save them using Minecraft’s
structure blocks, and then usecommand blocksto distribute these saved inventories to players upon kit selection. - Configure Game Settings: Access the plugin’s configuration files to adjust specific game settings. This includes defining the available game modes (e.g., TDM, FFA), setting win conditions (e.g., first to X kills), establishing time limits for matches, and configuring any other arena-specific rules.
- Set Up Join Mechanisms: Provide easy ways for players to enter the arena. This can be achieved by setting up interactive join signs that players click, or by configuring specific commands that players type to queue for or join a match.
- Integrate Scoreboards (Optional): To enhance the competitive experience, consider integrating scoreboards. This often requires PlaceholderAPI in conjunction with your PvP plugin. With this setup, you can display real-time player statistics such as kills, deaths, and current game scores directly on players’ screens.
- Thorough Testing: After completing the setup, thorough playtesting is critical. Gather friends or server staff to conduct extensive tests. This will help ensure game balance, verify proper functionality of all mechanics, and identify any potential issues or bugs before launching to your wider player base.
Important Tips for Success
To ensure a smooth and enjoyable PvP experience, keep these important tips in mind:
- Compatibility Checks: Always double-check that your chosen PvP plugin is fully compatible with your specific Minecraft server software (e.g., Spigot, Paper) and its current version. Incompatibility is a common source of issues.
- Install Dependencies: Many plugins rely on others to function correctly. Ensure all necessary dependency plugins, such as PlaceholderAPI for dynamic scoreboards or Vault for economy integration, are installed and up to date.
- Prioritize Function: When designing your arena, focus first on gameplay. Ensure balanced spawn points, strategic cover, and key tactical areas are well-placed before dedicating significant time to aesthetic details.
- Continuous Testing: The initial testing is just the beginning. Regularly test your arena, especially after updates or changes, to proactively find and correct any imbalances or bugs that may arise over time.
- Consult Documentation: The plugin’s official documentation is your best friend. Always refer to it for detailed instructions, a comprehensive list of commands, and specific configuration options unique to your chosen plugin.
- Regular Backups: Before installing any new plugins or making significant changes to your server configuration, create full backups of your server files. This safeguards your progress and allows for easy recovery if something goes wrong.
- Dedicated Servers: For optimal performance, especially if you anticipate high player counts and frequent arena usage, consider running a dedicated server specifically for KitPvP. This can also facilitate automatic arena entry for players.
- Utilize Arena Resets: Actively implement and rely on the arena reset features. This maintains a fair playing field by restoring the environment after each match, preventing long-term damage or griefing that could impact future games.
Common Mistakes to Avoid
Even experienced server owners can fall into common traps. Be mindful of these to prevent headaches:
- Version Mismatch: A frequent error is using a plugin version that is incompatible with your server’s Minecraft version. This invariably leads to errors, crashes, and overall server instability.
- Missing Dependencies: Forgetting to install all required dependency plugins is a common oversight. This will cause core features of your PvP plugin to malfunction or not work at all.
- Unbalanced Kits: Creating kits that are significantly stronger or weaker than others will quickly lead to unfair gameplay and a frustrating experience for players. Strive for balance across all kit options.
- Undefined Boundaries: Failing to properly define your arena boundaries can allow players to escape the designated combat zone or engage in unintended combat outside the arena, disrupting the game flow.
- Server Lag: Loading too many worlds or arenas simultaneously can consume excessive server memory and processing power, leading to noticeable lag for players. Consider using schematics for arena management to load arenas only when needed.
- No Spawn Protection: Neglecting to implement adequate spawn protection can result in players being repeatedly killed immediately after spawning, creating a highly frustrating “spawn camping” scenario.
- Insufficient Testing: Launching an arena without thorough, multi-player testing is risky. It can expose unforeseen bugs, imbalances, and exploits during live play, which can quickly deter players.
- Ignoring Console Errors: Overlooking error messages in your server console is a critical mistake. These messages are vital for diagnosing and fixing critical issues with your plugin setup before they escalate.
Tags:
YOU MAY ALSO LIKE...


