

Setting Up Discord Webhooks for Server Chat
Integrating your Minecraft server’s chat and activities directly into your Discord community can significantly enhance engagement and transparency. Discord webhooks provide the essential bridge for this connection, allowing your server to send automated messages to a designated Discord channel. This comprehensive guide will walk you through the process of setting up Discord webhooks for your Minecraft server chat, ensuring a seamless flow of information between your game and your community.
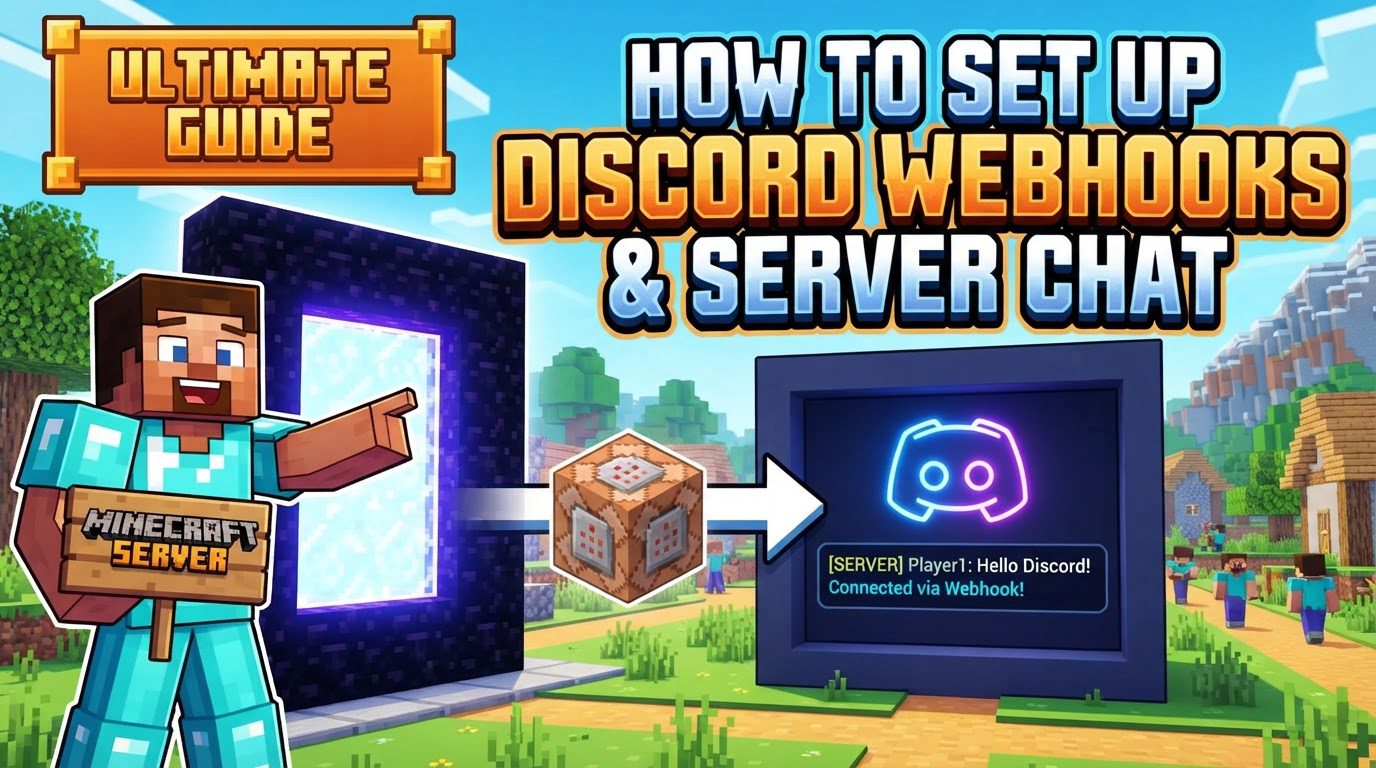
Understanding Discord Webhooks for Minecraft
Discord webhooks serve as a vital mechanism, enabling external services, such as a Minecraft server, to dispatch automated messages directly into a specified Discord channel. This functionality primarily facilitates one-way communication from your game server to Discord.
- Communication Flow: Webhooks are designed for mirroring in-game chat, announcing player join/leave events, reporting player deaths, or highlighting advancements directly to Discord. This keeps your community informed about server activities in real-time.
- Plugin Reliance: To enable this integration, Minecraft servers typically utilize specialized plugins. Popular examples of such plugins include MCSync, DiscordSRV, Discord Chat Hook, Better Discord Integration, and HuskChat. These plugins are specifically engineered to interact with Discord’s webhook system, translating in-game events into Discord messages.
- Customization and Identity: A key advantage of using webhooks is the ability to present Minecraft messages in Discord with custom names and avatars. Often, these can be configured to display the player’s skin, making the Discord messages feel more personal and directly linked to the in-game player.
Step-by-Step Setup Process
Setting up your Discord webhook involves a clear sequence of actions, starting in Discord and concluding with your Minecraft server’s configuration.
- Create a Discord Webhook:
- Open your Discord server and navigate to “Server Settings”.
- Go to the “Integrations” section and select “Webhooks”.
- Click “Create Webhook”.
- Configure the Webhook: Give your webhook a clear name, such as “Minecraft Chat,” to easily identify its purpose. Select the desired Discord channel where you want the Minecraft messages to appear. You also have the option to set a custom avatar for the webhook.
- Copy the Webhook URL: After configuration, Discord will provide a unique Webhook URL. This URL is crucial for connecting your Minecraft server to Discord. Copy this URL accurately, as it will be required in the next steps.
- Configure Your Minecraft Server/Plugin:
- Download and Install a Compatible Plugin: Your Minecraft server needs a plugin that supports Discord webhooks. Examples include MCSync, Discord Chat Hook, or DiscordSRV. Download the plugin’s JAR file and place it into your server’s `plugins` folder.
- Locate the Plugin’s Configuration File: After running your server with the new plugin, navigate to your server’s `plugins` folder and then into the specific folder created by your chosen plugin (e.g., `plugins/DiscordSRV/`). The main configuration file is typically named `config.yml`.
- Open the Configuration File: Use a plain text editor (e.g., Notepad++, VS Code) to open the `config.yml` file.
- Find Webhook Settings: Within the configuration file, locate the settings related to Discord webhooks. These are often clearly labeled, for instance, `discordWebhookEnabled` or `discordWebhookURL`.
- Enable and Paste the URL: If there’s an option to enable the webhook feature, ensure it is set to `true`. Then, paste the Discord Webhook URL you copied earlier into the designated field for the webhook URL.
- Save Changes and Restart Server: Save the modifications to your configuration file. It is essential to perform a full restart of your Minecraft server for these new settings to be applied correctly.
- Test the Webhook:
- After your Minecraft server has restarted, join the game.
- Send a message in the in-game Minecraft chat.
- Verify that the message appears in the designated Discord channel, confirming that the webhook is successfully set up and functioning.
Important Tips for Enhanced Integration
Beyond the basic setup, several tips can help you achieve a more robust and feature-rich integration between your Minecraft server and Discord.
- Two-Way Chat Synchronization: Some advanced plugins, like DiscordSRV, offer two-way chat synchronization. This means that not only do Minecraft messages appear in Discord, but messages sent in the Discord channel can also be displayed within the Minecraft server’s chat, creating a truly unified communication experience.
- Rich Embeds for Visual Appeal: Plugins such as SkCord enable the sending of rich embeds from Minecraft to Discord. Rich embeds allow for messages with custom colors, images, and structured information, making announcements, statistics, or event notifications more visually engaging and easier to digest in Discord.
- Discord Bot Applications for Advanced Features: For more complex integrations, especially those requiring features beyond simple one-way messaging (e.g., executing commands from Discord, advanced moderation), some plugins might necessitate creating a full Discord bot application. This involves obtaining a bot token and configuring channel IDs, offering greater control and functionality.
- Safeguarding Webhook URLs: Webhook URLs are sensitive credentials. Always store them securely and avoid sharing them publicly, as anyone with the URL can post messages to your channel. If you’re using custom scripts, implement error handling to manage potential issues gracefully.
- Discord Developer Mode: When dealing with Discord bot applications or advanced configurations that require specific Discord IDs (like channel IDs), enabling Discord Developer Mode (found in Discord User Settings > Advanced) is highly beneficial. It allows you to easily copy these IDs by right-clicking on the respective elements in Discord.
Common Mistakes to Avoid
During the setup process, certain common errors can occur. Being aware of these can help you troubleshoot effectively and ensure a smooth integration.
- Incorrect Webhook URL: This is a frequent issue. Always ensure that the Webhook URL copied from Discord is pasted precisely into the plugin’s configuration file, without any typos or extra characters.
- Insufficient Discord Permissions: The webhook or any associated bot must possess the “Manage Webhooks” permission within the target Discord channel. Without this permission, the webhook will be unable to send messages, even if correctly configured.
- Plugin Configuration Errors: Many Minecraft plugins feature a dedicated setting to enable or disable webhook functionality. Double-check that this feature is explicitly enabled in your plugin’s `config.yml` file. Incorrect YAML syntax or formatting can also prevent the plugin from loading its configuration correctly.
- Not Restarting the Server: After making any changes to your plugin’s configuration files, a full restart of your Minecraft server is almost always required for the new settings to take effect. A simple `/reload` command is often insufficient.
- Firewall/Network Issues: Your Minecraft server needs to be able to make outgoing connections to Discord’s API. Ensure that your server’s firewall or network configuration is not blocking these outbound connections, typically on standard web ports (80 and 443).
- Outdated Plugins: Using an outdated version of a Minecraft plugin can lead to compatibility issues, bugs, or errors, especially if Discord’s API or Minecraft server versions have been updated. Always ensure your plugin is up-to-date and compatible with your server’s version.
By diligently following these instructions and being mindful of these common pitfalls, you can successfully establish a robust and engaging Discord webhook integration for your Minecraft server chat, fostering a more connected community.
Tags:
YOU MAY ALSO LIKE...


