Setting Up Spatial Storage in Applied Energistics 2, Explained
Applied Energistics 2 (AE2) introduces a powerful and unique feature known as spatial storage, allowing players to manipulate entire sections of their world. This advanced system enables the “cut-and-paste” of physical volumes, including blocks and entities, between your primary world and a dedicated spatial storage dimension. Mastering spatial storage can revolutionize base relocation, complex machine duplication, and even create portable structures. This guide will walk you through the essential components, setup process, and crucial considerations for effectively utilizing AE2’s spatial storage.
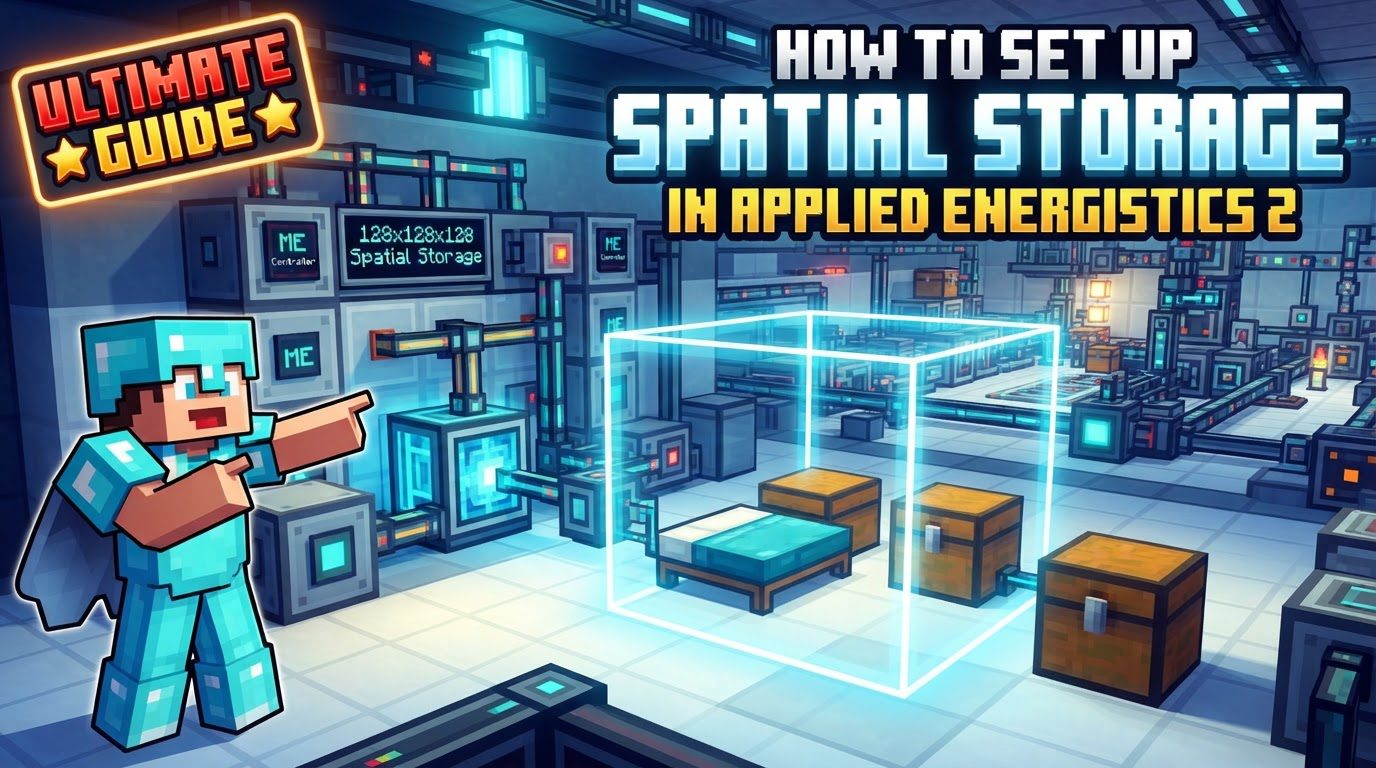
Understanding the Core Mechanics of Spatial Storage
At its heart, spatial storage relies on three primary components working in concert to achieve its world-bending capabilities:
- Spatial IO Port: This is the central control unit for any spatial storage operation. It connects directly to your AE2 network and serves multiple critical functions. The Spatial IO Port is where you initiate the transfer of volumes, monitor the status and statistics of your spatial network, and insert the specialized Spatial Storage Cells that hold the captured data. It acts as the gateway between your physical world and the spatial dimension.
- Spatial Pylons: These specialized blocks are used to define the exact area you wish to capture or retrieve. Spatial Pylons must be arranged in a specific multiblock structure, forming a frame around the target volume. The enclosed area, typically one block inward from the pylons themselves, is what will be affected by the spatial operation. The size and configuration of this pylon structure directly determine the dimensions of the spatial volume.
- Spatial Storage Cells: These unique storage components are distinct from standard AE2 storage cells. Instead of storing individual items, Spatial Storage Cells are designed to hold the entire data of a captured volume, including all blocks and entities within it. They come in various capacities, such as 2 cubed, 16 cubed, or 128 cubed, indicating the maximum size of the cubic volume they can store. Choosing the correct cell size for your intended operation is paramount.
Performing any spatial operation, whether capturing a volume or retrieving one, requires a precise redstone pulse delivered to the Spatial IO Port. It’s crucial to understand that these operations consume a significant amount of AE energy, often millions of AE for larger volumes, making robust power generation and storage an absolute necessity for reliable spatial storage use. Once a volume is captured, it is moved to a distinct, separate spatial storage dimension, where it resides until retrieved.
Step-by-Step Guide to Setting Up Spatial Storage
Setting up your spatial storage system involves careful planning and execution. Follow these steps to ensure a successful deployment:
-
Gather Necessary Components:
- Spatial IO Port: You will need one of these to control your spatial operations.
- Spatial Pylons: The quantity of pylons required depends directly on the size of the volume you intend to capture. For a 2x2x2 volume, you’ll need 8 pylons (one at each corner). For larger volumes, you’ll need more to form the entire perimeter. Plan ahead based on your desired capture area.
- Spatial Storage Cell: Obtain at least one unformatted Spatial Storage Cell. Ensure its maximum capacity (e.g., 16 cubed) is equal to or larger than the volume you plan to capture.
- AE2 Network Connection: Ensure you have an existing AE2 network to connect your Spatial IO Port to, complete with sufficient power generation and energy storage.
- Redstone Source: A button, lever, or any other redstone pulse generator will be needed to trigger the operations.
-
Build the Pylon Structure:
Carefully construct a multiblock frame using your Spatial Pylons. This frame must completely enclose the area you wish to store. The key detail here is that the volume captured is always one block inward from the pylons. For example, if you build a 3x3x3 cube of pylons, the captured space will be a 1x1x1 cube in the very center. If you build a 4x4x4 cube of pylons, the captured space will be a 2x2x2 cube inside. Plan your pylon placement precisely to define the exact dimensions you need.
-
Place the Spatial IO Port:
Once your pylon frame is complete, place the Spatial IO Port anywhere within the bounds of this pylon structure. It does not need to be centrally located, but it must be inside the defined area. Crucially, connect this Spatial IO Port to your AE2 network. For optimal performance and to avoid potential conflicts, it is highly recommended to set up the Spatial IO Port on a dedicated subnetwork. This ensures that only one spatial setup is recognized by your main AE network, preventing issues that can arise from multiple spatial systems trying to operate simultaneously.
-
Insert the Spatial Storage Cell:
With the Spatial IO Port connected and the pylon structure in place, insert an unformatted Spatial Storage Cell into the input slot of the Spatial IO Port. Upon insertion, the Spatial IO Port’s interface will display vital information: the exact volume that has been defined by your pylon structure and the estimated AE energy cost for performing the capture operation. This is your chance to verify that the volume matches your intentions and that your network has enough power.
-
Activate the Operation:
To initiate the transfer, provide a short redstone pulse to the Spatial IO Port. This will trigger the system to capture the defined volume and move it into the inserted Spatial Storage Cell. The blocks and entities will vanish from your world and appear in the spatial dimension. To retrieve the captured volume later, simply place the same Spatial Storage Cell back into the Spatial IO Port’s input slot (if it’s not already there) and provide another redstone pulse. The volume will then be restored to its original location, assuming the space is clear.
Important Tips for Efficient Spatial Storage
To make the most of your spatial storage setup and avoid common pitfalls, consider these expert tips:
- Ample Energy Reserves: Spatial operations are incredibly power-hungry. A single large capture can consume millions of AE units. Ensure your AE network is backed by a substantial array of Energy Cells or other forms of high-capacity energy storage. Without sufficient power, the operation will fail, potentially wasting resources and time.
- Maximize Pylon Efficiency: While only the corners are strictly necessary for the pylon multiblock to form, filling more of the pylon shell with actual Spatial Pylons can significantly reduce the energy cost of the operation. The more complete your pylon frame, the less energy is required, making larger operations more feasible.
- Correct Cell Sizing: Always use a Spatial Storage Cell that has a capacity equal to or larger than the volume you intend to capture. Attempting to store a volume larger than the cell’s capacity will result in an immediate operation failure. There is no partial capture.
- Dedicated Subnetwork: As previously mentioned, it is highly recommended to use a subnetwork specifically for your Spatial IO setup. This is because the main AE network is designed to recognize and manage only one active spatial storage setup at a time. Using a subnetwork isolates the spatial system, preventing conflicts and ensuring reliable operation.
- Consider Spatial Anchors: If the spatial storage volume you are capturing contains active systems (e.g., farms, generators, complex machinery) that you intend to retrieve and have function immediately, consider using Spatial Anchors. These devices can chunk load the area within the spatial dimension, ensuring that your systems remain active and operational even when not physically present in your main world.
Common Mistakes to Avoid
Even experienced players can encounter issues with spatial storage. Be aware of these common mistakes:
- Underpowering Your Network: This is perhaps the most frequent cause of spatial operation failure. If your AE network lacks the millions of AE required for a large transfer, the operation will simply not complete, consuming some energy but failing to move the volume. Always check the energy cost displayed by the Spatial IO Port before activating.
- Incorrect Volume Definition: Miscalculating or misunderstanding the pylon placement can lead to capturing an unintended volume. Remember, the captured area is one block inward from the pylons. An incorrectly defined volume might be too small, too large, or simply not what you intended, leading to frustration or failed operations if the dimensions don’t match the cell.
- Using an Undersized Spatial Cell: Attempting to capture a volume that exceeds the capacity of the inserted Spatial Storage Cell will always result in operation failure. The system will detect the mismatch and prevent the transfer, protecting your world from potential corruption.
- Attempting to Reformat a Used Cell: Once a Spatial Storage Cell has been used to capture a volume, its dimensions are permanently set to that specific volume. It cannot be reformatted, resized, or used for a different size volume. If you need to capture a different size area, you will need a brand new, unformatted Spatial Storage Cell.
- Multiple Spatial Setups on a Single Network: Running more than one Spatial IO setup directly on your main AE network can lead to conflicts, unpredictable behavior, and system malfunction. Use dedicated subnetworks for each spatial setup to ensure stability and proper operation.
- Getting Trapped in the Spatial Dimension: It is possible to enter the spatial dimension along with your captured volume. However, if you do so without a method to activate the Spatial IO Port (e.g., a redstone source) or another means of teleportation to exit, you could find yourself permanently stranded. Always have an exit strategy when working with spatial dimensions.
By understanding these mechanics, carefully following the setup process, and heeding the important tips and warnings, you can effectively harness the immense power of Applied Energistics 2’s spatial storage system to manage and manipulate your Minecraft world with unprecedented flexibility.
Tags:
YOU MAY ALSO LIKE...