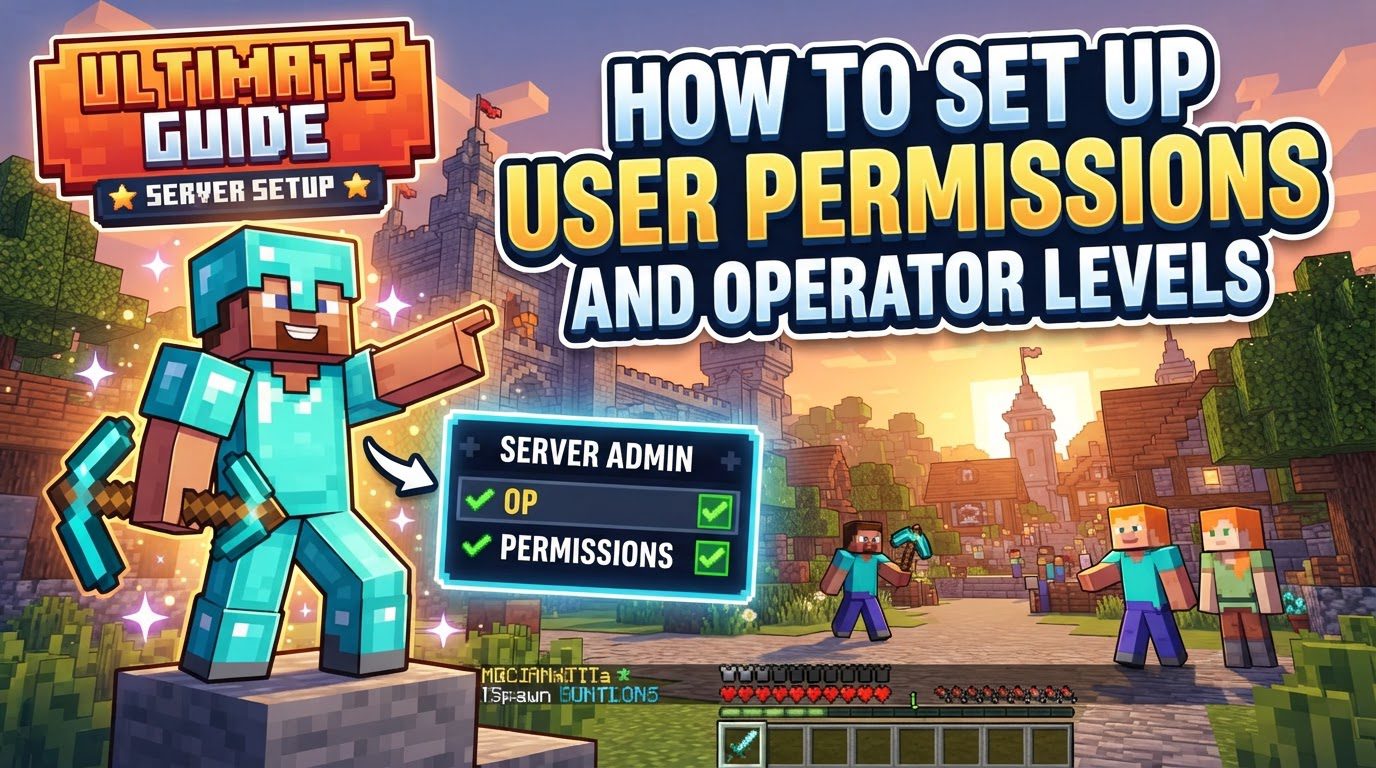
How to set up user permissions and operator levels on a server
Managing user permissions and operator levels is a fundamental aspect of running a successful Minecraft server. Whether you’re hosting a small private world for friends or a large public community, establishing clear roles and access rights is crucial for security, stability, and a smooth player experience. This guide will walk you through the two primary methods of controlling user access: vanilla operator (OP) levels and advanced permissions plugins, detailing their setup and best practices.
Understanding Key Mechanics
Minecraft servers offer two distinct mechanisms for managing user privileges:
- Operator (OP) Levels: These are built-in levels provided by the vanilla Minecraft server software. They grant progressively more access to core server commands and functionalities. There are four predefined levels, each building upon the previous one.
- Permissions Plugins: For servers that utilize plugins (such as those running on Spigot or Paper software), a permissions plugin becomes indispensable. Tools like LuckPerms allow for incredibly granular control, enabling server administrators to define custom user groups and assign specific “permission nodes” to these groups. This system is far more flexible and robust than vanilla OP levels for plugin-heavy environments.
- Permission Nodes: These are unique identifiers, typically formatted like
pluginname.command.subcommandorpluginname.feature, that precisely dictate access to individual commands or features provided by installed plugins. For example,essentials.warpmight be a permission node allowing a player to use the/warpcommand from the EssentialsX plugin.
Detailed Breakdown of Operator (OP) Levels
Vanilla Minecraft servers come with four distinct operator levels, each granting a specific set of powers:
- Level 1: This is the most basic operator level. Its primary function is to allow players to bypass spawn protection. Spawn protection prevents non-operators from building or breaking blocks within a certain radius of the world’s spawn point.
- Level 2: Operators at this level gain access to several utility commands that affect players and the game world. These include commands such as
/clear(to clear a player’s inventory),/gamemode(to change a player’s game mode),/give(to give items to players),/tp(to teleport players), and the ability to edit command blocks. - Level 3: This level introduces significant administrative commands, granting operators the power to manage players on a larger scale. Commands available at Level 3 include
/ban(to permanently remove a player),/deop(to remove operator status from another player),/kick(to temporarily remove a player), and/op(to grant operator status to another player). Due to the power of these commands, caution is advised when assigning Level 3. - Level 4: This is the highest operator level, granting full and unrestricted access to all server commands. This includes critical commands like
/stop, which can shut down the entire server. Granting Level 4 status should be reserved only for highly trusted individuals who require ultimate control over the server’s operations.
Step-by-Step Process for Setting Up Permissions
The method you choose for setting up permissions depends on whether your server is purely vanilla or running plugins.
Granting Operator Status (Vanilla Server)
For a vanilla Minecraft server, operator status is managed directly through the server console or by editing server files.
- Access your server’s console: This is the primary interface for sending commands directly to your server. If you’re hosting locally, it’s the command prompt window that opened when you started the server. If you’re using a hosting provider, it’s usually accessible through their web panel.
- Type
op <playername>and press Enter: Replace<playername>with the exact Minecraft username of the player you wish to grant operator status. By default, this will grant them Level 4 operator status. - To remove operator status: Use the command
deop <playername>in the console. - Adjusting the default OP level: The default operator level granted when using the
opcommand can be configured. This is typically done in theserver.propertiesfile, which contains various server settings. Alternatively, you can manually edit theops.jsonfile, which lists all operators and their specific assigned levels.
Setting Up Permissions with a Plugin (e.g., LuckPerms)
For servers running Spigot, Paper, or similar plugin-enabled server software, a permissions plugin is the recommended and most effective way to manage player access. We’ll use LuckPerms as a prime example due to its popularity and robust features.
- Download the chosen permissions plugin: Visit the official download page for your chosen plugin (e.g., LuckPerms on SpigotMC or PaperMC resources) and download its latest stable version.
- Place the plugin file into your server’s
pluginsfolder: Locate thepluginsdirectory within your server’s main folder. Drag and drop the downloaded.jarfile into this folder. - Start or restart your server: This action is necessary for the server to detect and load the newly added plugin.
- Access the plugin’s configuration editor: For LuckPerms, the most convenient way to manage permissions is through its web editor. In your server’s console or in-game (if you are an operator), type
/lp editor. This command will provide you with a unique web link that opens a graphical interface for managing permissions. - Create distinct user groups: Within the editor, you’ll want to establish various user groups to categorize your players. Common groups include “default” (for all new players), “member,” “VIP,” “moderator,” and “admin.” You can configure their display names, prefixes (which appear before a player’s name in chat), and crucial group inheritance.
- Configure group inheritance: This is a powerful feature where a group can automatically inherit all permissions from another group. For instance, you could set your “admin” group to inherit from “moderator,” meaning admins automatically get all moderator permissions without needing to manually assign them again. This simplifies management significantly.
- Assign relevant permission nodes to each group: This is where you grant specific access. For each plugin you install on your server, its documentation will list the permission nodes required for its commands and features. Go through your groups in the LuckPerms editor and add the appropriate permission nodes. For example, a “moderator” group might get
essentials.kick,worldguard.region.define, and other moderation-related nodes. - Add players to their respective groups: Once your groups are defined and permissions assigned, you can assign individual players to these groups. In the LuckPerms editor, you can search for a player and add them to the desired group.
- Save and apply the changes: After making all your modifications in the web editor, click the “Save” button (usually in the top right corner). This will generate a command that you need to copy and paste back into your server’s console to apply the changes.
Important Tips for Effective Permission Management
Effective permission management is an ongoing process. Keep these tips in mind to maintain a secure and functional server:
- Prioritize robust permissions plugins: For any server utilizing plugins, a dedicated permissions plugin like LuckPerms is absolutely essential. It provides the granular control and flexibility that vanilla OP levels simply cannot offer for managing plugin features.
- Establish a “default” group: Always create a “default” group with the most minimal, necessary permissions. All new players should automatically be placed into this group, ensuring they only have access to basic commands and features. Build higher-tier groups (e.g., VIP, Moderator, Admin) from this secure base.
- Leverage group inheritance: This feature is a game-changer for simplifying permission management. By having higher ranks inherit permissions from lower ranks, you avoid duplicating permission nodes across multiple groups, making updates and troubleshooting much easier.
- Thoroughly understand permission nodes: Always consult the official documentation for every plugin you install. This is where you’ll find the complete list of permission nodes and their corresponding functionalities. Misunderstanding nodes can lead to granting too much or too little access.
- Regularly back up your server: Before making any significant changes to your permissions setup, always perform a full backup of your server files. This ensures you can easily revert to a previous working state if something goes wrong.
- Consider implementing a whitelist: For private servers or during development phases, a whitelist restricts server access to only approved players, adding an extra layer of security and control.
Common Mistakes to Avoid
Even experienced server administrators can make mistakes. Being aware of these common pitfalls can save you a lot of headaches:
- Granting high operator levels (especially Level 4) to untrusted or numerous players: Level 4 operators have the power to shut down your server and execute any command. This level of access should be reserved for a very small, highly trusted team. Over-opping players significantly increases security risks.
- Incorrectly configuring the permissions plugin or using wrong syntax: Typos, incorrect capitalization, or improper formatting of permission nodes or group configurations can lead to unexpected permission issues, where players either have too much access or not enough.
- Having conflicting permission groups: If a player belongs to multiple groups with contradictory permissions (e.g., one group denies a permission while another grants it, and the plugin doesn’t have clear priority rules), it can cause unpredictable behavior. Careful group design and inheritance planning can prevent this.
- Using
/reloadinstead of a full server restart after major permission changes: On Spigot/Paper servers, using the/reloadcommand after significant plugin or permission changes is generally discouraged. It can often leave the server in an unstable or broken state. Always perform a full server restart to ensure all changes are loaded correctly and cleanly. - Not understanding individual permission nodes: Blindly assigning permission nodes without knowing their exact function can lead to players having capabilities you didn’t intend, or conversely, being unable to perform necessary actions. Always refer to plugin documentation.
- Relying solely on vanilla operator levels for plugin-heavy servers: While vanilla OP levels are simple, they lack the necessary granularity for effective management of a server running multiple plugins. They don’t differentiate between plugin-specific commands, leading to an “all or nothing” approach that is inefficient and insecure for complex setups.

