

Surviving Your First Night Without a Shelter, Explained
Surviving your first night in Minecraft without the comfort of a traditional, pre-built shelter can seem daunting, but it is entirely achievable with quick preparation and smart utilization of your immediate environment. The key is to protect yourself from the hostile mobs that emerge as darkness falls, turning a serene landscape into a perilous one. This guide will walk you through the essential steps and strategies to ensure your survival until the dawn of your second Minecraft day.
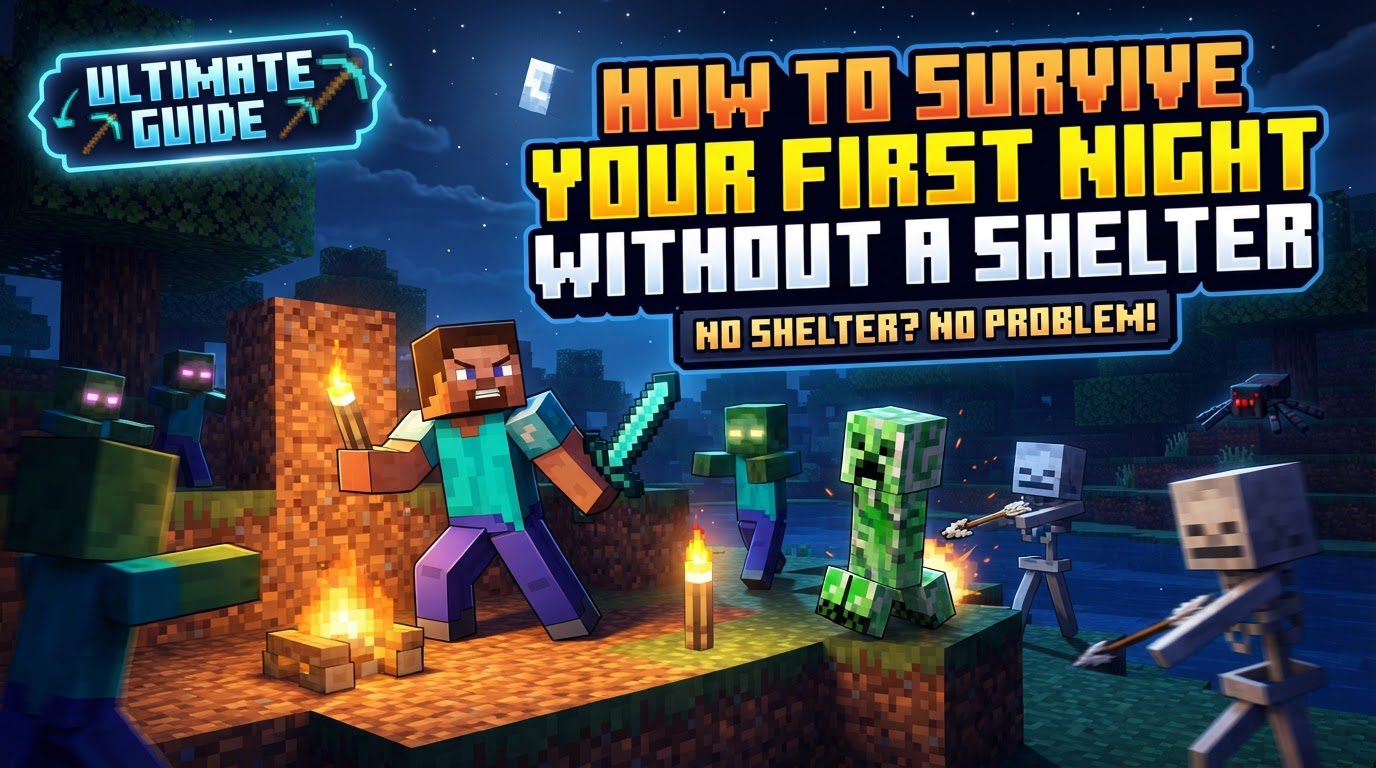
Understanding the Basics of Survival
Before diving into the practical steps, it’s crucial to understand some fundamental game mechanics that govern your first night.
- Day-Night Cycle: A full Minecraft day-night cycle spans 20 minutes of real-time. This includes 10 minutes of daylight, a brief 1.5 minutes for sunset and sunrise, and a critical 7 minutes of pure nighttime. Hostile mobs are a threat during these dark hours.
- Mob Spawning: As night descends, dangerous creatures such as zombies, skeletons, spiders, and creepers begin to spawn. They also appear in any dark areas, like unlit caves, posing a significant and immediate threat to an unprepared player.
- Light Sources: Torches are your best friend against the darkness. They emit light, effectively preventing hostile mobs from spawning in their immediate vicinity, creating safe zones.
- Hunger: Your hunger bar isn’t just for aesthetics; it directly impacts your health regeneration. Keeping it sufficiently filled is vital, as a low hunger bar means you cannot recover health naturally.
- Spawn Point: While not strictly necessary for the first night’s survival, understanding your spawn point is important. Sleeping in a bed, once crafted, sets your personal spawn point, allowing you to return to that specific location if you unfortunately meet your end.
Your First Day: A Step-by-Step Survival Plan
Time is of the essence. Follow these steps efficiently to prepare for the impending nightfall.
- Gather Wood: Your very first action should be to punch trees. Start collecting wood logs immediately. Aim to gather at least 16 logs to begin with, as wood is the foundational resource for almost everything you’ll need.
- Craft Essentials:
- Open your inventory by pressing ‘E’. Convert your raw wood logs into wooden planks.
- Using four wooden planks, craft a Crafting Table. This item is indispensable for creating more complex tools and blocks.
- Place your newly crafted Crafting Table on the ground.
- Utilize the Crafting Table to craft a basic set of wooden tools: a pickaxe for mining, an axe for efficient wood gathering, a shovel for digging dirt and gravel, and a sword for defense.
- Acquire Stone: With your wooden pickaxe, head to any exposed stone or simply dig down a few blocks to find it. Mine at least 20 cobblestones. Stone is a superior material for tools and building.
- Upgrade Tools & Craft Furnace: Return to your Crafting Table.
- Upgrade your wooden tools to stone versions. Stone pickaxes, swords, axes, and shovels are significantly more durable and efficient than their wooden counterparts.
- Craft a Furnace. This crucial utility block is made by placing 8 cobblestones in a square pattern around the perimeter of the crafting grid, leaving the center empty.
- Gather Coal or Make Charcoal: You’ll need fuel and light.
- Look for exposed coal ore, which appears as black specks on stone. Mine any you find.
- If coal isn’t immediately available, you can create charcoal. Place a wood log in the top slot of your furnace and another wood log (or planks) in the fuel slot. The burning wood log will produce charcoal, which functions identically to coal for crafting purposes.
- Craft Torches: With coal or charcoal in hand, combine it with sticks (made from planks) at your Crafting Table to produce torches. Aim for a good supply, at least 8-16, to properly light your temporary refuge.
- Secure a Temporary “Shelter”: As sunset approaches, you must create a safe, mob-proof enclosure.
- Dirt Hut: The quickest method is to rapidly stack dirt blocks around yourself to form a small, enclosed space. Ensure it’s at least two blocks tall to prevent mobs from jumping in, and seal the top.
- Dig a Hole: Alternatively, find a hill or a flat patch of ground. Dig a small hole, either 1×2 or 2×3 blocks in size, into the side of the hill or straight down. Once inside, seal the entrance with dirt or cobblestone blocks to completely block out hostile creatures.
- Light and Wait: Once safely inside your temporary enclosure, place torches on the walls or floor. This is vital to prevent any hostile mobs from spawning within your small space. Now, simply wait out the 7 minutes of real-time night, listening for the sounds of mobs outside, knowing you are safe.
- Find Food (Optional but Recommended): While not strictly necessary for the first night’s survival if your hunger bar is full, finding food is highly recommended for long-term health. Hunt animals like cows, pigs, or chickens for raw meat. You can also gather apples by breaking oak or dark oak leaves. Cook any raw meat in your furnace using wood, planks, coal, or charcoal as fuel; cooked food restores significantly more hunger.
Crucial Strategies for Success
Beyond the immediate steps, these tips will enhance your chances of survival and set you up for future success.
- Stay Vigilant: During the daylight hours, always be aware of your surroundings. Scout for valuable resources, potential mining locations, and suitable places for your temporary shelter. At night, listen carefully for the distinct sounds of hostile mobs, which can indicate their proximity.
- Prioritize a Bed: If you’re lucky enough to encounter at least three sheep (their color doesn’t matter) and gather enough wood planks, craft a bed as soon as possible. A bed allows you to immediately skip the night, making survival effortless, and crucially, it sets your spawn point, preventing long treks back if you die.
- Avoid Deep Caves Early On: While caves are rich in resources like coal and iron, they are also incredibly dangerous. They are dark and often filled with hostile mobs, making them treacherous for an unequipped beginner. Stick to surface mining for your first day.
- Keep Moving (Initially): In the very early game, before you’ve established any resources, it’s often better to keep moving and gather. Staying in one spot for too long without purpose can waste precious daylight hours.
- Mark Your Spawn: If you’re concerned about dying and losing your way back to your initial gathering area, consider building a tall pillar of dirt or cobblestone near your initial spawn point. This serves as a visible landmark, helping you navigate back to familiar territory.
Common Mistakes to Avoid
Being aware of common pitfalls can save you a lot of frustration and prevent early deaths.
- Not Building Shelter Before Nightfall: This is perhaps the most critical mistake. Hostile mobs are an overwhelming threat at night, and without a secure, lit space, your chances of survival plummet.
- Mining Straight Down: Never mine directly beneath your feet. This classic mistake can lead to falling into dangerous caves, lava pools, or simply an unexpected drop that results in fall damage or death.
- Forgetting to Set a Spawn Point: If you manage to craft a bed but don’t use it, dying means you’ll respawn at the world’s initial spawn point, potentially very far from your gathered items and progress.
- Exploring at Night: While tempting, venturing out into the darkness greatly increases your chances of encountering multiple hostile mobs without adequate protection, armor, or powerful weapons. It’s a recipe for disaster.
- Ignoring the Hunger Bar: Allowing your hunger bar to drop too low is dangerous. A depleted hunger bar prevents your health from regenerating, leaving you vulnerable to even minor damage.
- Wasting Materials on Wooden Tools: Wooden tools are a temporary measure. Spend minimal resources on them and upgrade to stone tools as quickly as possible, as stone versions are far more durable and efficient for gathering.
By following this guide, even without a grand shelter, you can confidently navigate your first Minecraft night, emerging into the daylight ready for your next adventure.
Tags:
YOU MAY ALSO LIKE...


