Switching Between Multiple Game Version Profiles — A Quick Guide
Understanding Minecraft Version Profiles
Minecraft offers players incredible flexibility, allowing them to experience various iterations of the game, from the latest updates to nostalgic older versions, or even highly customized modded experiences. The key to seamlessly navigating these different gameplay environments lies in effectively managing game version profiles, known as “installations” within the official Minecraft Launcher.
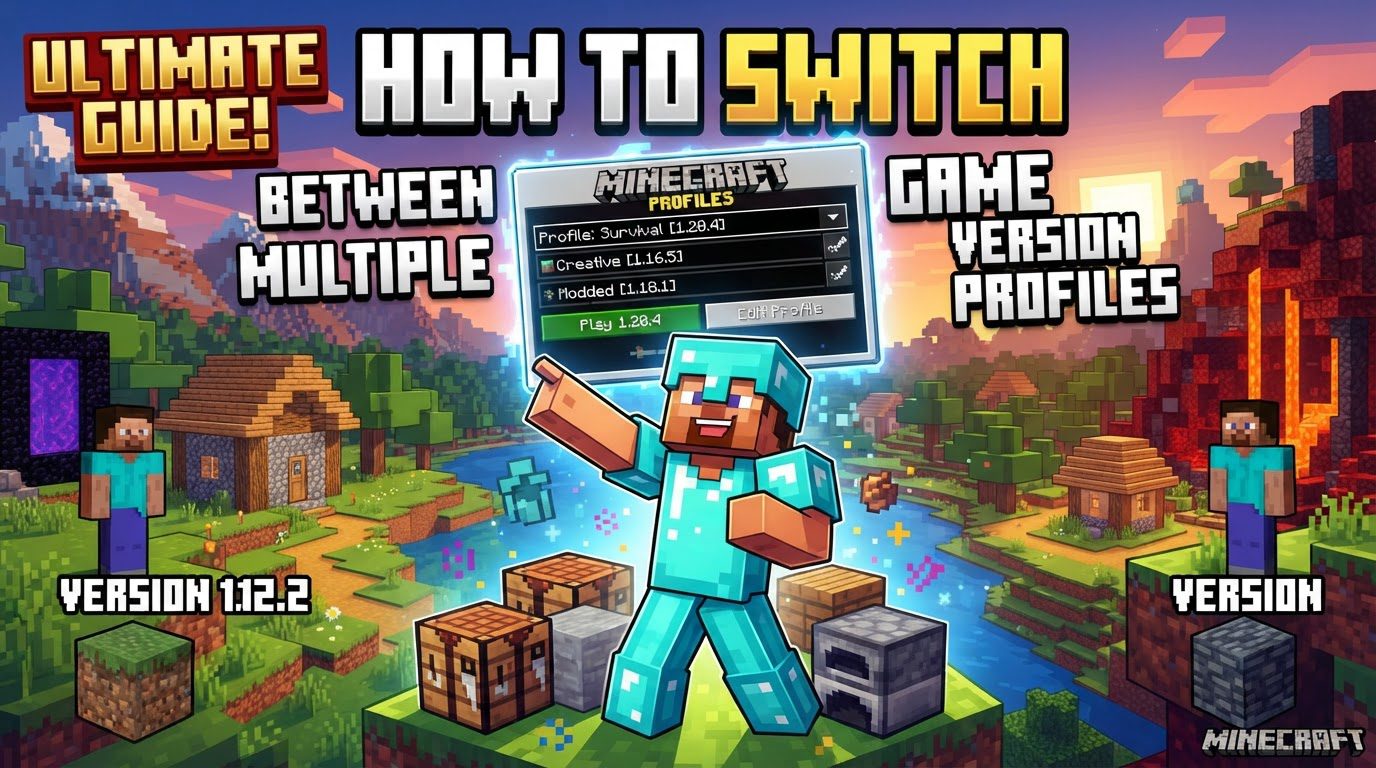
The official Minecraft Launcher is designed to empower players to create multiple distinct “installations” or profiles. Each of these profiles can be meticulously configured to run a specific Minecraft version. This includes not only the current stable releases but also experimental snapshots that offer a sneak peek at future content, or even much older alpha and beta versions for those who wish to revisit Minecraft’s history. This system ensures that players can easily switch between their preferred game setups without complex manual file management.
A crucial aspect of managing these profiles, especially when dealing with different game versions or heavy modding, is the use of separate “Game Directories.” By assigning a unique game directory to each profile, players can effectively isolate their saves, resource packs, mod configurations, and other game data. This isolation is vital for preventing conflicts that can arise when different versions try to read or modify the same game files, thus safeguarding world integrity and ensuring stable gameplay across all profiles.
Beyond the official launcher, a vibrant ecosystem of third-party launchers exists, specifically designed to enhance the management of multiple isolated Minecraft instances. Tools like MultiMC and PolyMC are prime examples, offering advanced features for handling diverse mod packs, resource packs, and saves with greater ease. These launchers often provide fine-grained control over Java settings, which is essential for optimizing performance or resolving compatibility issues. They also frequently include functionalities for importing and exporting instances, simplifying the sharing and backup of complex setups.
For players of Minecraft Bedrock Edition on Windows, the approach to version management differs slightly. Dedicated “Version Switcher” applications are available that allow users to combine worlds, texture packs, and settings across various Bedrock versions and even preview builds. These tools offer a tailored solution for the unique structure of the Bedrock Edition, enabling a similar level of flexibility in experiencing different game states.
Step-by-Step Process: Official Minecraft Java Edition Launcher
Managing multiple Minecraft versions in the official Java Edition Launcher is a straightforward process. Follow these steps to create and switch between your desired game profiles:
- Open the Minecraft Launcher: Begin by launching the official Minecraft Launcher application on your computer. This is your central hub for all Minecraft Java Edition activities.
- Navigate to “Installations”: Once the launcher is open, locate and click on the “Installations” tab. This tab is typically found at the top of the launcher window and serves as the management interface for all your game profiles.
- Create a New Installation: Within the “Installations” tab, you will find a button labeled “New Installation” (or sometimes “New Profile”). Click this button to initiate the creation of a new game profile.
- Configure the Profile: This is where you define the specifics of your new game environment.
- Name: Provide a clear and descriptive name for your profile. This will help you easily identify it later (e.g., “Minecraft 1.18.2 Mods,” “Vanilla 1.19.4,” or “Old Alpha World”).
- Version: Use the “Version” dropdown menu to select the specific Minecraft version you wish to play. This menu typically lists full releases, but can also include snapshots or older alpha/beta versions if those options are enabled in your launcher settings.
- Game Directory (Optional but Recommended): This is arguably the most critical setting for managing multiple profiles effectively. Check the “Game Directory” box. By default, new profiles might share the main
.minecraftfolder. However, it is highly recommended to click the browse button and choose a new, dedicated folder for this specific profile. This new folder will store all of its unique game data, including saves, resource packs, and mods, ensuring complete isolation from other profiles. Failing to specify a separate game directory can lead to data conflicts and potential world corruption.
- Save/Create: After configuring all the necessary settings, click the “Create” or “Save” button to finalize and save your new profile. It will now appear in your list of installations.
- Launch the Profile: To play using your newly created profile, return to the “Play” tab of the launcher. Next to the prominent “Play” button, you’ll see a small arrow or caret. Click this arrow to reveal a dropdown list of all your created profiles. Select the desired profile from this list, and then click the “Play” button to launch Minecraft with that specific version and configuration.
Important Tips for Profile Management
To ensure a smooth and conflict-free experience when managing multiple Minecraft profiles, keep the following essential tips in mind:
- Separate Game Directories are Crucial: This cannot be overstated. Always create a unique “Game Directory” for each distinct profile you set up. This practice is particularly vital when you’re using different Minecraft versions, experimenting with various mod setups, or simply want to keep your vanilla worlds separate from modded ones. Separate directories prevent different game versions from interfering with each other’s files, thereby safeguarding your worlds from corruption and avoiding conflicts with settings, resource packs, and mod files.
- Enable Experimental Versions: If you’re eager to test out upcoming features or revisit very old builds, remember that some versions might not appear in the default version dropdown. Within the profile editor, you can often find options to enable experimental releases, such as snapshots, or to display very old Alpha/Beta versions. Checking these boxes will expand the list of available versions for selection.
- Understand Mod Loaders: When venturing into modded Minecraft, you’ll need a mod loader like Forge, Fabric, or Quilt. It’s imperative to install the appropriate mod loader for your chosen Minecraft version directly into its specific, dedicated game directory. Many third-party launchers are designed to simplify this process, often automating the installation of mod loaders alongside your chosen Minecraft version.
- Always Back Up Your Worlds: Before undertaking any significant changes, such as switching to a new major game version, experimenting with a new mod pack, or even just creating a new profile that might interact with existing data, always back up your important Minecraft worlds and game data. This simple step can save you from irreversible data loss if something goes wrong.
- Check Your Java Version: Minecraft Java Edition, as its name suggests, relies on the Java Runtime Environment (JRE) to run. Ensure that your system has the correct Java version installed, specifically one that is compatible with the Minecraft version you intend to play. Incorrect or outdated Java versions can lead to launch failures, crashes, or performance issues, often manifesting as “unable to locate Java runtime” or various “exit code” errors.
Common Mistakes to Avoid
While managing multiple Minecraft profiles offers great flexibility, there are several common pitfalls that players should be aware of to prevent issues and ensure a stable gaming experience:
- Not Using Separate Game Directories: This is by far the most frequent and impactful mistake. If you don’t assign a unique game directory to each profile, especially when using different Minecraft versions, you risk severe consequences. Worlds saved in one version might be opened and corrupted by an incompatible version, or resource packs and settings from one profile could overwrite or conflict with those of another, leading to unexpected behavior or crashes.
- Launching the Wrong Version Accidentally: It’s easy to overlook which profile is selected before hitting the “Play” button. Accidentally launching your main, updated world with an older, incompatible profile can lead to world corruption or loss of progress. Always double-check the selected profile in the launcher’s dropdown menu before initiating gameplay.
- Incorrect Java Setup: Issues related to Java are a common source of frustration. If Java is not installed correctly, is outdated, or conflicts with specific mods or launcher settings, you might encounter errors such as “unable to locate Java runtime” or generic “exit code 1” messages. Ensuring your Java installation is correct and up-to-date for your specific Minecraft version is crucial for successful game launches.
- Overwriting Shared Settings: If multiple profiles share the same game directory (which is discouraged), changing settings like keybinds, video options, or sound preferences in one profile will affect all others. This happens because they all share the same
options.txtfile and other configuration files within that single directory, leading to unintended changes across your different game setups. - Ignoring Launcher Updates: The Minecraft Launcher itself receives periodic updates. These updates often include bug fixes, performance improvements, and compatibility enhancements for newer Minecraft versions. Neglecting to update your launcher can lead to compatibility issues with new game versions, problems with profile management, or general instability. Always ensure your launcher is kept up-to-date for the best experience.
Tags:
YOU MAY ALSO LIKE...