

Triggering a Detector Rail (Step by Step)
The detector rail stands as a cornerstone of automated transport and intricate redstone contraptions within the world of Minecraft. Functioning as a specialized pressure plate for minecarts, it provides a crucial link between the movement of vehicles and the activation of redstone-powered mechanisms. Understanding its core mechanics, crafting process, and proper implementation is essential for any player looking to optimize their rail systems or build complex, interactive environments.
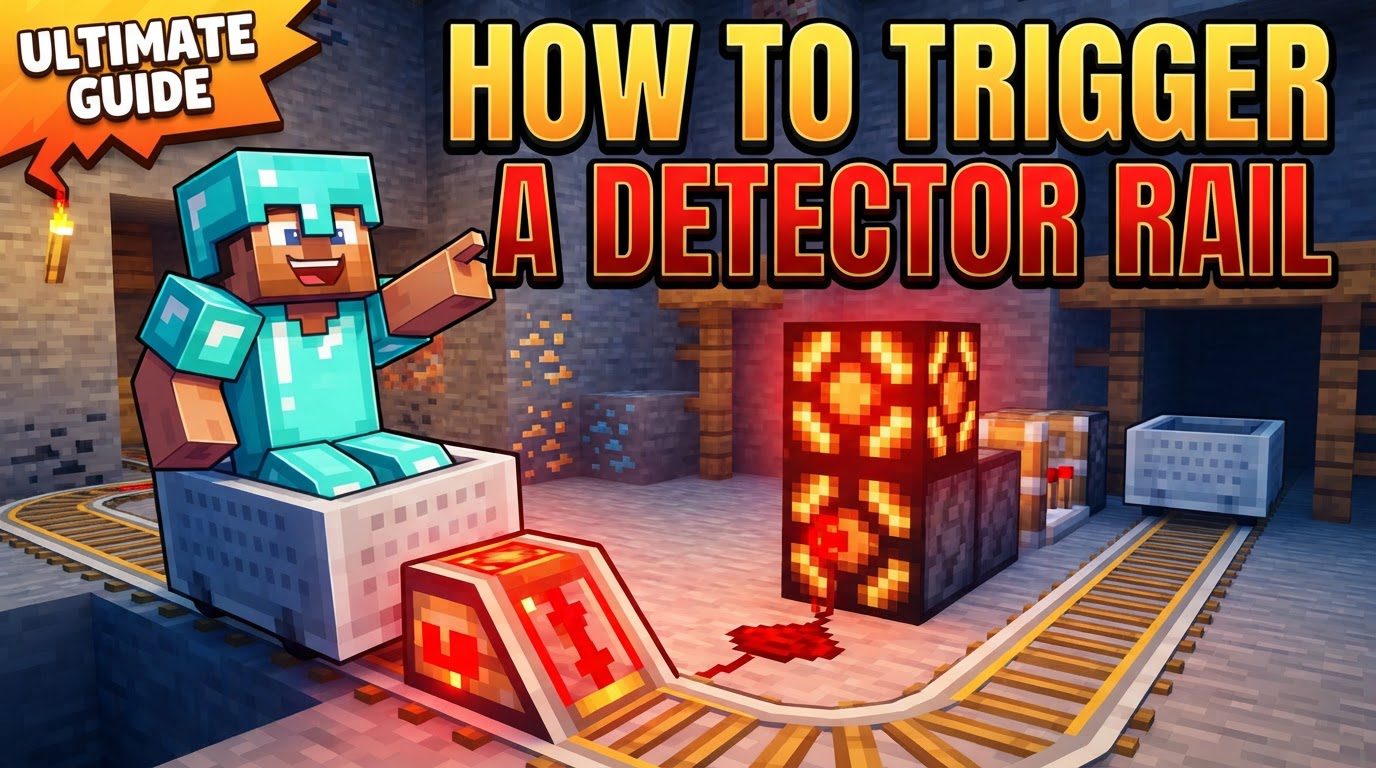
Understanding Detector Rail Mechanics
At its heart, a detector rail is designed to produce a redstone signal whenever any minecart is positioned on top of it. This makes it incredibly useful, as it acts much like a conventional pressure plate, but specifically tailored for minecart interaction. When a minecart, regardless of its type (empty, chest, hopper, furnace, or TNT), passes over or rests upon a detector rail, it instantly triggers a redstone output.
The redstone signal generated by a detector rail is quite powerful and versatile. It is capable of activating adjacent redstone dust, allowing the signal to be transmitted further along a path. Additionally, it can directly power redstone repeaters, which are vital for extending the signal’s range or introducing a delay. Beyond these basic redstone components, the signal can also activate a wide array of other mechanism components. This includes practical items like pistons, which can be used to move blocks or create doors, illuminating lamps, or even other powered rails, which are crucial for maintaining minecart speed.
When activated, the detector rail consistently outputs a redstone signal with a maximum power level of 15. This ensures that the signal is strong enough to reach and activate most nearby redstone-powered devices without immediate degradation. The duration of this signal is typically a multiple of 10 redstone ticks. This consistent duration allows for reliable timing in automated systems, ensuring that connected devices remain active for a predictable period as a minecart traverses the rail.
One of the more advanced applications of detector rails involves their use with a redstone comparator. When a detector rail is connected to a redstone comparator, it gains the ability to measure the fullness of specific types of minecarts. Specifically, it can detect the contents of a Minecart with Chest or a Minecart with Hopper. The comparator will then output a redstone signal strength ranging from 0 to 15, directly corresponding to how full the storage minecart is. This sophisticated feature opens up possibilities for creating automated sorting systems, inventory-triggered events, or dynamic transport networks that respond to cargo levels.
For placement, detector rails offer some flexibility. They can be placed on any solid opaque block, providing a stable foundation for your rail network. Furthermore, they can also be successfully placed on upside-down slabs or upside-down stairs. This architectural versatility allows for more creative and compact rail designs, enabling players to integrate detector rails seamlessly into various builds and structures.
Step-by-Step Guide to Triggering a Detector Rail
Implementing a detector rail into your Minecraft world involves a simple yet crucial sequence of steps, from crafting the rail itself to witnessing its activation.
1. Crafting Your Detector Rails
Before you can place and trigger a detector rail, you first need to craft it. The recipe is straightforward and yields a good quantity of rails for your projects:
- Combine 6 Iron Ingots, 1 Stone Pressure Plate, and 1 Redstone Dust in a crafting table.
- This combination will yield a stack of 6 detector rails.
The Iron Ingots provide the metallic structure, the Stone Pressure Plate contributes the pressure-sensing mechanism, and the Redstone Dust integrates the essential redstone signaling capability. This efficient crafting process ensures you can quickly acquire the necessary components for your automated systems.
2. Placement of the Detector Rail
Once crafted, the next step is to strategically place the detector rail within your minecart track. The placement determines precisely where the redstone signal will be generated:
- Incorporate the detector rail directly into your existing or new minecart track.
- Place it at the specific point where you intend for a redstone signal to be generated when a minecart passes over it.
- Remember it can be placed on solid opaque blocks, upside-down slabs, or upside-down stairs.
Careful consideration of placement is key to ensuring the signal is generated at the correct moment for your desired automation.
3. Connection to Redstone Components
After placing the detector rail, you need to connect it to the redstone-powered device or system you wish to activate:
- Lay redstone dust directly from the detector rail. The redstone dust should be placed on an adjacent block or leading away from the rail.
- Ensure the redstone dust forms a clear, unbroken path to the desired redstone-powered device. This device could be a redstone lamp for illumination, a piston for opening a door, or a powered rail to boost the minecart’s speed.
The redstone connection is the conduit through which the detector rail’s signal will travel to perform its intended function.
4. Activation by a Minecart
With the detector rail placed and connected, the final step is to trigger it:
- Place any type of minecart onto the track.
- Propel the minecart along the track, ensuring it travels directly over the detector rail.
- As the minecart passes over the detector rail, it will instantly trigger the connected redstone components, initiating the desired action.
This simple act of a minecart traversing the rail is the core mechanism that brings your automated systems to life.
Leveraging Detector Rails: Important Tips for Advanced Use
Beyond basic activation, detector rails offer numerous possibilities for enhancing your Minecraft builds and automation projects.
- Connecting to Powered Rails for Speed Boosts: One of the most common and practical applications is to connect detector rails directly to powered rails. When a minecart passes over the detector rail, the signal activates the adjacent powered rail, providing a crucial speed boost to the minecart. This helps to maintain momentum on long tracks, especially on inclines, preventing minecarts from slowing down or stopping prematurely. This synergy is fundamental for efficient minecart transport networks.
- Utilizing Redstone Repeaters for Signal Extension and Delay: Redstone repeaters are invaluable companions to detector rails. If the redstone signal from your detector rail needs to travel a long distance, a repeater can be placed in the path of the redstone dust to extend its range, regenerating the signal to its full strength of 15. Furthermore, repeaters can be configured to introduce a delay in the signal’s activation. This delay can be crucial for timing complex mechanisms, ensuring that components activate in a specific sequence or after a brief pause.
- Employing Redstone Comparators for Advanced Automation: For truly sophisticated systems, redstone comparators unlock the full potential of detector rails. As mentioned, when a detector rail is linked to a comparator, it can measure the contents of a Minecart with Chest or a Minecart with Hopper. This allows for automation based on inventory levels. For example, you could design a system where a minecart only proceeds to the next station once it’s full, or diverts to an unloading station when it contains items. This capability is pivotal for automated sorting, loading, and unloading stations.
- Versatile Applications in Automated Systems: Detector rails are incredibly valuable for creating a wide array of automated systems. They form the backbone of transport networks, allowing for automated stops, turns, and boosts. They are also integral to interactive elements in adventure maps, triggering events, opening secret passages, or activating traps when players ride through specific points. Their ability to respond to minecart presence makes them a flexible tool for countless creative applications.
Troubleshooting and Common Mistakes to Avoid
While detector rails are straightforward, certain pitfalls can lead to unexpected behavior or system failures. Being aware of these common mistakes can save you time and frustration.
- Confusing with Activator Rails: A frequent mistake is to confuse detector rails with activator rails. While both are types of special rails, their functions are distinct. Activator rails are specifically designed to eject entities from minecarts or prime TNT minecarts, but they do not produce a general redstone signal when a minecart passes over them in the same way a detector rail does. Always ensure you are using the correct rail type for your intended purpose.
- Broken Redstone Connections: For a detector rail to effectively transmit its signal, the redstone connection must be unbroken. Ensure that the redstone dust forms a continuous and direct path from the detector rail to the desired redstone device. Any gaps, incorrect block placements, or unpowered redstone dust will prevent the signal from reaching its destination, rendering your system inoperable.
- Weak or Short Signals: If the redstone signal generated by your detector rail appears too weak to activate a distant component, or if the pulse duration is too short for your mechanism to properly engage, the solution lies in redstone repeaters. Place a redstone repeater between the detector rail and the target component. This will not only strengthen the signal back to its full power level of 15 but can also be configured to extend the duration of the pulse, ensuring the target component receives a robust and sufficiently long activation.
- Premature Detection: In certain track configurations, especially those involving curves, a minecart might trigger a detector rail while it is still partially on a previous block. This “premature detection” can lead to unintended consequences, such as the accidental switching of curved tracks or the activation of mechanisms at the wrong moment. To mitigate this, consider careful placement of detector rails, ensuring they are positioned where the minecart is fully and clearly on the rail when the signal is intended to be generated. Adjusting track layouts or adding a slight delay with a repeater might also help in complex scenarios.
By mastering the use of detector rails and avoiding these common errors, you can build reliable, efficient, and sophisticated automated systems that enhance your Minecraft experience.
Tags:
YOU MAY ALSO LIKE...


