Using a Mechanical Crafter for Automated Crafting (Step by Step)
The Mechanical Crafter is a cornerstone of advanced automation within Minecraft’s Create mod, offering unparalleled capabilities for streamlining production. Unlike a standard crafting table, these specialized blocks are designed to automate shaped crafting recipes, providing a solution for continuous item generation. This guide will walk you through the essential mechanics, a step-by-step setup process, crucial tips, and common pitfalls to ensure your automated crafting systems run smoothly and efficiently.
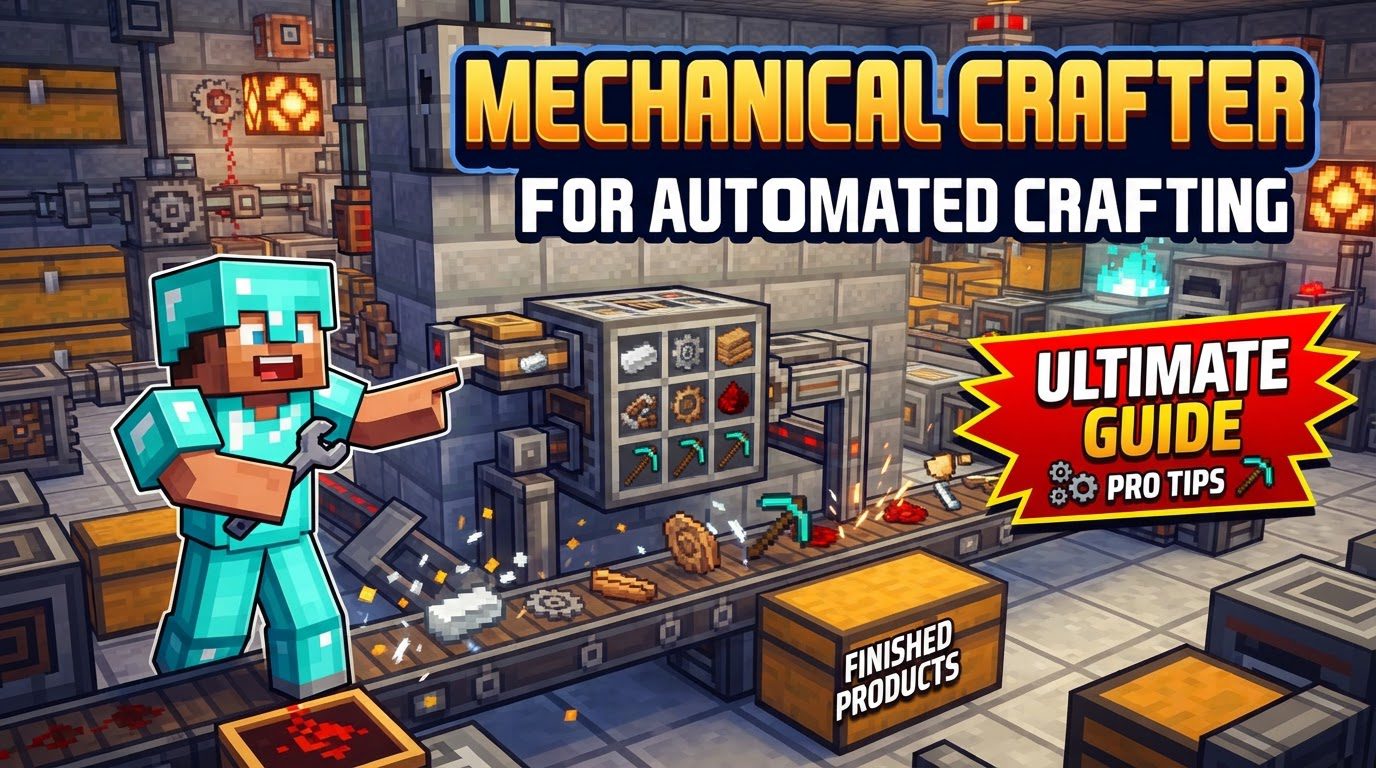
Key Mechanics of Mechanical Crafters
At its core, a Mechanical Crafter system is built around replicating a crafting recipe’s shape using multiple crafter blocks. These blocks are unique because they can handle recipes larger than the traditional 3×3 grid, and they are also indispensable for crafting certain Create mod exclusive items. The fundamental principle is that you arrange these crafters in a physical layout that precisely mirrors the desired crafting recipe.
- Shaped Crafting Automation: Mechanical Crafters are specifically engineered to automate shaped crafting recipes. This includes not only standard Minecraft recipes but also those intricate designs that exceed the conventional 3×3 crafting grid, or recipes that are exclusive to the Create mod’s unique item progression. Their ability to adapt to various shapes makes them incredibly versatile.
- Grid Arrangement: For a Mechanical Crafter setup to function correctly, the individual crafter blocks must be arranged in a grid that perfectly matches the shape of the desired crafting recipe. Each block in the arrangement corresponds to a slot in the recipe, with empty slots in the recipe often requiring special consideration.
- Rotational Power Requirement: Every Mechanical Crafter within your automated setup needs to receive rotational power. This power is typically supplied by attaching a cogwheel to one of the crafters, and it then propagates through all connected crafters in the system. Without sufficient rotational force, the crafters will not operate.
- Item Flow and Convergence: A critical aspect of Mechanical Crafters is their ability to move items between connected blocks. Ingredients are fed into their respective crafters, and through a series of internal transfers, they eventually converge into a single, designated “output” crafter. It is within this final crafter that the components combine to form the finished product.
- Directional Arrows and Wrench Rotation: The path items take through the crafter array is dictated by arrows displayed on the faces of each Mechanical Crafter. These arrows indicate the direction items will flow. To configure the system correctly, you must use a wrench to rotate these arrows, ensuring they all point towards the single crafter designated to produce the final item.
- Activation Conditions: A Mechanical Crafter setup will only begin its crafting cycle under specific conditions. It will automatically initiate once all its required slots are completely filled with the correct ingredients. Alternatively, you can force the crafting process to begin by providing a redstone signal to any crafter in the array, which can be useful for recipes with empty slots or for precise timing control.
Step-by-Step Process for Automated Crafting
Setting up an automated crafting system with Mechanical Crafters involves several distinct steps, from crafting the necessary blocks to configuring their power and item flow. Careful attention to each stage will ensure a functional and efficient setup.
-
Craft Mechanical Crafters:
Your journey begins by crafting the Mechanical Crafters themselves. Each crafter requires an Electron Tube, a Brass Casing, and a Crafting Table. This recipe yields three Mechanical Crafters per craft. Depending on the complexity of the recipe you intend to automate, you may need a significant number of these blocks; some highly intricate recipes can demand 21 or even more crafters to form their complete shape.
-
Arrange the Crafters:
Once you have your crafters, the next crucial step is to arrange them in the game world. This arrangement must precisely mirror the pattern of your desired crafting recipe. If a recipe requires a 2×2 square of items, your crafters should form a 2×2 square. If it’s a 3×1 line, your crafters should be placed in a 3×1 line, and so on. Precision here is paramount for the system to recognize the recipe.
-
Orient Crafters with a Wrench:
After arranging the crafters, you must configure the direction of item flow. Use a wrench to rotate the arrows visible on the faces of each crafter. The goal is to ensure that all arrows eventually point towards a single, designated “output” crafter. This output crafter is where the final product will materialize, and it’s often beneficial to place it on the edge of your crafting array to facilitate easy extraction of the finished item.
-
Connect Crafters:
With the crafters arranged and oriented, you need to establish their internal connections. Use a wrench on the back or sides of adjacent crafters. This action will remove the bounding boxes that initially separate their inventories, effectively connecting them. This connection is vital as it allows ingredients to flow seamlessly from one crafter to another, eventually converging at the output crafter.
-
Power the System:
Mechanical Crafters require rotational power to operate. Supply this force by attaching a cogwheel to at least one of the crafter blocks in your setup. The rotational power will then propagate through all connected crafters, enabling them to perform their function. Ensure the power source is robust enough for the entire array.
-
Input Ingredients:
Now, you need to feed the raw materials into your system. Items can be introduced into the correct crafter slots using various methods, including hoppers, funnels, chutes, or the more sophisticated mechanical arms. For recipes that demand multiple types of ingredients, it is absolutely essential to ensure that each specific ingredient is delivered to its corresponding crafter slot within the array.
-
Initiate Crafting:
The crafting process will automatically commence once all the necessary slots in your crafter array are completely filled with the correct ingredients. Alternatively, if you need more precise control or if your recipe involves empty slots, you can force the crafting cycle to begin by providing a redstone signal to any crafter within the configured system.
-
Extract Product:
Once the crafting is complete, the finished item will appear in the designated final output crafter. To fully automate your production line, you will need a mechanism to extract this product. Similar to input, you can use hoppers, chutes, or mechanical arms to pull the crafted items out of the output crafter and into storage or further processing.
Important Tips for Optimal Performance
To maximize the efficiency and reliability of your Mechanical Crafter setups, keep the following important tips in mind. These insights can help prevent common issues and optimize your automated production lines.
- Use Crafter Slot Covers: For recipes that feature empty slots, Crafter Slot Covers are an invaluable tool. These covers, crafted from brass nuggets, are placed over empty crafter slots in your arrangement. Their primary purpose is twofold: they prevent items from being incorrectly placed into these empty slots, and they allow the crafting process to start without needing a redstone signal to account for those empty spaces. This simplifies automation for recipes with gaps.
- Precise Ingredient Input: When dealing with recipes that require multiple distinct items, it is critical to ensure that each specific item is consistently delivered to its correct crafter slot. Any misplacement can lead to crafting failures or incorrect products. Careful design of your input system, perhaps using filtered funnels or mechanical arms, is key here.
- Leverage Mechanical Arms: For the highest degree of precision in both item placement and extraction, consider incorporating mechanical arms into your setup. These versatile components can pick up specific items from inventories and place them into exact crafter slots, or extract finished products with unparalleled accuracy, making complex automation much more reliable.
- Adjust Rotational Speed: The speed at which your Mechanical Crafters operate is directly tied to the speed of the rotational power supplied to them. If you need faster production rates, increase the rotational speed of your power source. Conversely, slower speeds can be used to manage output or reduce stress on your power grid.
- Ensure Adequate Power: It is vital that all crafters within your automated system receive sufficient rotational power. Failing to do so can lead to an “overstressed” error, which will halt operations. For instance, a single Electric Motor can efficiently power up to 16 mechanical crafters. If your setup requires more than 16 crafters, you will need to incorporate additional Electric Motors or other robust power sources to avoid power deficiencies.
Common Mistakes to Avoid
Even experienced players can sometimes stumble when setting up complex Mechanical Crafter arrays. Being aware of these common mistakes can save you considerable time and frustration during troubleshooting.
- Incorrect Arrow Orientation: One of the most frequent errors is failing to correctly orient the directional arrows on each crafter. If these arrows are not meticulously configured to converge upon a single output crafter, items will either get stuck within the system or the entire crafting process will fail to initiate or complete, leaving you with an inert setup.
- Unconnected Crafters: It’s easy to overlook connecting adjacent crafters with a wrench. Forgetting this crucial step will result in bounding boxes remaining between crafters, which completely prevents items from flowing between them. Without this internal item movement, crafting cannot occur, and your system will remain static.
- Insufficient Power: A lack of adequate rotational force is a common impediment. If the power supplied is too low for the number of crafters or the speed required, the crafters will either fail to operate entirely or will display an “overstressed” error. This indicates that your power generation is not meeting the demands of your crafting array.
- Incorrect Recipe Layout: The physical arrangement of your Mechanical Crafters must be an exact, pixel-perfect match to the shape of the recipe you are trying to automate. Any deviation, even a single block out of place, will prevent the system from recognizing the recipe and initiating the craft. Precision in placement is non-negotiable.
- Unfilled Empty Slots: For recipes that have empty slots in their pattern, simply leaving the corresponding crafter slots empty will often prevent crafting. To resolve this, you must either cover these empty slots with Crafter Slot Covers (which is the recommended method for continuous automation) or provide a redstone signal to the crafter setup to force the crafting process to begin despite the empty slots.
- Timing Issues with Input/Output: When automating the input of ingredients, particularly with multiple item types, precise timing is crucial. Incorrect timing can lead to ingredients being placed in the wrong crafter slots, or lead to an inconsistent supply that causes crafting failures. Similarly, improper output timing can lead to bottlenecks or items getting stuck. Careful synchronization of your input and output mechanisms is vital for smooth operation.
Tags:
YOU MAY ALSO LIKE...