

Using CurseForge’s Version Filter to Find Compatible Mods — A Quick Guide
Finding the right mods for your Minecraft experience can transform your gameplay, but ensuring compatibility is crucial for a stable and enjoyable environment. CurseForge, a leading platform for Minecraft mods, offers robust tools to help you navigate this process. This guide will walk you through effectively using CurseForge’s version and loader filters to find mods that seamlessly integrate with your chosen Minecraft setup.
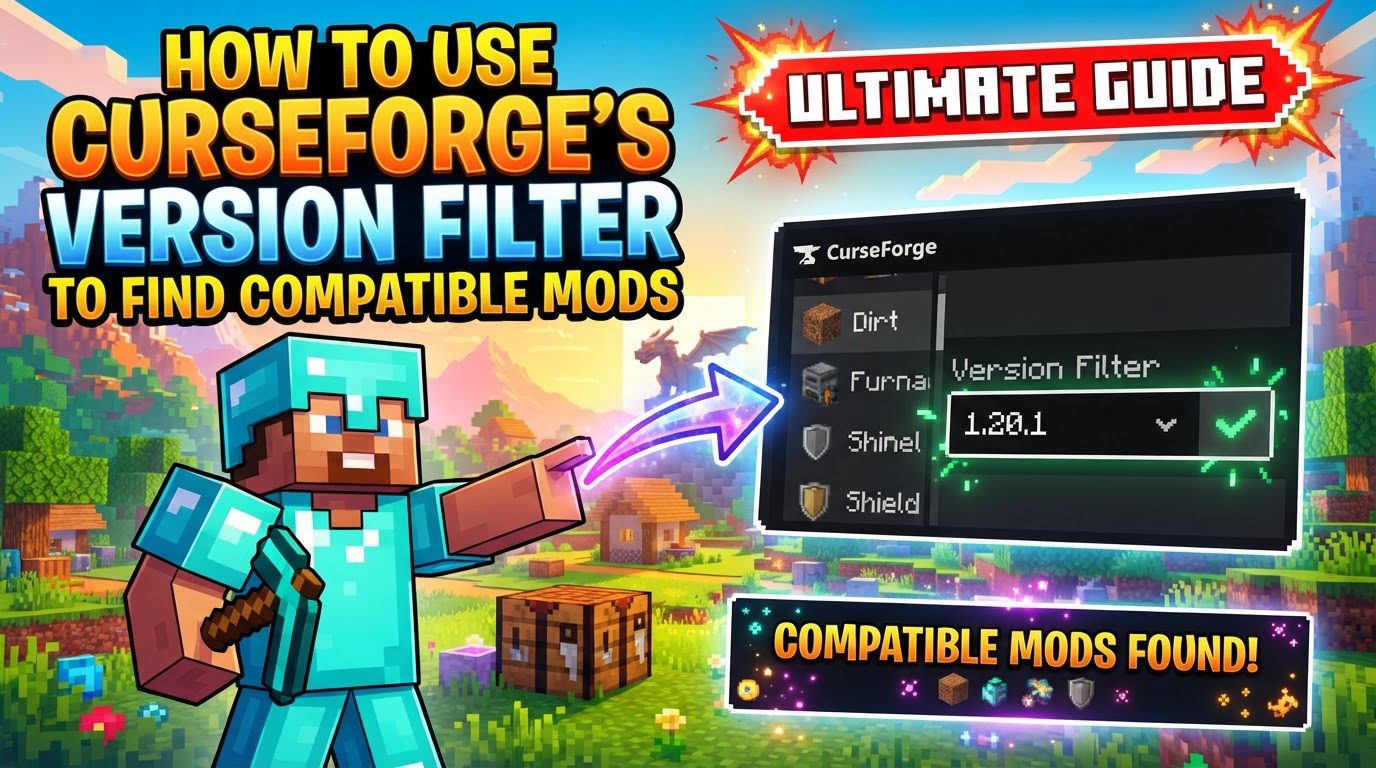
Understanding CurseForge’s Filtering Mechanics
CurseForge is designed with integrated filters that simplify mod discovery and ensure compatibility, which are key to a smooth modding experience.
- Comprehensive Filters: CurseForge provides distinct filters for both the specific Minecraft game version (e.g., 1.20.1, 1.19.2) and the chosen mod loader (such as Forge, Fabric, NeoForge, or Quilt). These two elements must always align between your modpack and the mods you wish to install for proper functionality.
- Profile-Based Setup: When you initiate a new modpack profile within the CurseForge desktop application, you are prompted to define its core parameters. This includes selecting the precise Minecraft version you intend to play on and the mod loader you prefer to use for that particular profile. This initial setup is critical, as it dictates the filtering for all subsequent mod installations within that profile.
- Automatic Content Filtering: One of CurseForge’s most convenient features is its intelligent content management. Once a profile is established with its specific Minecraft version and mod loader, utilizing the “Add More Content” feature (or “Browse Mods”) from within that profile automatically applies the necessary filters. This means that any mods displayed or searchable through this interface will already be pre-filtered to be compatible with your profile’s defined specifications, significantly reducing the chances of installing incompatible files.
- Automated Dependency Management: Beyond version and loader compatibility, many mods rely on other “library” mods or specific versions of core components to function correctly. CurseForge often automates the process of downloading these necessary dependencies when you install a mod directly through its application. This feature saves users the hassle of manually identifying and installing additional required files, further streamlining the modding experience.
Step-by-Step Guide to Finding Compatible Mods with the CurseForge App
The most straightforward way to manage and install mods is directly through the CurseForge desktop application. Follow these steps to ensure your mods are compatible with your chosen Minecraft setup:
- Install and Open CurseForge App: Begin by downloading and installing the official CurseForge desktop application. Once installed, launch the application to access its features.
- Select Minecraft: Upon opening the app, you will typically see a list of supported games. Locate and select “Minecraft” from this list to proceed to your Minecraft modpack management area.
- Create or Select a Profile: You have two options here: you can create a new custom profile, which is recommended if you’re starting a new modded experience or wish to isolate a specific set of mods, or select an existing profile if you already have one set up.
- Define Profile Version and Loader (for new profiles): If you chose to create a new profile, this is a critical step. You will be prompted to specify two key pieces of information: the exact Minecraft version you wish to play (e.g., 1.20.1, 1.19.4) and your desired mod loader (e.g., Forge, Fabric, NeoForge). Ensure this choice aligns with the type of mods you intend to use. Once these are set, CurseForge creates a dedicated environment tailored to these specifications.
- Add Content to Your Profile: After creating or selecting your profile, navigate to its main page within the CurseForge app. Look for a button or option labeled “Add More Content” or “Browse Mods.” Clicking this will take you to the mod browsing interface.
- Browse or Search for Mods: Within the “Add More Content” section, you can now search for specific mods by name or browse through categories. The crucial point here is that the displayed results will automatically be filtered to show only mods that are compatible with the Minecraft version and mod loader you defined for your current profile. This automatic filtering is CurseForge’s primary mechanism for ensuring compatibility.
- Install Desired Mods: Once you’ve found a mod you wish to add, simply click the “Install” button located next to its entry. CurseForge will then handle the download and installation of the mod into your profile’s `mods` folder. Furthermore, the application is often capable of automatically identifying and installing any necessary dependencies that the mod requires to function correctly, streamlining the process even further.
- Manual Installation (if needed): While the CurseForge app is highly recommended for its automation, there might be instances where you need to download a mod directly from the CurseForge website. This could be for sharing, specific versions not immediately available in the app, or for server-side installations.
- Go to the mod’s page on the CurseForge website.
- Click on the “Files” tab.
- On the “Files” page, you will find filters for “Game Version” and “Mod Loader.” Use these filters to precisely narrow down the available files to match your Minecraft version and mod loader.
- Download the correct file.
- Manually place this downloaded `.jar` file into your modpack’s `mods` folder, which is typically found within your CurseForge profile directory.
Important Tips for a Stable Modded Experience
Beyond the core steps, adhering to these best practices will significantly improve your modding success and reduce troubleshooting time:
- Match Mod Loader Exactly: Always ensure that the mod’s designated loader (Forge, Fabric, NeoForge, Quilt) precisely corresponds to the mod loader installed in your modpack or profile. A Forge mod will not run on a Fabric instance, and vice-versa.
- Match Game Version Precisely: Similarly, confirm that the mod’s listed game version is an exact match for your Minecraft installation. Even minor version differences (e.g., 1.18.1 vs. 1.18.2) can cause significant compatibility issues, crashes, or lead to mods not loading at all.
- Check Mod Dependencies: While the CurseForge app often handles dependencies automatically, it’s always good practice to quickly review a mod’s description page. Mod authors will typically list any required or optional dependencies that need to be installed alongside their mod. If manually installing, you must download these dependencies separately.
- Test Incrementally: When building a large modpack, resist the urge to add dozens of mods simultaneously. Instead, add mods in small batches (e.g., 5-10 at a time) and launch the game to test for stability. If a crash occurs, it’s much easier to identify the problematic mod or conflict when only a few new additions are present.
- Backup Regularly: Modding can sometimes be unpredictable. After successfully adding a batch of mods and confirming your game runs stably, make a backup of your modpack profile. This allows you to easily revert to a working state if future additions cause irreparable issues.
- Update Java: Minecraft, especially modded versions, relies heavily on Java. Ensure that your Java version is up to date and compatible with the specific Minecraft version and mod loader you are using. Newer Minecraft versions often require newer Java versions (e.g., Minecraft 1.17+ typically requires Java 16 or newer, while 1.18+ often requires Java 17 or newer). An outdated or incompatible Java version can prevent your game from launching or cause performance issues.
Common Mistakes to Avoid
Being aware of these pitfalls can save you significant frustration when setting up your modded Minecraft experience:
- Installing Incompatible Versions/Loaders: This is the most frequent cause of modpack failures. Attempting to install a mod designed for Minecraft 1.19.2 on a 1.20.1 profile, or a Fabric mod on a Forge profile, will invariably lead to game crashes, infinite loading screens, or mods simply not appearing in-game. Always double-check the version and loader.
- Forgetting Missing Dependencies: Many complex mods rely on “core” or “library” mods to provide shared code or functionality. Overlooking these required dependencies will prevent the main mod from loading or functioning correctly, often resulting in specific error messages in your game logs. The CurseForge app helps mitigate this, but manual installers must be vigilant.
- Ignoring Mod Conflicts: Not all mods play nicely together. Some mods might attempt to modify the same game files or introduce conflicting gameplay mechanics. While less common with proper version and loader matching, conflicts can still arise. These can lead to crashes, strange behavior, or unexpected interactions. Testing incrementally helps identify these issues early.
- Relying on Broad Version Selection: When downloading mods manually from the CurseForge website, avoid selecting a broad Minecraft version filter (e.g., just “1.18” instead of “1.18.1” or “1.18.2”). While a mod might be listed for “1.18,” it could be specifically compiled for a minor sub-version. Subtle differences between sub-versions can be enough to break a mod’s functionality or crash your game. Always aim for the most precise match available.
- Manual File Relocation: If you download mod files manually and place them into your modpack’s `mods` folder, avoid moving these files around within the CurseForge app’s directory structure or renaming them after installation. CurseForge tracks files by their original name and location to manage updates and profile integrity. Moving them can cause the app to lose track, potentially leading to issues when updating or validating your profile.
By following this guide and paying close attention to version and loader compatibility, you can harness the power of CurseForge’s filtering system to build a stable, customized, and enjoyable modded Minecraft experience.
Tags:
YOU MAY ALSO LIKE...


