How to Use Elytra Trims Mod
Imagine thousands upon thousands of unique visual combinations for your in-game wings; that’s precisely what the “Elytra Trims” mod delivers, transforming your plain elytra into a canvas for personal expression. This highly sought-after modification for Minecraft enhances aesthetic customization, allowing players to embellish their elytras with an unprecedented level of detail previously reserved for armor. By integrating familiar mechanics like armor trims, dyes, and banner patterns, the mod empowers you to create truly unique aerial displays.
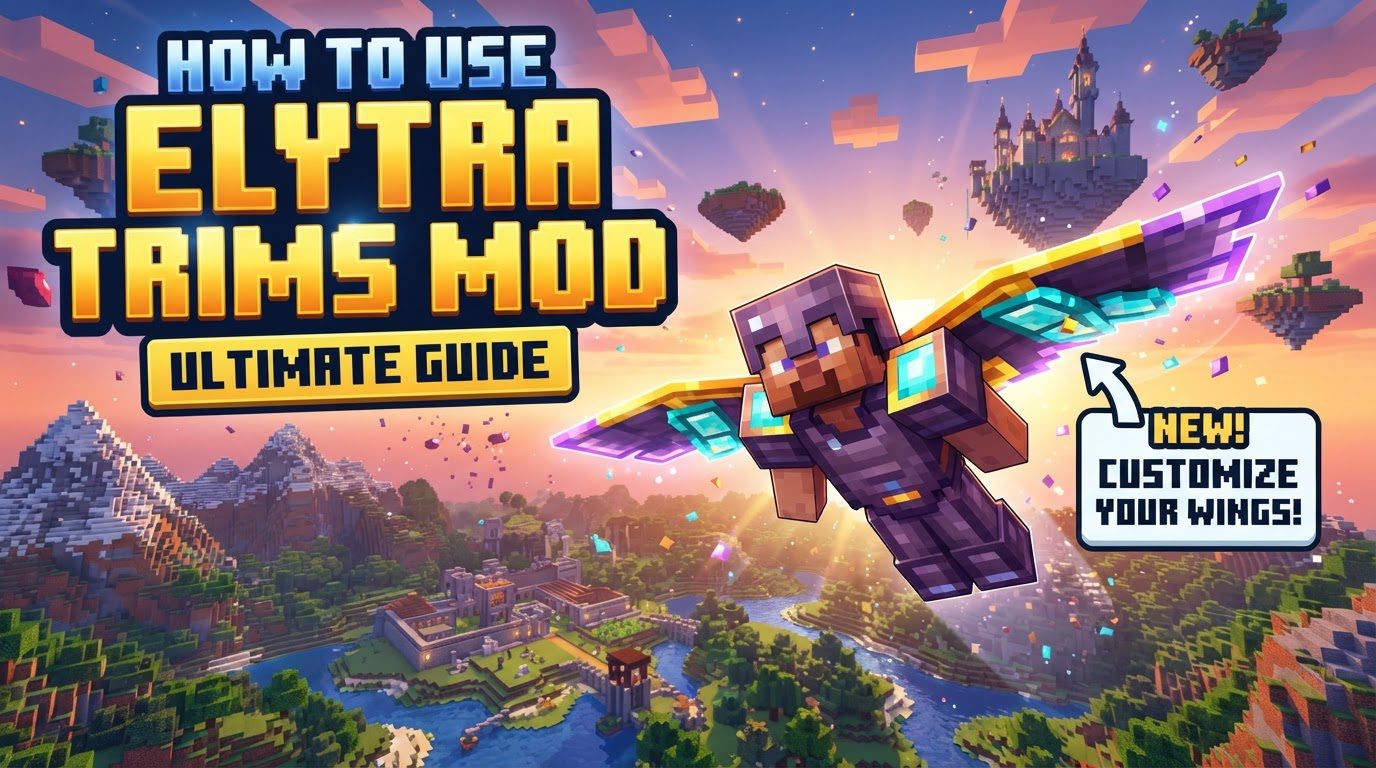
The “Elytra Trims” mod is not merely about adding a splash of color; it’s about extending the robust customization system introduced in vanilla Minecraft to one of the game’s most iconic and functional items. Whether you’re soaring through the End, navigating complex builds, or simply showcasing your style in a survival world, your elytra can now reflect your personality and achievements with intricate designs and vibrant hues. This guide will walk you through every aspect of utilizing this powerful mod, from installation to advanced customization techniques, ensuring your flight experience is as stylish as it is functional.
Understanding the Core Mechanics
The “Elytra Trims” mod integrates several key customization mechanics, mirroring and extending vanilla features. Grasping these foundational elements is crucial for unlocking the mod’s full potential.
- Vanilla Armor Trim Compatibility: At its heart, the mod allows you to apply all existing vanilla armor trim patterns and materials directly to your elytra. This means the same Netherite, Diamond, or Redstone trims you’ve collected for your armor can now adorn your wings.
- Additional Customization Layers: Beyond trims, the mod introduces two more layers of personalization. You can dye your elytra almost any color using standard Minecraft dyes, providing a base coat for your designs. Furthermore, you can apply intricate banner patterns, transferring their unique designs onto your wings.
- Glowing Effect: For those who prefer to stand out, the mod offers a glowing effect. By combining your elytra with a glow ink sac, your wings will emit a subtle, persistent light, making them visible even in the darkest corners of your world.
- Cosmic Effect: An exclusive “Cosmic Elytra” effect can also be applied. This often represents a higher tier of customization or a special visual flair, though its exact appearance can vary.
- Multiplayer Functionality: For shared experiences, it’s vital to note that for other players to see your custom elytra designs, the “Elytra Trims” mod must be installed on the server you are playing on. Players without the mod can still join and play, but they will only see uncustomized elytras.
Getting Started: Installation and Dependencies
Before you can begin decorating your wings, proper installation of the mod and its prerequisites is essential. Incorrect installation is a common source of issues, so follow these steps carefully.
- Install Dependencies First: The “Elytra Trims” mod relies on specific libraries to function.
- For Fabric users, you will need Fabric Language Kotlin.
- For Forge/NeoForge users, you will need Kotlin Lang Forge or Kotlin for Forge.
- For Minecraft versions 1.20 and 1.21, additional dependencies might be required, such as YACL (Yet Another Config Lib) and ModMenu (for Fabric) for configuration access. Ensure all dependencies are downloaded for your specific Minecraft version and mod loader.
- Install the “Elytra Trims” Mod: Once all dependencies are in place, download the “Elytra Trims” mod file itself from a reputable source like CurseForge or Modrinth. Place the downloaded JAR file into your Minecraft instance’s ‘mods’ folder. Ensure the mod version matches your Minecraft version (e.g., 1.20.1, 1.21).
A Canvas in the Sky: Applying Customizations
With the mod successfully installed, you can now unleash your creativity. The process for applying different customizations varies slightly, utilizing familiar crafting stations.
- Applying Armor Trims: This process mirrors vanilla armor trimming. Take your elytra and place it in a smithing table along with your desired trim pattern (e.g., Silence Armor Trim) and the material you wish to use for the trim (e.g., Diamond, Gold, Netherite, Emerald). The smithing table will then output your elytra with the new trim applied.
- Dyeing Your Elytra: To change the base color of your elytra, combine it with any standard Minecraft dye in a crafting table. For example, placing an elytra and a blue dye in any two slots of the crafting grid will result in a blue-dyed elytra. This allows for a vast spectrum of base colors.
- Adding Banner Patterns: For intricate designs, you can transfer banner patterns to your elytra. Place your elytra in a smithing table along with a prepared banner (which holds the desired pattern) and either a piece of paper or leather. It’s crucial to remember that only the pattern from the banner is transferred; the banner’s base color is not. You’ll need to dye your elytra separately if you want a specific background color for your pattern.
- Adding a Glow Effect: To make your elytra softly glow in the dark, combine it with a glow ink sac in a crafting table. This simple recipe grants your wings a subtle, ethereal luminescence.
- Applying the Cosmic Effect: The “Cosmic Elytra” effect is typically applied through a specific crafting recipe or interaction, which may be detailed within the mod’s documentation or configuration. This often represents a unique, high-tier visual.
Reversing Customizations: Removing Decorations
Should you wish to change a design or revert to a simpler look, the mod provides a method for removing decorations. This is done using a cauldron, and the removal follows a specific order:
- Place your customized elytra into a cauldron filled with water. Each interaction will remove one layer of customization in the following sequence:
- Glow effect
- Dyed color
- Banner pattern
- Cosmic effect
- Armor Trim (this is typically removed last, or may require a smithing table with an empty trim template depending on the mod’s exact version)
Note that armor trims are generally permanent once applied to an item in vanilla, but the mod’s specific implementation might offer a way to remove them via the cauldron as well, or a specific smithing table recipe.
Advanced Tips and Troubleshooting
To fully master the “Elytra Trims” mod, consider these tips and be aware of common pitfalls.
- Experiment with Combinations: The sheer number of trim patterns, materials, dye colors, and banner designs means there are literally thousands of unique combinations. Don’t hesitate to experiment to find a style that truly resonates with you.
- Resource Packs for Custom Textures: For the ultimate personalization, you can create custom textures for your trims. This involves creating a resource pack with specific folder structures to override the default trim textures. Consult the mod’s documentation or community resources for the exact file paths and naming conventions needed. When creating custom textures, ensure the trim overlays only the desired visible parts of the elytra texture to avoid unintended pixelation or visual glitches.
- Compatibility with Elytra Trims Extensions: For optimal compatibility, especially with newer Minecraft versions (1.20, 1.21), you might need to install an additional mod named “Elytra Trims Extensions.” This companion mod ensures full trim functionality and broad compatibility across different game updates.
- Common Mistake: Missing Dependencies: The most frequent issue users encounter is forgetting to install required dependencies like Fabric Language Kotlin or Kotlin Lang Forge. Always double-check that all prerequisites are present and correctly versioned.
- Common Mistake: Incorrect Installation: Ensure the mod JAR file is placed in the correct ‘mods’ folder for your specific Minecraft instance and that the mod loader (Fabric, Forge, NeoForge) is also correctly installed and running.
- Common Mistake: Multiplayer Misconfiguration: If you’re playing on a server and your friends can’t see your customized elytra, it’s almost certainly because the “Elytra Trims” mod is not installed on the server itself. It needs to be present on both client and server for visual synchronization.
- Common Mistake: 3D Model Limitations: Be aware that the mod might not fully support custom 3D elytra models from other mods, or certain animations and effects (like the Cosmic effect) might not render perfectly with some shaders or resource packs.
- Common Mistake: OptiFine Conflicts: Using OptiFine, particularly with Fabric mods, can sometimes lead to compatibility issues. If you encounter problems, consider using alternative performance mods designed specifically for Fabric, such as Sodium, Lithium, and Phosphor, which often integrate more seamlessly.
With this comprehensive guide, you are now equipped to transform your elytra from a mere utility item into a powerful statement of personal style. Soar the skies with confidence, knowing your wings are as unique and expressive as your adventures in Minecraft.
Tags:
YOU MAY ALSO LIKE...