Using the /damage Command to Apply Custom Damage — A Quick Guide
Mastering the /damage Command for Custom Damage in Minecraft
The /damage command in Minecraft is a powerful tool for map makers, server administrators, and creative players looking to precisely control damage application within their worlds. Unlike simply reducing an entity’s health, this command simulates the game’s intricate damage logic, leading to a more authentic and dynamic experience. Available in both Java and Bedrock editions, it allows for a wide range of custom scenarios, from intricate trap designs to custom combat encounters.
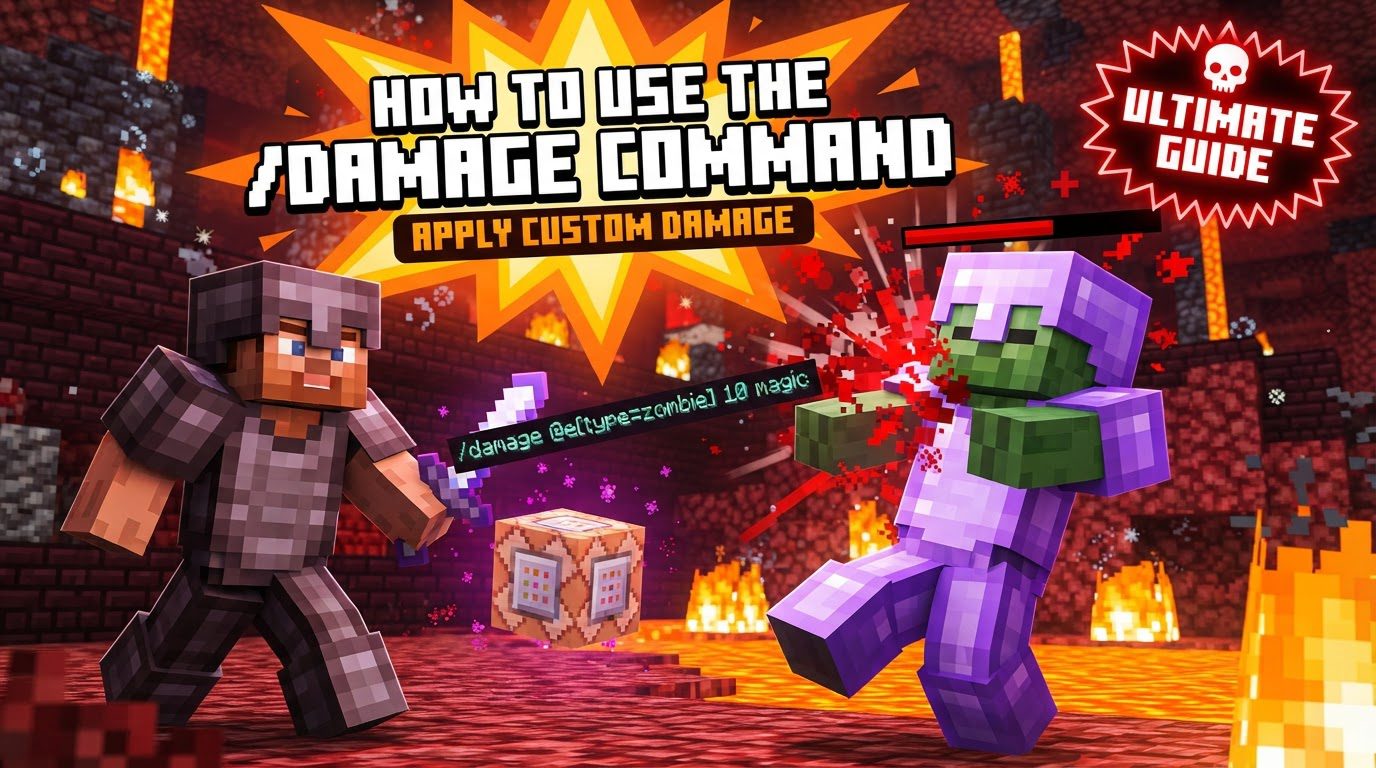
Understanding the nuances of /damage is crucial for leveraging its full potential. It operates in health points, where two health points equate to one full heart. This distinction is vital when determining the desired damage output. Furthermore, the command’s ability to specify a damage type means that the consequences of the damage – such as death messages, how armor protects, and interactions with status effects – can be precisely tailored to your needs. You can even designate a specific entity as the “damager,” which can trigger critical in-game reactions like knockback or even provoke aggressive behaviors from certain mobs, such as Zombified Piglins.
One of the most advanced features of the /damage command is its capacity to bypass standard game mechanics. Certain damage types, specifically “pure” or “override,” can ignore an entity’s armor, enchantments, resistance effects, or even temporary immunity frames. This opens up possibilities for damage that cannot be mitigated by conventional means, perfect for challenging custom bosses or unavoidable environmental hazards. Interestingly, the command isn’t just for inflicting harm; it can also be used with negative damage values to effectively heal entities, providing a versatile tool for health manipulation.
Step-by-Step Guide to Using /damage
Implementing the /damage command effectively involves a series of steps, each building upon the last to create the desired outcome. Here’s how to construct your command:
- Step 1: Target Selection
- Begin by identifying the entity or entities you wish to damage. Minecraft offers a variety of selectors for this purpose:
@s: Targets yourself (the command executor).@p: Targets the nearest player.@a: Targets all players in the world.@r: Targets a random player.@e: Targets all entities (be cautious with this, as it can affect everything from mobs to items).- Alternatively, you can specify a player’s exact username to target them directly.
- Step 2: Damage Amount
- Next, input a numerical value representing the amount of damage in health points. Remember, 1 heart equals 2 damage points. For instance, if you want to deal 5 hearts of damage, you would input
10. This value will be the base amount before any game mechanics (like armor or difficulty) are applied.
- Next, input a numerical value representing the amount of damage in health points. Remember, 1 heart equals 2 damage points. For instance, if you want to deal 5 hearts of damage, you would input
- Step 3: Damage Type (Optional)
- To add depth and specific effects to your damage, you can specify a damage type. This is an optional but highly recommended parameter. Examples include
drowningfor underwater traps,firefor burning effects, orfallfor simulating falling damage. When typing the command, utilize Tab completion; it will display a comprehensive list of all available damage types, allowing you to explore and select the most appropriate one for your scenario.
- To add depth and specific effects to your damage, you can specify a damage type. This is an optional but highly recommended parameter. Examples include
- Step 4: Damager Entity (Optional)
- If you want the damage to appear as if it originated from another entity, you can specify a “damager.” This is achieved by adding
entity <damager_selector>to your command. The<damager_selector>must resolve to a single entity for the command to function correctly. This is crucial for triggering knockback and influencing mob behavior, making your custom damage feel more interactive and realistic.
- If you want the damage to appear as if it originated from another entity, you can specify a “damager.” This is achieved by adding
- Step 5: Damage Origin Coordinates (Java Only, Optional)
- For Java Edition users, there’s an additional optional parameter: specifying the exact coordinates from which the damage originates. Use
at <x> <y> <z>to define this location. This can be useful for environmental damage effects where the source isn’t an entity but a specific point in the world.
- For Java Edition users, there’s an additional optional parameter: specifying the exact coordinates from which the damage originates. Use
Important Tips for Effective /damage Command Usage
To maximize your efficiency and avoid common pitfalls when using the /damage command, consider these important tips:
- Leverage Tab Completion: Always use Tab completion while typing your commands. It’s an invaluable feature that not only helps you discover available arguments and damage types but also prevents syntax errors, speeding up your command creation process.
- Java Edition: ‘by’ vs. ‘at’: In Java Edition, understand the distinction between
by(specifying an entity as the damage source) andat(indicating a specific location as the source). This allows for precise control over how damage is attributed and visually represented. - Silence Command Output: To maintain a clean and uncluttered chat, especially when running the command frequently via command blocks, use
/gamerule commandBlockOutput false. This will prevent the command’s success messages from spamming the chat window. - Actual Damage May Vary: Be aware that the actual health reduced from a target entity might differ from the numerical
amountyou specify. This is due to various in-game factors such as the world’s difficulty setting, the target’s armor protection, and any active status effects (like Resistance). The/damagecommand simulates game logic, meaning these factors are taken into account. - Java 1.20.2+ Macros: For advanced users in Java Edition 1.20.2 and later, macros can be a game-changer. They allow you to pass dynamic or variable damage amounts, enabling highly flexible and responsive custom damage systems without needing to hardcode values for every scenario.
Common Mistakes to Avoid When Using /damage
Even experienced players can sometimes stumble when using the /damage command. Being aware of these common mistakes can save you time and frustration:
- Confusing Damage Values with Hearts: This is perhaps the most frequent error. Always remember that 1 heart is equivalent to 2 damage points. If you intend to deal 3 hearts of damage, you must input
6as the damage amount, not3. - Forgetting Cheats in Bedrock Edition: In Minecraft Bedrock Edition, all commands, including
/damage, require cheats to be enabled in the world settings. Without them, the command simply won’t execute. - Specifying Multiple Entities for the Damager Argument: The
damagerargument (entity <damager_selector>) is strict; it must always resolve to a single entity. If your selector targets multiple entities (e.g.,@e[type=zombie]when there are several zombies), the command will fail. Ensure your selector is precise enough to pick out only one entity. - Expecting Knockback Without a Damager: Knockback is a direct consequence of an entity dealing damage. If you don’t include a
damagerentity in your/damagecommand, the target will not experience knockback, as there’s no source to push them from. - Attempting to Take Damage in Creative Mode: Generally, entities in Creative mode are immune to most forms of damage. While you can use
/damageon a Creative mode player, it will only register if the damage type is specifically void damage. For other damage types, it will appear to have no effect. - Assuming Damage is “Pure” by Default: Do not assume that any damage inflicted by
/damagewill bypass all reductions. “Pure” is a specific damage type option that you must explicitly include if you want the damage to ignore armor, enchantments, and resistance effects. Otherwise, standard game mechanics will apply. - Using /kill for Custom Death Messages: While
/killends an entity’s life, it provides generic death messages. The/damagecommand, when used with specific damage types (e.g.,drowning,fire,fall, or custom types if applicable), offers more descriptive and immersive death messages, enhancing the narrative of your custom events.
By understanding these mechanics, following the step-by-step process, utilizing helpful tips, and avoiding common errors, you can expertly wield the /damage command to create truly dynamic and engaging experiences in your Minecraft worlds.
Tags:
YOU MAY ALSO LIKE...