

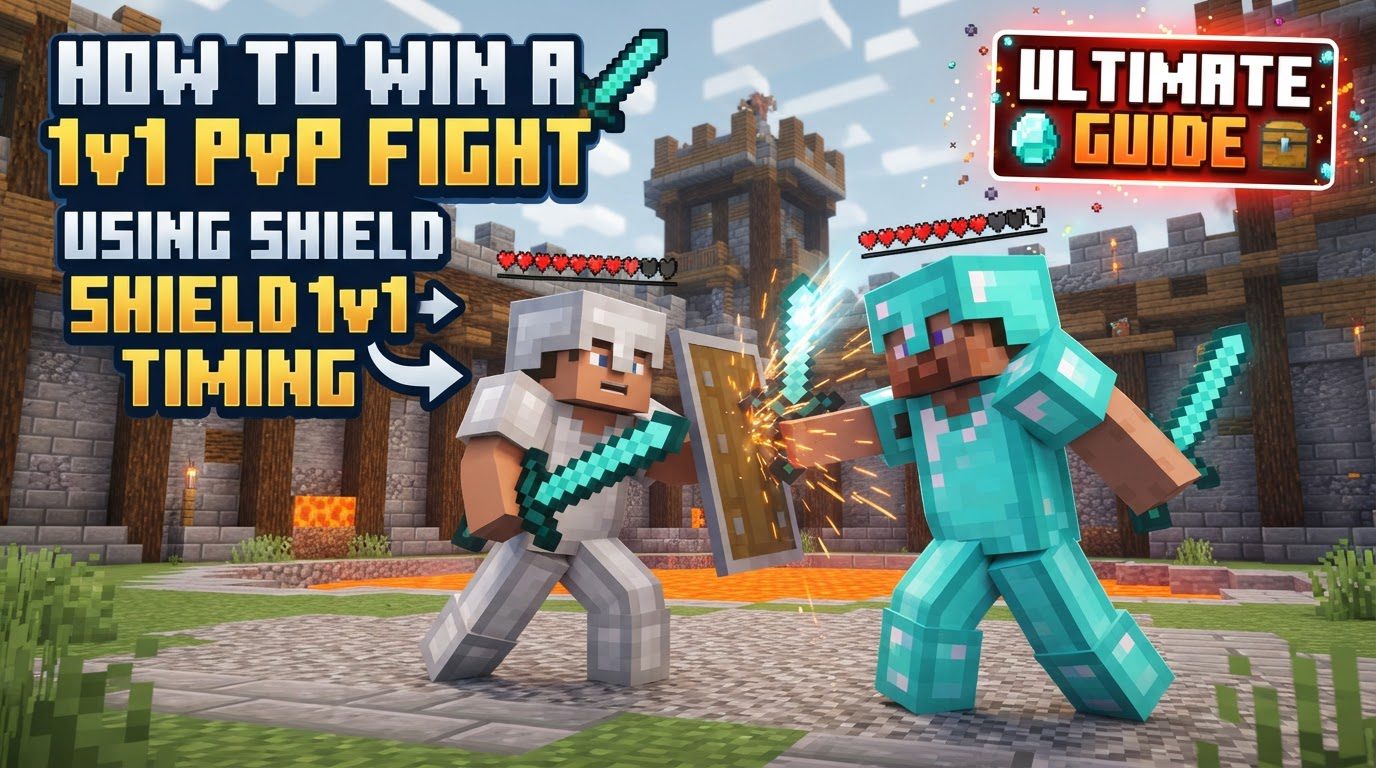
Winning a 1v1 PvP Fight Using Shield Timing
122
views ❘
July 9, 2026
Mastering 1v1 PvP combat in Minecraft requires a deep understanding of its mechanics, and crucial among these is effective shield timing. Winning engagements often hinges on your ability to correctly utilize your shield to block incoming damage, create openings, and control the flow of battle. This guide will delve into the essential mechanics, strategic processes, and common pitfalls to avoid, enabling you to dominate your opponents through superior shield play.
Key Mechanics
- Shield Functionality: Shields serve as your primary defensive tool in PvP. When activated by holding the right mouse button, they effectively block all incoming attacks, whether from melee weapons or projectiles. This not only negates damage but also prevents knockback, maintaining your position and reducing your vulnerability during an assault.
- Shield Delay: A critical factor to understand is the inherent delay in shield activation. After you right-click, there is a base 250-millisecond delay before your shield becomes fully active and capable of blocking an attack. This delay is further compounded by your network ping, meaning the total time until your shield is effective can vary. Understanding and accounting for this “shield delay” is paramount for precise timing.
- Axe Disabling: Axes possess a unique property against shields. If an axe successfully hits a raised shield, it will disable that shield for a duration of 5 seconds. This mechanic is a cornerstone of aggressive shield timing strategies, as it creates significant windows of vulnerability for your opponent.
- Protection Arc: Shields do not offer full 360-degree protection. They safeguard a hemispherical area directly in front of the player. This means that if you look directly upwards while blocking, you can expose yourself to attacks from the sides or behind, requiring careful spatial awareness during combat.
- Movement: While highly defensive, holding a shield does come with a trade-off: it reduces your movement speed. However, a clever technique can mitigate this. If you initiate sprinting before raising your shield, you will maintain a faster movement speed even while blocking, allowing for more agile defensive maneuvers.
- Simultaneous Input: The game handles simultaneous left and right-click inputs in a specific order. When you perform both actions at once, your attack (left-click) will register first, immediately followed by the activation of your shield (right-click). This sequence is vital for aggressive counter-play and maintaining defense after an offensive strike.
Step-by-Step Process
Initial Engagement
- Baiting: To initiate a fight with an advantage, try baiting your opponent. Approach them with your shield raised, then jump and continuously spam left-click. The goal here is to provoke your opponent into attacking your shield. If they hit your shield with an axe and disable it, their shield will momentarily drop. This creates an immediate opening for you to land a guaranteed hit or a critical hit.
- First Strike Disable: Position yourself strategically, just within your opponent’s reach. Utilize an axe to quickly disable their shield. After successfully disabling their shield, immediately pull back to avoid any retaliatory strikes they might attempt while their shield is down. This creates a safe window for follow-up.
- Backstab: This advanced maneuver involves quickly moving around or even through your opponent. Once you’ve bypassed their front, rapidly turn and land a critical hit from behind their shield, where they have no protection. This requires excellent movement and spatial awareness.
Mid-Fight Strategies
- Insta-Shielding: After successfully landing a hit on your opponent, it’s crucial to protect yourself from their inevitable counter-attack. Immediately after your hit, simultaneously left and right-click. As per the simultaneous input mechanic, your attack registers, and then your shield instantly comes up to block their incoming retaliation.
- Attribute Swapping (Axe to Sword): For situations demanding rapid shield disabling, employ attribute swapping. Quickly switch from your sword to an axe, click once to disable your opponent’s shield, and then swiftly switch back to your sword. This allows you to follow up with faster sword attacks while their shield is down.
- Stunning: A potent offensive tactic involves stunning your opponent. Double-click their shield from a distance of approximately three blocks. This action launches them into the air, disrupting their momentum and balance. The airborne state provides a clear opening for you to land subsequent attacks.
- Auto-Hit/Auto-Crit: While you have your shield raised, continuously spam left-click with an axe. If your shield is hit and disabled by your opponent, your character will automatically execute an attack in response. To elevate this to an auto-critical hit, jump while performing this action.
- Momentum Break: Execute a sprint jump towards your opponent. As you near them, disable their shield with an axe. Immediately after disabling, reset your jump (e.g., by releasing W briefly) and switch to a sword to land a powerful critical hit while they are exposed.
- Shield Dancing: This strategy involves dynamic movement. Use strafing techniques while keeping your shield raised. Periodically lower your shield for a brief moment. This erratic movement and shield manipulation can bait your opponent into attempting auto-hits, creating opportunities for you to either stun them or perform a backstab.
Important Tips
- Practice: Consistent practice is indispensable for mastering shield timing. Regularly engage in duels with friends to refine your sword and shield timings, allowing you to react instinctively in real combat scenarios.
- Exploit Delay: When both you and your opponent are using shields, a tactical advantage can be gained by waiting for them to hit your shield. During their attack animation, their shield will briefly drop, creating a small but crucial opening for you to strike back immediately.
- Disengage: Recognize when you are at a disadvantage. If your health is critically low or if you find yourself caught in a combo, prioritize disengaging from the fight. This allows your shield to recharge and gives you an opportunity to re-evaluate your strategy.
- Weapon Choice: Always consider starting fights with an axe. Its higher damage output and, more importantly, its capability to disable an opponent’s shield make it ideal for initial engagements. Only switch to a sword when the situation demands a faster attack cooldown for sustained damage.
- Maintain Distance: When your objective is to disable an opponent’s shield, ensure you maintain a sufficient distance. This prevents you from being hit yourself while you are in the process of executing your shield-disabling attack.
- Spacing and Sprint Resetting: Effective spacing is key to controlling the fight. Maintain a distance that keeps your opponent within your attack range while keeping you out of theirs. Techniques such as W-tapping or S-tapping are vital for resetting your sprint, allowing you to consistently land powerful sprint hits.
Common Mistakes to Avoid
- Ignoring Shield Delay: A frequent error is underestimating the 250-millisecond base shield activation delay, compounded by network ping. Failing to account for this delay can result in you taking unexpected hits, even when you believe your shield should have been up.
- Spamming Shield: Rapidly raising and lowering your shield without precise timing is counterproductive. This leaves you highly vulnerable during the brief delay periods when your shield is not yet active, creating easy openings for your opponent.
- Unshielding Reflexively: Avoid the instinct to immediately drop your shield to attack when an opponent jumps close to you. Instead, try to auto-hit them as they make contact with your shield, turning their aggression into an opportunity for you.
- Slow Shielding: Minimize the time gap between landing an attack and re-raising your shield. A slow transition leaves you exposed to your opponent’s immediate counter-attack, negating the advantage you just gained.
- Late Shielding When Jumping: If you are jumping towards an opponent, it is crucial to raise your shield immediately upon initiating the jump. This preemptive action prevents you from being hit and potentially stunned mid-air, maintaining your offensive pressure.
- Predictable Shielding: Do not consistently raise your shield immediately after being hit. This predictable pattern makes you susceptible to a “3-block disable” strategy, where opponents can anticipate your block and disable your shield from a specific range.
- Premature Sword Switching: Avoid switching to your sword before you have successfully disabled your opponent’s shield with an axe. Doing so leaves you exposed and potentially vulnerable to their shielded attacks, losing the advantage of the axe’s disabling power.
- Overly Close Disabling: Attacking an opponent’s shield from too close a range can backfire. This can result in you taking damage yourself or, worse, missing your intended shield-disabling hit, wasting an opportunity and leaving you exposed.
- Unnecessary Shield Lowering: Do not drop your shield to attack if your opponent has not yet attacked you. Lowering your shield without a clear purpose gives your opponent a free opportunity to land a hit on you, losing the defensive advantage.
Click to rate this post!
[Total: 0 Average: 0]
Tags:
YOU MAY ALSO LIKE...

The Hidden Truth About Armor Stand Collision Boxes
56
views
Did you know that the seemingly static armor stand in Minecraft, often used just for…

The Hidden Truth About Beacon Pyramid Stacking
16
views
Did you know that a fully activated, top-tier beacon pyramid in Minecraft requires precisely 164…

The Hidden Truth About Block Hardness Values
53
views
The speed at which you break a block in Minecraft is far more intricate than…

The Hidden Truth About Block Update Frequency
42
views
Did you know that Minecraft's world isn't constantly checking every single block for changes? The…

The Hidden Truth About Ender Pearl Physics
70
views
Every time a Minecraft player hurls an Ender Pearl, they aren't just teleporting; they're willingly…

The Hidden Truth About Fall Damage Calculation
31
views
A 23-block fall should be lethal for any player in Minecraft, yet countless times, adventurers…

The Hidden Truth About Fall Distance Calculation
73
views
The seemingly straightforward act of falling in Minecraft harbors a surprising complexity. Many players operate…

The Hidden Truth About Knockback Calculation
35
views
The belief that critical hits inherently deliver more knockback is a widespread misconception among Minecraft…

The Hidden Truth About Minecart Speed Multiplication
41
views
Many veteran Minecraft players still cling to the belief that intricate minecart 'booster' systems are…