Map Zoom Level Cloning Mechanics
One of the most frequently misunderstood aspects of Minecraft cartography is that maps do not center on your immediate position. Instead, they generate based on a fixed, predefined grid within the world. This fundamental principle dictates how maps behave, from their initial creation to how they interact when zoomed or cloned, forming the backbone of advanced cartographic displays and shared exploration in the game.
The Cartographer’s Toolkit: Understanding Map Types
Before delving into the intricacies of zoom and cloning, it’s crucial to understand the two primary map types available to players, as their initial creation and behavior can differ subtly between Java and Bedrock Editions.
- Empty Map: This is your blank canvas. When first crafted, an empty map records the terrain of the area you activate it in, but crucially, it does not display your player’s position. In Bedrock Edition, an empty map can be crafted simply with 9 paper. However, in Java Edition, crafting with 8 paper and 1 compass yields what is initially an empty map, but it automatically becomes a locator map upon its first use.
- Locator Map: The locator map is your essential navigation tool. It distinguishes itself by displaying a prominent white dot that indicates your current position on the map. In Java Edition, it’s crafted with 8 paper and 1 compass. Bedrock Edition players have more flexibility, being able to craft it the same way or by adding a compass to an existing empty map using a cartography table. This player-tracking feature is invaluable for exploration and coordination.
Mapping the World: Decoding Zoom Levels
Minecraft maps offer five distinct zoom levels, ranging from 0 to 4. Each incremental level effectively doubles the area covered by the map, allowing you to capture progressively larger sections of your world. Understanding these scales is paramount for planning your cartographic endeavors, whether you’re detailing a small base or charting entire biomes.
- Level 0: This is the most detailed zoom level, covering a compact 128×128 block area. At this scale, each map pixel represents a single 1×1 block in the game world, offering granular detail.
- Level 1: Doubling the coverage, this map spans 256×256 blocks, with each map pixel now representing a 2×2 block area.
- Level 2: Expanding further, Level 2 maps cover 512×512 blocks, where each pixel corresponds to a 4×4 block region.
- Level 3: A substantial jump, these maps encompass 1024×1024 blocks, with an 8×8 block representation per pixel.
- Level 4: The widest view, Level 4 maps cover a massive 2048×2048 block area. At this zoom, each map pixel represents a 16×16 block section of your world, perfect for large-scale overview.
A critical detail to remember is that maps are always aligned to a grid. This means that all maps zoomed out within a specific geographic area will share the same center point, facilitating the creation of seamlessly tiled map displays.
The Power of Duplication: Map Cloning Mechanics
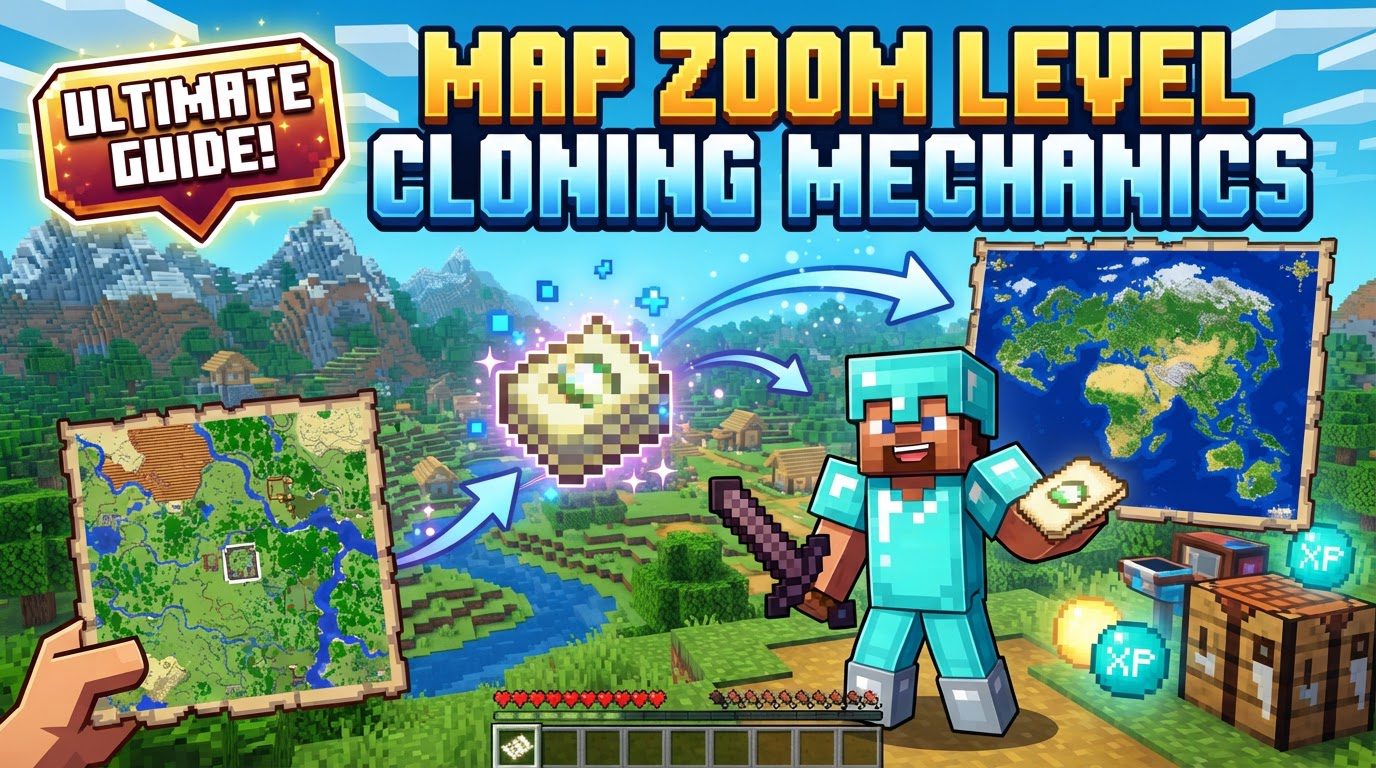
Cloning is where maps truly shine, allowing players to create identical copies of an existing, explored map. The beauty of this mechanic lies in its dynamic nature: all cloned maps share exploration data. If you explore a new area while holding one instance of a cloned map, that newly revealed terrain will automatically appear on all other instances of that same map, making it an excellent tool for collaborative exploration and sharing progress.
In multiplayer worlds, cloned locator maps gain an additional layer of utility. Any other player holding a cloned locator map will appear as a distinct marker on your map, enabling coordinated movements, rendezvous points, and ensuring no one gets truly lost.
Step-by-Step Cartography: From Empty Canvas to Detailed Chart
1. Crafting Your Initial Map (Level 0)
Your journey begins with creating a base map. This process differs slightly between editions:
- Gather Materials: You’ll need 8 pieces of paper (crafted from sugarcane) and a compass (4 iron ingots surrounding 1 redstone dust).
- Crafting Table Assembly: In a crafting table, place the compass in the center slot and surround it with the 8 pieces of paper.
- Edition Differences: In Java Edition, this yields an “empty map” which becomes a locator map upon first use. In Bedrock Edition, this recipe directly creates an “empty locator map.” If you’re in Bedrock and want a plain “empty map,” simply craft 9 paper.
- Activation: Hold the newly crafted empty map (or empty locator map) in your hand and right-click (or use the equivalent action button). This will activate it, transforming it into a Level 0 map that immediately begins charting the 128×128 block area around your current position.
2. Zooming Out a Map
Once you have a Level 0 map, you can expand its coverage by zooming it out. This can be done in two ways:
- Using a Crafting Table: Place your existing map in the center slot of a crafting table. Then, surround it with 8 pieces of paper. This action will zoom the map out one level, expanding its covered area. You can repeat this process up to Level 4, but it consumes a significant amount of paper.
- Using a Cartography Table: This is the more resource-efficient method. Place your map in the first input slot of the cartography table and a single piece of paper in the second slot. This will zoom the map out by one level. The cartography table requires only one piece of paper per zoom level, making it the preferred tool for this task.
3. Cloning a Map
To create copies of an existing, explored map, follow these steps:
- Using a Crafting Table: Place your filled map (the one you want to clone) and an empty map (of the same type – either locator or non-locator) anywhere in the crafting grid. This will yield two identical copies of your map.
- Using a Cartography Table: For more efficiency and the ability to make multiple copies, use a cartography table. Place the map you wish to clone in the first input slot and one or more empty maps in the second slot. The cartography table can produce multiple copies simultaneously. It’s important to note that if your input map is a locator map, the output clones will also be locator maps.
Advanced Cartography: Tips and Best Practices
- Embrace the Cartography Table: For both zooming out and cloning, the cartography table is superior. It’s significantly more resource-efficient for zooming (1 paper vs. 8) and allows for easier bulk cloning.
- Crafting Stunning Map Walls: To create impressive, large-scale map displays, strategically craft or zoom multiple maps so their coverage areas tile seamlessly. Mount these maps on item frames on a wall. For correct orientation, ensure the top of the map (which typically points north) is facing upwards when placed in the item frame. Remember the grid alignment: new base maps for adjacent areas must be created at specific coordinates to ensure perfect tiling.
- Shared Exploration for Teams: When adventuring with friends, clone your locator maps and distribute copies to each member of your party. This allows everyone to see each other’s positions on the map, fostering better coordination and ensuring everyone contributes to mapping efforts simultaneously.
- Custom Markers with Banners: Elevate your maps by adding custom markers. Place a banner at any important location (e.g., your base, a valuable resource, a dungeon). Then, interact with the banner while holding a map to create a unique marker on that map. For even greater clarity, you can use an anvil to name your banners, and this custom label will appear on the map marker.
- Duplicate for Safety: Always make duplicate copies of important maps, especially before embarking on extensive exploration trips. If you die and lose your inventory (including your map), a clone will retain all the previously explored data, saving you from having to re-map areas.
- Java Edition Advanced Tooltips: For precise information, Java Edition players can enable Advanced Tooltips by pressing F3 + H. This will display the exact zoom level, scaling factors, and the unique ID of any map you’re inspecting.
Common Pitfalls and Important Considerations
- Maps Don’t Center on You: As mentioned, maps align to a fixed grid. Don’t expect a new map to perfectly center on your current location. You might need to create several maps to fully cover an irregularly shaped area like your base.
- Nether and End Limitations: Maps do not function effectively in the Nether or End dimensions. Their unique terrain generation and dimension-specific mechanics render standard overworld maps largely useless in these realms.
- Zooming Cloned Maps Breaks Link: A crucial warning: if you take one map from a set of cloned maps and zoom it out, it will lose its connection to the other clones. This newly zoomed map will then function as a separate, individual map that needs to be filled and explored independently.
- Zooming Resets Exploration: Be aware that zooming out an existing map may sometimes reset the previously explored areas on it, requiring you to re-explore parts of the new, larger area.
- Bedrock vs. Java Map Differences: Always be mindful of the subtle recipe differences, particularly concerning empty maps and locator maps. Bedrock Edition offers a plain empty map with just paper, while Java Edition’s empty map recipe includes a compass.
- Map Alignment for Walls is Key: For a perfect map wall, meticulous planning of where you create your initial Level 0 maps for adjacent areas is essential. They must be generated at coordinates that align with the world grid to ensure they tile together without gaps or overlaps.
Mastering map zoom levels and cloning mechanics transforms simple exploration into a sophisticated cartographic endeavor. By understanding these tools, players can not only navigate their worlds with greater precision but also create stunning displays and collaborate more effectively with fellow adventurers.
Tags:
YOU MAY ALSO LIKE...