

Minecraft Bedrock How to Cure Zombie Villager
Unlock unparalleled trading advantages in Minecraft Bedrock Edition by transforming a hostile zombie villager into a grateful, discounted merchant. Curing a zombie villager isn’t just a compassionate act; it’s a strategic move that can grant you permanent, substantial price reductions on their goods, making resource acquisition significantly easier and more cost-effective.
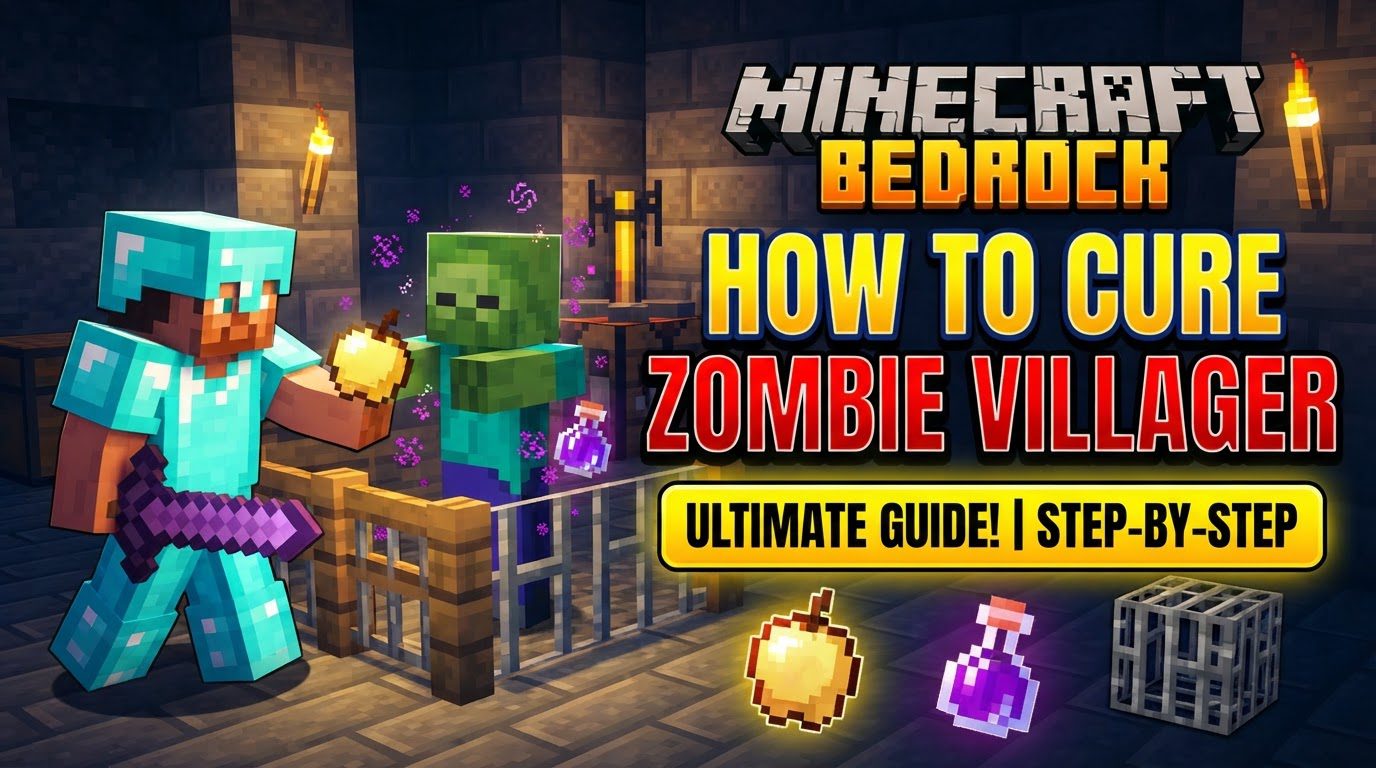
Understanding the Zombie Villager
Before embarking on the cure, it’s crucial to understand what a zombie villager is and how they come to be. Unlike regular zombies, zombie villagers retain their villager-like appearance, albeit with green skin and torn clothes, indicating their former life. They behave like normal zombies, attacking players and other passive mobs, and burning in sunlight unless protected.
How Zombie Villagers Appear
- Natural Spawns: There’s a 5% chance for a zombie villager to spawn in place of a regular zombie in most biomes.
- Infection: When a zombie kills a regular villager, the villager has a chance to transform into a zombie villager. This chance is 50% on Normal difficulty and a guaranteed 100% on Hard difficulty. On Easy difficulty, villagers killed by zombies do not turn; they simply die.
- Specific Structures: You can reliably find zombie villagers in the basements of igloos, often already trapped and ready for curing. They also appear in abandoned villages, which are naturally generated structures featuring cobwebs and dilapidated buildings.
Identifying a zombie villager is straightforward by their distinct appearance. They are the only type of zombie that can be cured back into a normal villager, making them a valuable asset rather than just another hostile mob.
The Essential Elixirs: Items for Curing
The curing process hinges on two specific items: a Weakness effect and a Golden Apple. You will need one of each per zombie villager you wish to cure.
Splash Potion of Weakness (or Arrow of Weakness)
The Weakness effect is paramount. It reduces the target’s attack damage, but more importantly for this process, it makes the zombie villager susceptible to the Golden Apple’s restorative powers. You have two primary ways to apply this effect:
- Splash Potion of Weakness: This is the most common method. To brew one, you’ll need a Brewing Stand, Blaze Powder for fuel, a Fermented Spider Eye, and a water bottle. The Fermented Spider Eye is key, as it’s made by combining a Spider Eye, Brown Mushroom, and Sugar. Once you have a Potion of Weakness, add Gunpowder to it in the Brewing Stand to turn it into a Splash Potion, allowing you to throw it.
- Arrow of Weakness: If you prefer ranged combat or have an abundance of arrows, an Arrow of Weakness can also be used. These are crafted by combining a Lingering Potion of Weakness with arrows at a crafting table. You can also acquire them from fletcher villagers or dungeon chests.
Golden Apple
The Golden Apple is the second critical component. Note that only the non-enchanted Golden Apple works for curing zombie villagers. The enchanted (Notch) Golden Apple, while powerful, does not serve this purpose.
- Crafting: A Golden Apple is crafted by surrounding a regular apple with eight Gold Ingots on a crafting table. Apples can be obtained by breaking Oak or Dark Oak leaves, or found in chests. Gold Ingots are smelted from Gold Ore or found in various chests.
Ensuring you have these items prepared before encountering a zombie villager will streamline the entire process.
The Curing Process: A Step-by-Step Guide
With your supplies in hand, you’re ready to begin the transformation. This process requires careful execution and patience.
1. Secure the Zombie Villager
Your first priority is to contain the zombie villager safely. They are hostile and will burn in daylight. Lure it into an enclosed space, such as a small room, a pit, or a specially constructed holding cell. Ensure the area has a roof to protect it from the sun. Using doors or trapdoors to seal the space is effective. This step is crucial to prevent it from escaping, being killed by other mobs, or perishing from sunlight exposure.
2. Apply the Weakness Effect
Once contained, apply the Weakness effect. If using a Splash Potion of Weakness, throw it directly at the zombie villager. You’ll see purple particles indicating the effect has been applied. If using an Arrow of Weakness, shoot the zombie villager with it. Alternatively, you can lure a witch near your trapped zombie villager; witches sometimes throw potions of weakness, which can inadvertently help you.
3. Feed the Golden Apple
While the zombie villager is under the Weakness effect, approach it and use the Golden Apple on it. This is done by holding the Golden Apple in your hand and right-clicking (or using the “Use Item” button on consoles/touchscreens) on the zombie villager. A distinct sound will play, and the zombie villager will begin shaking violently and emit red particles, signaling that the curing process has commenced.
4. Protect During Curing
The curing process is not instant. In Bedrock Edition, it typically takes around 100 seconds (1 minute 40 seconds) but can sometimes extend up to 3-5 minutes. During this time, the zombie villager is vulnerable. Keep it safe from any external threats:
- Hostile Mobs: Ensure no other zombies or hostile creatures can reach and attack it.
- Sunlight: Double-check that its enclosure is fully shaded, as sunlight will still burn it.
- Player Interference: Avoid accidentally hitting it yourself.
Patience is key during this waiting period.
5. Transformation to Villager
After the curing time elapses, the shaking and red particles will stop, and the zombie villager will transform into a regular, healthy villager. Congratulations! You’ve successfully performed a zombie villager cure.
Optimizing the Curing Environment
While the basic steps are straightforward, a few optimizations can make the process smoother and faster, especially if you plan on curing multiple villagers.
Accelerating the Cure
You can significantly speed up the curing time by creating an environment conducive to villager well-being. Placing iron bars and beds near the zombie villager during its transformation period can reduce the curing time. The more “villager-friendly” blocks are nearby, the faster the cure will be. Aim for at least 10-20 beds and a few iron bars for maximum effect.
Enhancing Protection
Beyond basic containment, consider these protective measures:
- Double Walls: Build thick walls around your curing station to prevent other zombies from pathfinding to and attacking your transforming villager.
- Lighting: Ensure the area is well-lit to prevent hostile mob spawns inside the enclosure.
- Clear Surroundings: Clear any potential hiding spots for hostile mobs in the immediate vicinity of your curing area.
Avoiding Accidental Harm
It’s easy to accidentally kill your vulnerable zombie villager:
- Thorns Enchantment: Remove any armor enchanted with Thorns before approaching the zombie villager, as the enchantment can damage it if it attacks you.
- Powerful Weapons: Put away high-damage weapons. If you’re using an Arrow of Weakness, ensure your bow isn’t enchanted with Power or Flame, which could kill the zombie villager.
Advanced Curing Techniques and Post-Cure Management
For players looking to establish large trading halls or efficiently cure multiple villagers, consider these advanced strategies.
Efficient Mass Curing
If you have multiple zombie villagers contained in a small space, a crossbow enchanted with Piercing can be incredibly useful. A single Arrow of Weakness shot from a Piercing crossbow can pass through and apply the Weakness effect to multiple zombie villagers in a line, saving you potions and time.
Post-Cure Profession and Trading
Once a zombie villager is cured, it becomes a regular villager without a profession. To access its discounted trades, you need to assign it a profession. Place a job site block (like a Lectern for a Librarian, a Composter for a Farmer, etc.) near the newly cured villager. It will claim the block and adopt the corresponding profession, allowing you to begin trading. The discounts from curing are permanent and substantial, making this an excellent way to get cheap Mending books, diamond gear, or other valuable items.
Common Pitfalls to Avoid
Even experienced players can make mistakes. Be aware of these common errors:
- Curing Regular Zombies: Only zombie villagers can be cured. Attempting to use a Golden Apple on a standard zombie will yield no results.
- Incorrect Order of Operations: The Golden Apple will only work if the zombie villager is already under the Weakness effect. Applying the apple first will do nothing.
- Lack of Protection: Neglecting to protect the zombie villager during the curing process is a frequent cause of failure. It can be killed by hostile mobs or burn in sunlight.
- Accidental Damage: As mentioned, powerful weapons or Thorns armor can easily lead to the zombie villager’s untimely demise.
- Re-infection: If you cure multiple zombie villagers in close proximity without separating them, a newly cured villager can unfortunately be re-infected by another nearby zombie. Keep them apart until all are cured, or at least separate the cured ones immediately.
- Misconceptions about Discounts: Bedrock Edition’s villager discount mechanics differ from Java Edition. Do not expect the same temporary discount decay or specific reputation mechanics seen in Java. The discounts from curing in Bedrock are generally permanent and significant.
Mastering the art of curing zombie villagers is a valuable skill in Minecraft Bedrock. It provides a reliable pathway to powerful, discounted trades, transforming a dangerous foe into a beneficial ally. With careful preparation and execution, you can establish thriving villager trading posts, significantly enhancing your survival and creative endeavors.
Tags:
YOU MAY ALSO LIKE...


