

Minecraft Can You Change Armor Trims
Yes, absolutely! You can indeed change armor trims in Minecraft, and the process is surprisingly straightforward, allowing for endless customization of your gear. Armor trims, introduced in the 1.20 Trails & Tales update, revolutionized how players express themselves through their in-game appearance. Before this update, armor customization was largely limited to dyeing leather armor or relying on resource packs. Now, with a simple interaction at a Smithing Table, you can transform your drab diamond chestplate into a personalized masterpiece, and just as easily change your mind if a new aesthetic calls to you.
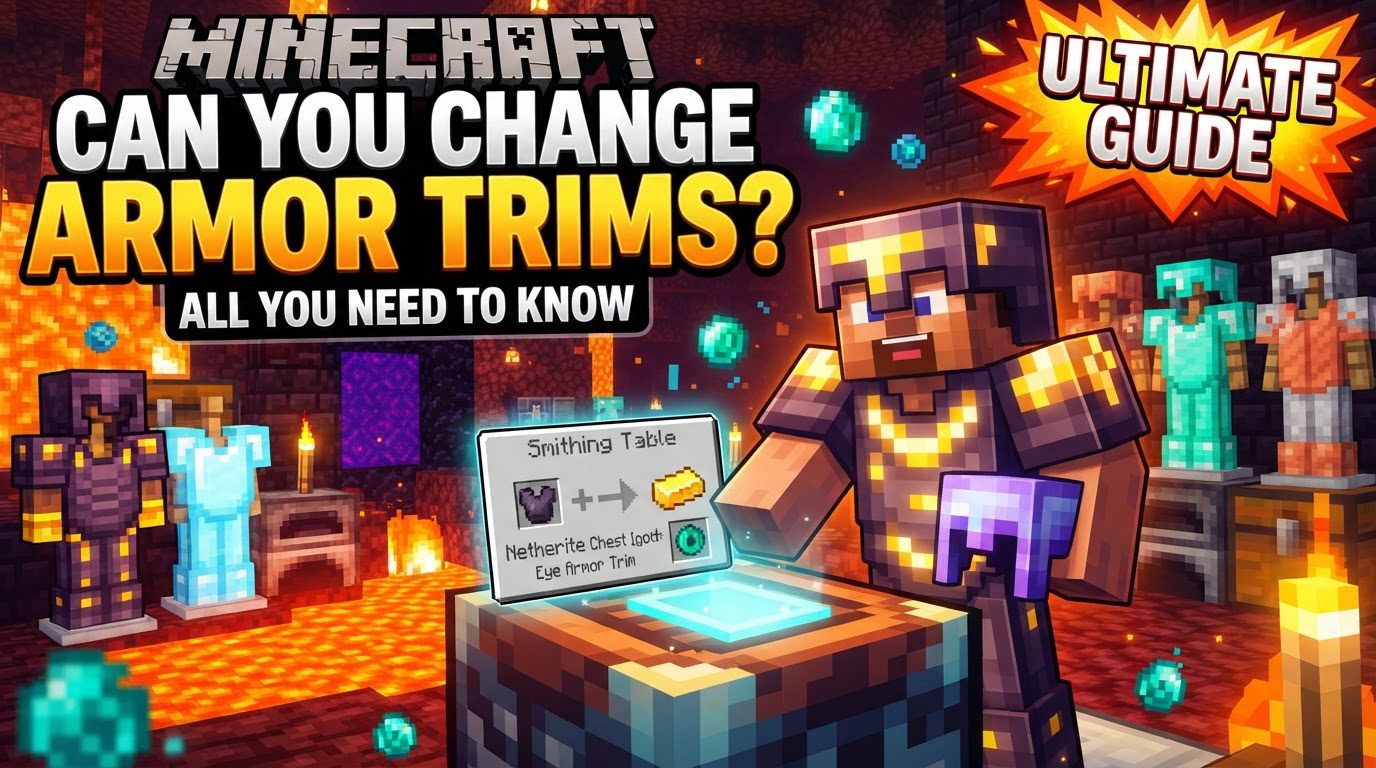
The Cosmetic Revolution: Understanding Armor Trims
Armor trims are purely cosmetic additions designed to enhance the visual appeal of your protective gear. They do not, under any circumstances, affect your armor’s stats, durability, or enchantments. This is a crucial point that many players initially misunderstand. Whether your chestplate boasts a fierce Spire trim made of Netherite or a subtle Ward trim crafted with Lapis, its defensive capabilities remain precisely the same. The magic of trims lies solely in their ability to let you stand out, match your base, or simply look cool while exploring the vast blocky world.
Each armor trim consists of two main components: a pattern and a color. The pattern is determined by a specific Smithing Template, which dictates the design etched onto your armor. There are currently 18 distinct patterns, each with its own unique aesthetic and found in different corners of the Minecraft world. The color, on the other hand, comes from a mineral or ingot you supply, offering a diverse palette to complement your chosen pattern. This two-part system provides a staggering number of combinations, ensuring that every player can find a look that resonates with their personal style.
Gathering Your Tools: What You’ll Need
Before you can begin your journey into armor customization, you’ll need to gather a few essential items. These are the building blocks of every trim application and modification:
- A Smithing Table: This is your primary workstation. Craft one easily with 2 iron ingots and 4 wooden planks of any type. The Smithing Table is where all the magic happens, allowing you to combine templates, armor, and materials.
- An Armor Trim Smithing Template: These rare items are the blueprints for your trim patterns. Each of the 18 patterns has its own unique template. They are found by exploring specific structures (like Ancient Cities, Bastion Remnants, or Woodland Mansions) or through the new archaeology mechanic. For example, the Silence trim template is exclusive to Ancient Cities, while the Vex trim template can be found in Woodland Mansions.
- The Armor Piece to be Trimmed: This can be any piece of vanilla armor – helmets, chestplates, leggings, or boots – made from leather, chainmail, iron, gold, diamond, or Netherite. Armor trims cannot be applied to tools or weapons in vanilla Minecraft.
- A Coloring Material: This is the material that will dictate the color of your trim. Minecraft offers a wide array of options, including Iron, Copper, Gold, Lapis, Emerald, Diamond, Netherite, Redstone, Amethyst, Quartz, and even the unique Resin Brick. Each material provides a distinct hue, allowing for extensive color coordination.
The Application Process: How to Trim Your Armor
Once you have all your components ready, applying an armor trim is a straightforward process:
- Open the Smithing Table: Right-click on your crafted Smithing Table to open its interface.
- Place the Smithing Template: In the leftmost slot of the Smithing Table UI, place the Armor Trim Smithing Template you wish to use. This tells the table which pattern to apply.
- Insert Your Armor: Place the armor piece you want to customize into the middle slot.
- Add the Coloring Material: In the rightmost slot, place the mineral or ingot that will provide the color for your trim.
- Review and Collect: The output slot will display a preview of your armor with the new trim. Take a moment to ensure it’s exactly what you envisioned. If you’re satisfied, simply click and drag the newly trimmed armor piece into your inventory. The Smithing Template and coloring material will be consumed in the process.
The Heart of the Matter: Changing an Existing Armor Trim
The excellent news is that changing an existing armor trim is just as simple as applying the first one. You don’t need any special tools or a “trim remover.” The process is essentially an overwrite:
To change an armor trim, simply place the already-trimmed armor piece back into the Smithing Table. Then, in the template slot, insert a new Smithing Template with a different pattern, and in the coloring material slot, add your desired new coloring material. The Smithing Table will once again show a preview of the updated armor. When you take the item from the output slot, the old trim will be completely overwritten by the new one. This means you can continuously experiment with different patterns and colors without fear of permanently locking into a design.
Strategic Customization: Tips for Smart Trimming
To get the most out of the armor trimming system and avoid common frustrations, keep these valuable tips in mind:
- Duplicate Rare Templates: Smithing Templates are a one-time use item when applying a trim. However, you can duplicate them! Before using a rare template for the first time, consider making copies. To duplicate a Smithing Template, place the original template in the center of a crafting grid, surround it with 7 diamonds, and place a specific “crafting material” block directly below the template. Each template type requires a different crafting material (e.g., a Cobbled Deepslate for the Ward template, or a Sandstone for the Dune template). Duplicating ensures you have spares for future armor pieces or for friends, especially useful for highly sought-after patterns like those from Ancient Cities.
- Experiment with Materials: The choice of coloring material dramatically impacts the final look. Iron often provides a silver/grey tone, gold a vibrant yellow, Lapis a deep blue, and Amethyst a rich purple. Be aware that if your armor material and trimming material are the same (e.g., a Netherite trim on Netherite armor), the trim’s color can appear darker and more subtle due to the game’s rendering. Don’t be afraid to try different combinations to achieve unique aesthetic effects.
- Utilize the Preview Function: The Smithing Table’s output slot always shows a live preview of the trimmed armor. This is an invaluable feature. Before committing your precious templates and materials, always check the preview to ensure the combination of pattern and color is exactly what you want. This saves resources and prevents regret.
Common Mistakes to Avoid
While armor trims are intuitive, there are a few misconceptions and pitfalls players often encounter:
- Believing Trims Affect Stats: This is the most common mistake. Reinforcing it: armor trims are purely cosmetic. They offer no defensive buffs, no extra durability, and do not enhance or alter enchantments in any way. Your diamond chestplate with a gold trim is functionally identical to one without.
- Trying to “Remove” a Trim: There is no direct way to remove an armor trim and revert the armor piece to its untrimmed state. The only way to change or get rid of a specific trim pattern is to overwrite it with a new one. If you truly desire an untrimmed piece, you would need to craft a new one.
- Expecting Custom Colors: In vanilla Minecraft, you are limited to the preset colors provided by the various mineral and ingot materials. There’s no option to input custom hex codes or mix dyes for unique shades. The color palette is fixed to the available materials.
- Not Duplicating Templates: Using a rare Smithing Template without duplicating it first is a common oversight. If you want to apply that same pattern to all four pieces of your armor set, you would need four templates. If you only found one and used it, you’d be back to searching for more. Always duplicate rare templates before their first use!
- Misinterpreting Piglin Behavior: While gold-trimmed armor looks impressive, it does not pacify Piglins unless the armor *itself* is made of gold. Piglins are only interested in actual gold ingots or gold armor, not cosmetic gold trims on other materials. Similarly, they won’t pick up gold-trimmed armor pieces if the base armor material isn’t gold.
In conclusion, changing armor trims in Minecraft is not only possible but encouraged, offering an exciting layer of personalization to your gameplay. By understanding the simple mechanics of the Smithing Table, strategically duplicating your templates, and experimenting with the diverse range of coloring materials, you can create a truly unique and stylish presence in your Minecraft world. Embrace the cosmetic freedom and let your armor reflect your adventures!
Tags:
YOU MAY ALSO LIKE...


