

Minecraft Farm 3d Model
When players refer to a “Minecraft Farm 3D Model,” they are generally describing one of three distinct concepts, each offering unique benefits to the game’s expansive building and automation possibilities. This term can refer to interactive 3D blueprints of in-game farms, often called schematics; specialized tools within the game that procedurally generate 3D farm structures; or resource packs that elevate the visual aesthetics of farm elements by transforming flat textures into detailed 3D models. Understanding these distinctions is key to efficiently building and enhancing your agricultural and resource-gathering operations in Minecraft.
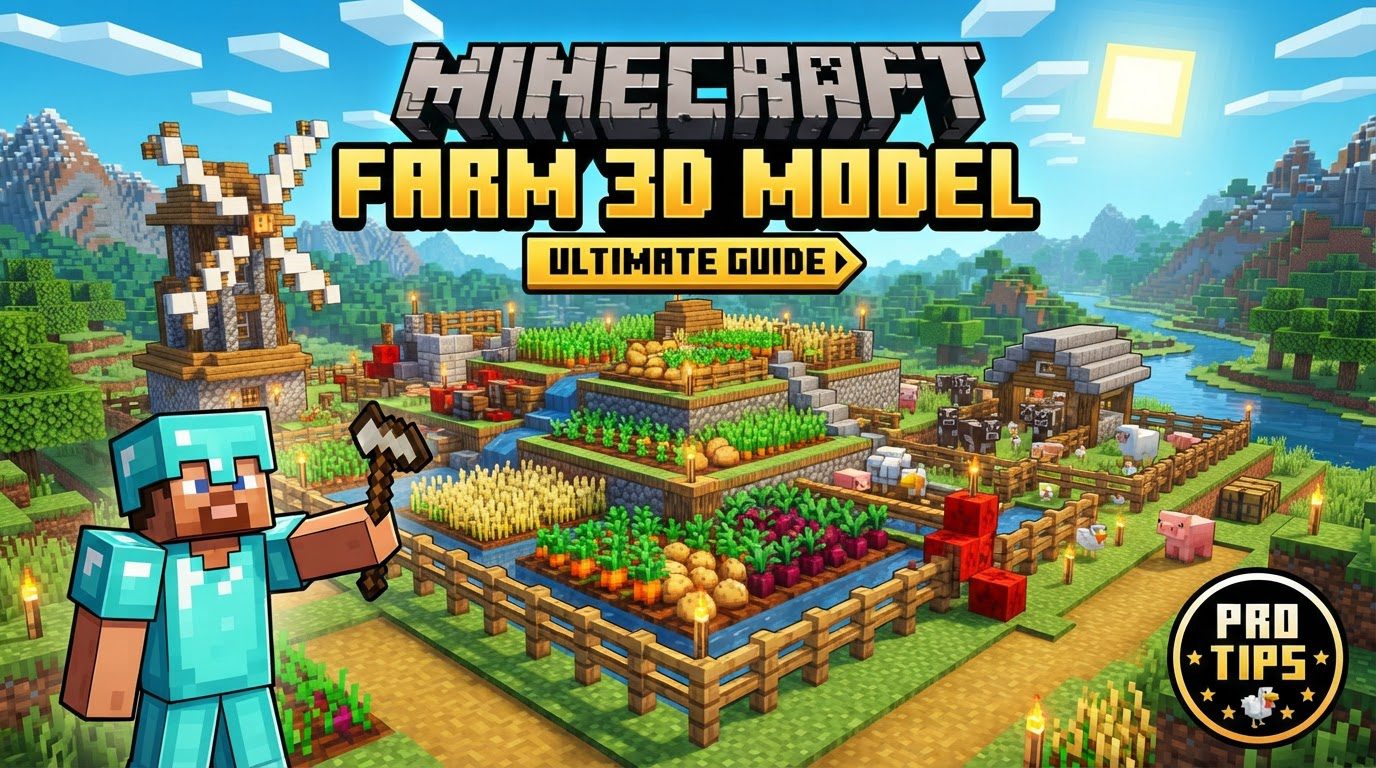
Whether you’re a seasoned builder looking to streamline complex projects or a newcomer aiming to create your first automated crop field, leveraging these 3D model concepts can dramatically improve your gameplay. From intricate redstone contraptions for mob grinding to simple, aesthetically pleasing crop fields, the world of Minecraft farm 3D models provides an array of solutions for every player’s needs.
The Power of Schematics: Pre-Designed Farm Blueprints
One of the most common interpretations of “Minecraft Farm 3D Model” refers to schematics. These are pre-designed farm structures saved as digital files, typically with extensions like .schem, .schematic, or .litematic. These files encapsulate the complete block-by-block layout, including all materials and redstone components, of a specific farm design. Their utility is immense: they allow players to share, download, and replicate highly efficient or complex farm builds without needing to reverse-engineer them from scratch.
Schematics can represent virtually any type of farm imaginable in Minecraft. This includes sophisticated resource farms for materials like iron or gold, efficient mob farms for XP and drops, automated crop farms for food and dyes, and even elaborate XP farms. The beauty of these files lies in their precision and completeness, offering a perfect blueprint for construction.
A crucial aspect of using schematics is the ability to view them in 3D. Online tools and dedicated software allow users to inspect these farm schematics in an interactive 3D preview environment. This interactive viewing is invaluable for several reasons: it enables a detailed examination of the materials required, provides a clear understanding of the farm’s layout, and, perhaps most critically, allows for a thorough inspection of complex redstone components. By rotating, zooming, and even layering the view, players can grasp the intricate workings of a farm before committing to building it in their world.
To integrate these schematics into your game, mod integration is often necessary. Tools like Litematica or WorldEdit are widely used. These mods allow for the accurate placement and building of farm designs by importing the schematic file directly into your Minecraft world, often displaying a “ghost” image of the structure that guides you during construction.
Building with Blueprints: A Step-by-Step Guide for Schematics
Using a schematic to build a farm in Minecraft is a straightforward process once you understand the steps:
- Browse and Select: Your journey begins by finding a desired farm schematic. Numerous online databases, community forums, and content creator websites host vast collections of these files. Look for designs that match your specific needs, whether it’s an advanced mob grinder or a simple automatic potato farm.
- Inspect in 3D: Before you even think about placing a block, take advantage of schematic viewers. These tools are indispensable for examining the design in detail. Pay close attention to the materials required, the overall layout, and especially the redstone mechanisms. Understanding how the farm functions and what resources it demands upfront will save you considerable time and frustration later.
- Prepare for Import: Ensure you have the necessary in-game tools or mods installed that support schematic importing. For Java Edition players, Litematica is a popular choice, providing an overlay that guides your build. For servers or larger-scale projects, WorldEdit can be used to paste entire schematics if you have the appropriate permissions.
- Import and Build: Once your mod is ready, import the schematic file into your world. The mod will typically overlay a “ghost” image or “hologram” of the farm structure. This visual guide shows you exactly where each block needs to be placed, allowing you to build the farm block by block with precision.
Instant Farms: The Minecraft Bedrock Editor’s Farm Tool
For players on Minecraft Bedrock Edition, a different kind of “Farm 3D Model” comes into play through the Minecraft Bedrock Editor. This powerful in-game tool includes a feature known as the “Farm Tool,” designed for rapid, procedural generation of complete farm layouts directly within your world.
The Farm Tool simplifies farm creation dramatically. Instead of painstakingly placing each block, you can generate an entire farm by simply clicking on the ground. This tool is perfect for quickly establishing basic agricultural operations or populating larger creative builds with pre-made farm sections.
Step-by-Step Process for the Bedrock Editor Farm Tool:
- Access Tool: Within the Minecraft Bedrock Editor, open the Farm Tool from the tool rail. This will activate its functionality and bring up its configuration options.
- Configure Settings: Before placing, you have the flexibility to customize your farm. Choose your desired crops from options like Wheat, Potato, Beetroot, Pumpkin, Carrot, and Melon. You can also specify optional animals such as Cow, Sheep, or Pig to be included. Furthermore, you can define the farm’s size, select a fence type, and determine irrigation options to ensure your crops thrive.
- Place Farm: Once configured, simply click a block on the ground in your world. The tool will then procedurally generate the farm, which will be centered on that chosen block, complete with crops, animals, fencing, and irrigation as per your settings.
Visual Enhancements: Resource Packs for 3D Farms
Beyond blueprints and generation tools, “Minecraft Farm 3D Model” can also refer to aesthetic improvements achieved through resource packs. While standard Minecraft textures are largely 2D sprites, certain resource packs are designed to transform these into more detailed 3D models.
A prime example is resource packs like “Farm 3D.” These packs specifically target farm-related elements, such as crops, flowers, and sometimes even tools, giving them a greater sense of depth and realism. Instead of flat textures, your wheat might have individual stalks, or your pumpkins might appear more rounded and textured. This enhancement significantly improves the visual aesthetics of your farms, making them more immersive and pleasing to the eye without altering their functionality.
Mastering Your Farm Builds: Essential Tips for Success
Regardless of whether you’re using schematics, the Bedrock Editor tool, or resource packs, a few key tips can help you maximize your success:
- Utilize Schematics to Save Time: For complex or highly efficient farm designs, schematics are invaluable. They save considerable time and effort, allowing you to replicate intricate builds without needing to figure out every detail yourself.
- Review Materials and Redstone: Always, always review the material list and redstone diagrams in 3D viewers before starting a build. This prevents mid-project material shortages or confusion regarding complex mechanisms.
- Prioritize Efficiency: Design or select farms that cater to your specific needs. Are you after maximum XP, valuable items, or automatic food production? Tailoring your farm choice to your goals is crucial for efficiency.
- Optimal Placement for Generated Farms: For the Bedrock Editor’s Farm Tool, ensure the placement area is relatively flat for optimal results. Uneven terrain can lead to incomplete or misaligned structures. Use terrain manipulation tools if necessary to prepare the ground.
- Personalize and Automate: Don’t just build functional farms; make them your own. Add decorative elements, themed structures, and integrate automatic collection systems like hoppers and chests for enhanced functionality and aesthetics.
Avoiding Pitfalls: Common Mistakes in 3D Farm Construction
Even with the best tools, mistakes can happen. Being aware of common pitfalls can help you avoid them:
- Underestimating Complexity: A common mistake is attempting complex builds from schematics without thoroughly understanding the redstone mechanisms or the sheer volume of required materials. Always do your homework in the 3D viewer first.
- Ignoring Version Compatibility: Minecraft updates can change game mechanics or block IDs. Not accounting for game version compatibility when downloading and using schematics or resource packs can lead to broken designs or visual glitches. Always check the schematic’s intended game version.
- Poor Terrain for Generation: Placing procedurally generated farms (e.g., via the Bedrock Editor tool) on very uneven terrain is a frequent error. This often results in incomplete, floating, or partially buried structures, requiring manual cleanup or rebuilding.
Embracing the various forms of “Minecraft Farm 3D Models” empowers players to build more efficiently, understand complex designs more easily, and enjoy more aesthetically pleasing agricultural ventures. Whether you’re planning a massive automated factory or a charming village garden, these tools and concepts are essential for any aspiring Minecraft farmer or builder.
Tags:
YOU MAY ALSO LIKE...


