

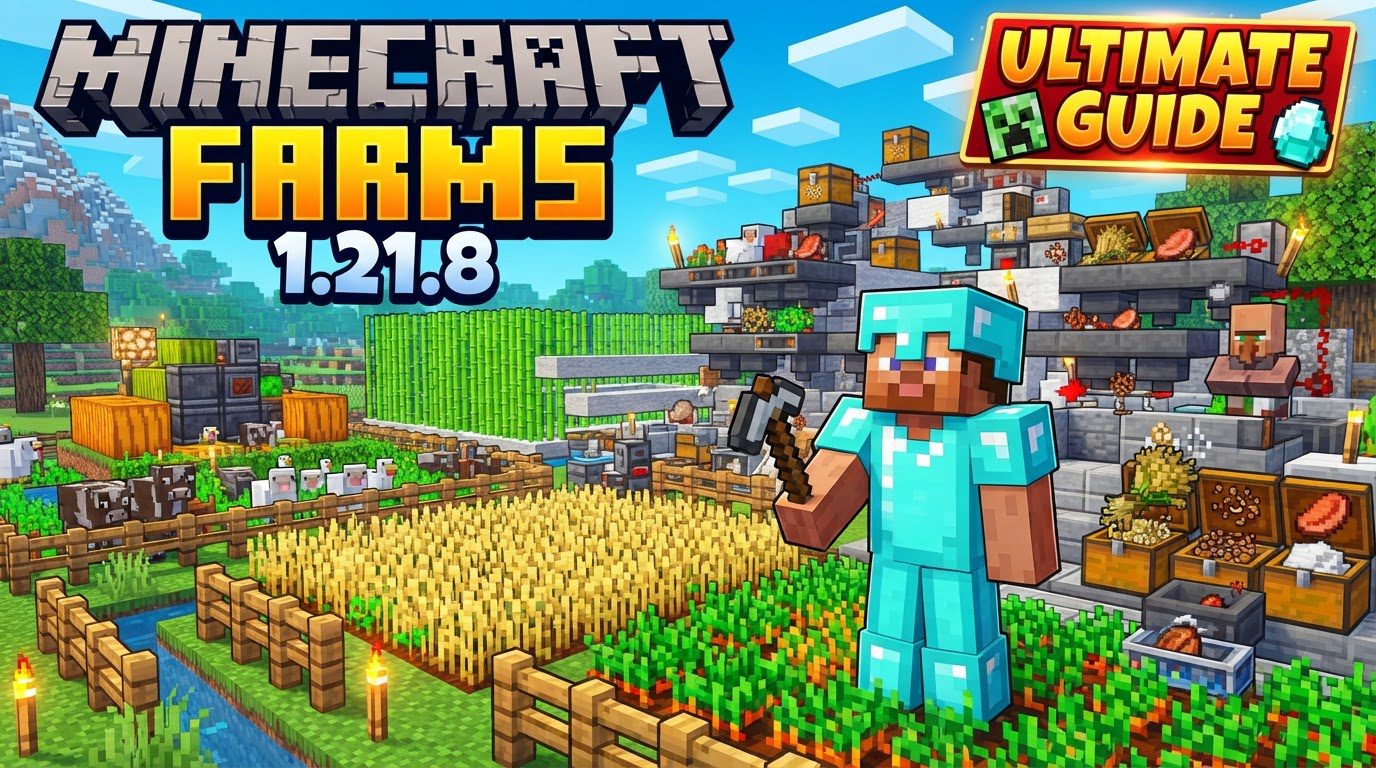
Minecraft Farms 1.21.8
One of the most common pitfalls for aspiring Minecraft farmers isn’t a lack of resources, but a misunderstanding of fundamental game mechanics. In a game constantly evolving, even general principles remain critical for success. Mastering farm design, especially as we approach versions like 1.21.8, hinges on appreciating the subtle interactions between blocks, entities, and the environment. This comprehensive guide will equip you with the knowledge to cultivate thriving farms, from basic food sources to complex mob grinders.
The Bedrock of Bountiful Harvests: Crop Cultivation
Efficient crop farming begins with understanding hydration and light. A single water block possesses the remarkable ability to hydrate farmland in a 9×9 square. This means it extends four blocks in each cardinal direction from the water source. To maximize space and prevent your precious water from freezing in cold biomes, consider covering it with slabs or copper grates. These blocks allow water to hydrate the land below while providing a walkable surface or aesthetic touch.
Light is another non-negotiable requirement for crops. While sunlight powers growth during the day, your crops will cease to grow at night without an artificial light source. Strategic placement of glowstone, jack-o’-lanterns, or even torches ensures continuous growth, significantly boosting your yield over time. Never underestimate the power of consistent light for a truly productive farm.
Advanced Crop Strategies: Beyond the Basic Rows
To truly optimize your crop growth, you need to look beyond simple monocropping. Alternating different crops in rows, such as wheat next to carrots, can surprisingly lead to faster growth rates compared to planting a single crop type across a large area. This seemingly counter-intuitive mechanic encourages more frequent growth ticks across your entire farm.
Another powerful, often underutilized, ally in crop farming is the humble bee. Bees can significantly boost crop growth speed by dropping pollen when flying over farms. To harness this natural acceleration, strategically place beehives on one end of your farm and a generous cluster of flowers on the other. Bees will travel between them, pollinating your crops along the way. Remember to harvest honey or honeycomb at night; bees are docile then, allowing for safe collection without drawing their aggression.
Finally, for harvesting, the Fortune enchantment is your best friend. Regardless of the tool used, applying Fortune to your shovel, axe, or even bare hand will increase the drop rate of most harvested crops, yielding more produce from the same effort. This is a game-changer for scaling up your food production.
Demystifying Mob Farm Dynamics
Mob farms, while incredibly rewarding, are governed by a complex set of rules. Understanding the mob cap, despawn sphere, and height maps is crucial for their success. The global mob cap dictates the maximum number of hostile mobs that can exist in loaded chunks around a player. If this cap is reached, no new mobs will spawn until existing ones are despawned or killed. The despawn sphere, typically a 128-block radius around the player, defines the area where mobs will naturally despawn if no player is within that range. Therefore, designing collection systems and killing chambers outside this sphere, or ensuring mobs are quickly funneled to a central point, is paramount.
Height maps also play a role, particularly in determining where mobs can spawn on a given block. Ensuring sufficient clear space above spawning platforms is vital for many farm types. Ignoring these core mechanics is a common pitfall that can render even the most elaborate mob farm designs completely inert.
Specialized Mob Farms: Iron Golems and Endermen
Certain mob farms have unique requirements. Iron golem farms, for instance, are notoriously finicky. They must be built in appropriate biomes, specifically avoiding ocean or river biomes where conditions for golem spawning are not met. Crucially, villagers within the farm need to feel threatened by a zombie (which must be contained safely) to trigger the golem spawning mechanism. Furthermore, for consistent functionality, the entire iron golem farm often needs to be contained within a single chunk. This ensures that all components, from villagers to the zombie, are processed simultaneously by the game engine, preventing glitches and maximizing spawn rates.
Endermen, essential for ender pearl farms, also demand specific conditions. Their farms are typically built in the End dimension, and the primary requirement for them to spawn is sufficient open space. Endermen are tall creatures, so their spawning pads need at least three clear blocks of height above them to allow for their appearance. Designing large, unobstructed platforms in the End is key to a productive ender pearl farm.
Strategic Farm Development and Automation
When embarking on any farming endeavor, a structured approach is best. Begin by starting small; a manageable farm allows you to understand mechanics and test designs without overwhelming resource investment. As you gain experience and resources, you can gradually scale up. Before committing to a large-scale project, always plan and test your farm ideas and layouts. A small prototype can save hours of frustration and material waste.
Consider automation early in your planning. Utilizing Redstone for automatic harvesting, collection systems, or even mob sorting can vastly improve efficiency and reduce the manual labor involved in maintaining your farms. Redstone-powered piston farms, automatic item sorters, and mob-killing mechanisms are hallmarks of advanced Minecraft gameplay. Always ensure a steady food supply by setting up basic crop farms early in the game; this fundamental resource will fuel all your other ambitious projects.
Biome selection isn’t just for mob farms. While critical for iron golems, it also influences crop growth (e.g., deserts prevent water freezing) and resource availability. Diversity in your crop choices is also a strong tip; planting a variety of crops rather than monocropping can improve overall growth rates and make your food supply more resilient.
Avoiding Common Farming Blunders
Many aspiring farmers fall into predictable traps. One of the most significant is incorrect biome placement for mob farms, particularly the aforementioned iron golem farms in unsuitable ocean or river biomes. Equally detrimental is ignoring mob spawning mechanics like the mob cap, despawn spheres, and specific conditions such as villagers needing a zombie threat. These oversights lead to farms that simply don’t work.
For crop farms, monocropping large areas is a common mistake that can slow down growth and make harvesting tedious. Overcrowding, whether it’s attempting to plant too many crops or house too many animals in a small area, will lead to poor yields and stunted growth. A lack of sufficient light for crops, especially at night, will drastically reduce their growth rate. Finally, a critical early-game mistake is skipping food and farming altogether, instead relying solely on hunting. Establishing a reliable food source early ensures sustainability and allows you to focus on larger projects without constantly worrying about hunger.
By understanding these core mechanics, planning meticulously, and avoiding common pitfalls, you can transform your Minecraft world into a hub of agricultural and industrial productivity. Whether you’re aiming for a fully automated crop empire or an efficient mob-grinding facility, the principles remain the same: knowledge, strategic design, and a touch of Redstone ingenuity.
Tags:
YOU MAY ALSO LIKE...


