

Minecraft Fastest Way to Oxidize Copper
Did you know that simply placing your newly crafted copper blocks too close together can drastically slow down their natural aging process in Minecraft? Many players, eager to see their builds develop that iconic green patina, inadvertently make this common mistake, unknowingly extending the weeks-long oxidation period into months. While copper’s transformation is inherently a patient process, understanding its unique mechanics allows you to significantly accelerate the journey from shiny orange to weathered green.
Understanding Copper’s Patina: The Natural Process
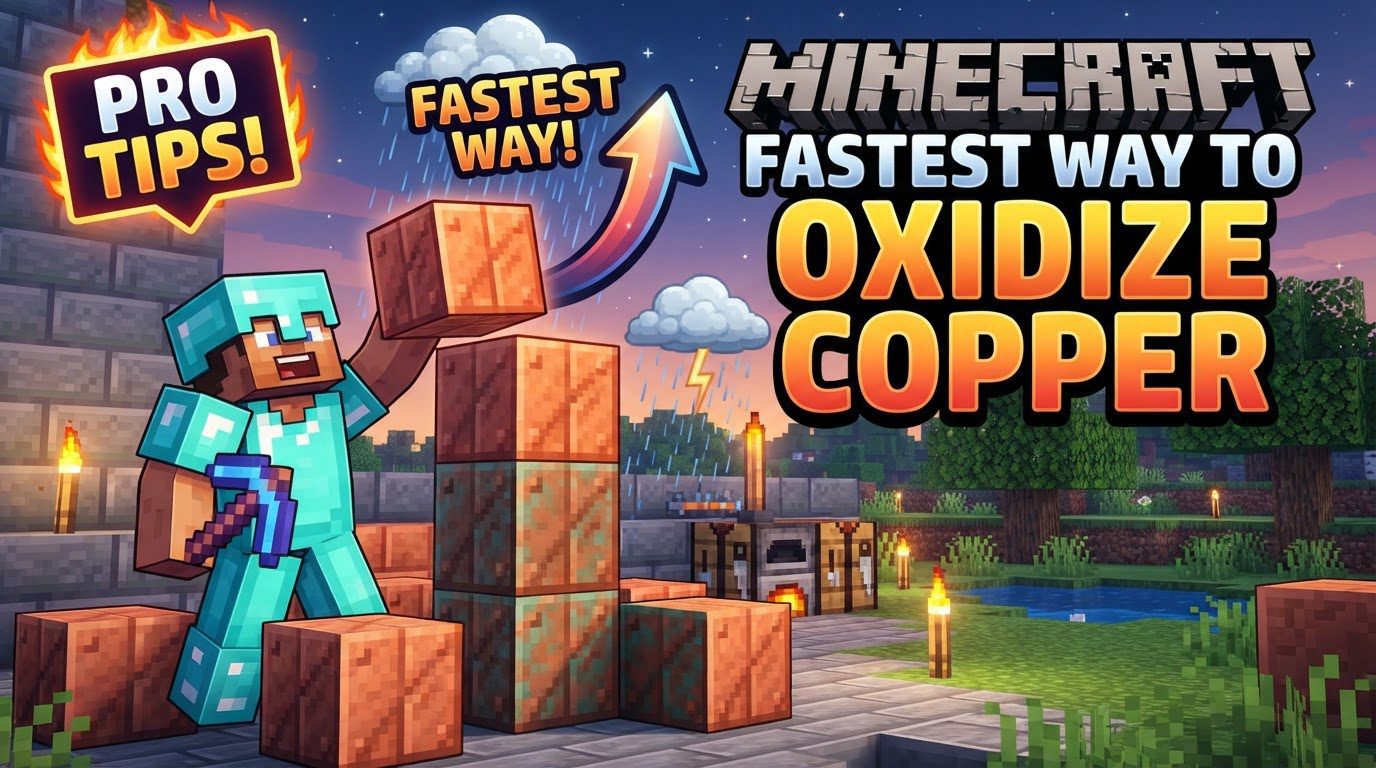
Copper in Minecraft is a dynamic block, undergoing a beautiful visual transformation through four distinct stages: Fresh, Exposed, Weathered, and finally, fully Oxidized. Initially, it gleams with a bright, fresh orange hue. Over time, it progresses to a slightly darker, more uneven “Exposed” state. Further aging leads to the “Weathered” stage, where it appears almost entirely green. The final stage, “Oxidized,” showcases a complete, vibrant green. This entire natural progression, if left to its own devices without player intervention, can take several real-world weeks of in-game time.
The engine behind this transformation is the game’s “random tick” system. These ticks are essentially periodic checks the game performs on blocks within loaded chunks, triggering various events like plant growth, leaf decay, and, crucially, copper oxidation. The more random ticks a copper block receives, the faster it will progress through its stages.
The Secret to Accelerated Aging: Strategic Spacing
The single most impactful factor in speeding up copper oxidation lies in its placement. It might seem counterintuitive, but copper blocks have a peculiar social dynamic: they slow down each other’s oxidation when in close proximity. The game checks for other copper blocks within a 4-block “taxicab” radius – meaning it counts blocks in any direction, including diagonals, up, and down. If another copper block is within this sphere, it will inhibit the random tick process for its neighbors.
Therefore, the fastest way to oxidize copper involves isolating each block. For optimal speed, place individual copper blocks with at least 4 to 5 blocks of empty space (air or non-copper blocks) surrounding them in all directions. This creates a buffer zone that ensures each copper block is not negatively influenced by its neighbors, allowing it to receive random ticks at the maximum possible rate. This strategic isolation is the cornerstone of rapid copper aging.
Setting Up Your Oxidation Zone
To put this strategic placement into practice effectively, consider creating a dedicated “oxidizing chamber” or area. This doesn’t need to be elaborate; a simple grid of isolated copper blocks will suffice. The key is to build this area in a chunk that you frequently load or, even better, in an area where you spend a lot of AFK (Away From Keyboard) time. This could be an underground room beneath your main base, a section of your farm, or any location that remains loaded in memory for extended periods.
The more time the chunks containing your isolated copper blocks are loaded, the more opportunities they have to receive random ticks, and thus, the faster they will oxidize. A vast, spread-out array of individually placed copper blocks, each surrounded by ample empty space, in a consistently loaded chunk, represents the pinnacle of efficient copper oxidation.
Preserving the Perfect Patina: Waxing Your Copper
Once your copper reaches the desired stage of oxidation – be it Exposed, Weathered, or fully Oxidized – you’ll want to preserve that look. This is where honeycomb comes in. By using a honeycomb item on a copper block, you “wax” it. Waxing permanently locks the copper in its current oxidation stage, preventing any further changes. This is invaluable for builders who want specific shades of green or orange in their constructions without worrying about them continuing to age.
For maximum efficiency, especially if you plan to use many copper blocks in a specific stage, it’s often more practical to wax the copper blocks in your inventory before placing them or crafting them into other variants (like stairs or slabs). This saves you the trouble of individually waxing each block after placement, which can be tedious for large builds.
Reversing the Green: De-oxidizing Copper
Mistakes happen, or perhaps your design vision changes. What if you over-oxidized a block, or simply want to revert it to an earlier stage? Minecraft provides tools for this too. An axe is your primary tool for de-oxidation. Right-clicking a copper block with an axe will remove one layer of oxidation, reverting it to the previous stage. You can repeatedly use the axe to bring a fully oxidized block all the way back to its fresh state, one stage at a time.
There’s also a more dramatic, albeit less controllable, method: lightning. If a lightning bolt strikes a copper block, it will instantly revert it to its fresh, unoxidized state. While exciting, relying on lightning for de-oxidation is impractical for precise control or large-scale projects.
Pitfalls to Avoid on Your Oxidation Journey
- Clustering Blocks: As highlighted, placing copper blocks directly adjacent to each other or in large, dense groups is the biggest impediment to fast oxidation. This will significantly slow down the process for all affected blocks.
- Expecting Instant Results: Even with optimal placement and constant chunk loading, copper oxidation is a long-term process. There’s no magical instant method within survival gameplay to fully oxidize copper without resorting to game commands that alter tick speed. Patience is key.
- Misunderstanding Oxidized Block Placement: Some players mistakenly believe that placing already oxidized copper blocks next to fresh copper will speed up the fresh copper’s oxidation. This is not true. While an oxidized block won’t *slow down* its neighbor as much as an unoxidized one might, it doesn’t actively accelerate the process. The core principle remains: isolation is best.
- Forgetting to Wax: If you have a specific intermediate stage (Exposed or Weathered) in mind for your build, failing to wax the copper at that precise moment will result in it continuing to oxidize past your desired stage. Always have honeycomb ready!
The Patience of a Builder
Achieving fully oxidized copper for your grand builds is a testament to both planning and patience. By understanding the underlying mechanics – primarily the role of random ticks and the detrimental effect of copper proximity – you can create an environment that maximizes the speed of this natural process. Isolate your blocks, keep them in loaded chunks, and be ready with honeycomb to preserve their perfect patina. Your copper structures will soon gleam with the verdant hues of time, adding a unique character to your Minecraft world.
Tags:
YOU MAY ALSO LIKE...


