

Minecraft How Does a Crafter Work
The Minecraft 1.21 update brought a revolutionary block that fundamentally changes how players approach large-scale production: the Crafter. Designed to automate the often-tedious process of crafting, this innovative block allows for the streamlined creation of items, freeing up players to focus on exploration, building, or more complex Redstone contraptions. It’s an essential tool for anyone looking to build efficient farms and truly massive projects in their Minecraft world.
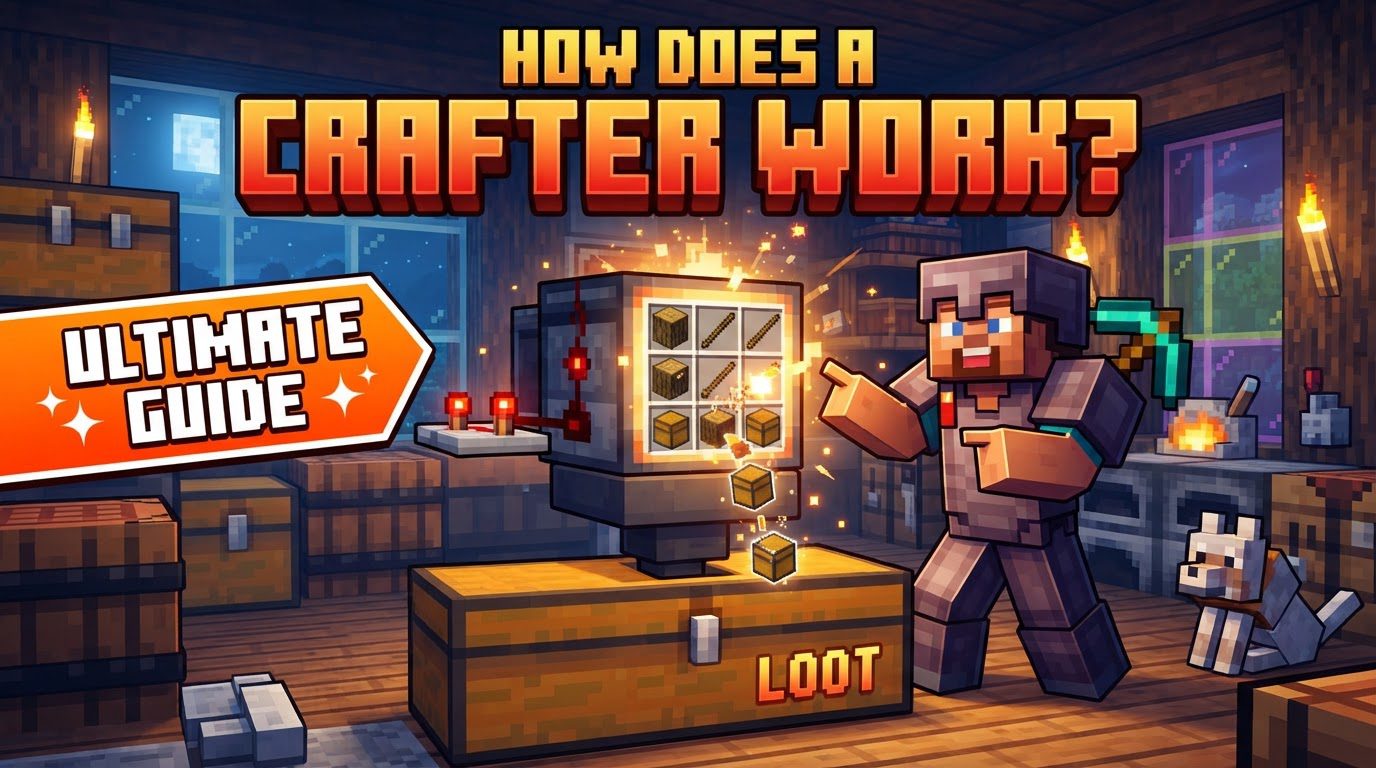
Understanding the Core Mechanics of Automated Crafting
At its heart, the Crafter is an automation powerhouse. Its primary function is to automatically produce items when it receives the correct ingredients and a Redstone signal. This mechanism transforms repetitive crafting tasks from manual labor into a hands-off operation.
- Integrated Crafting Grid: The Crafter features a nine-slot crafting grid, mirroring the familiar layout of a traditional crafting table. However, its true power lies in its configurability.
- Configurable Slots: Each of the nine slots within the Crafter’s interface can be individually enabled or disabled. This crucial feature allows players to precisely define specific crafting recipes. By disabling unused slots, you prevent the Crafter from attempting to craft unintended items, ensuring recipe integrity.
- Redstone Activation: Unlike a regular crafting table, the Crafter doesn’t operate continuously. It only performs a craft when it receives a Redstone signal. A single pulse is all that’s needed to trigger one crafting cycle, making it highly responsive to Redstone clocks and other control mechanisms.
- Automatic Item Ejection: Once an item is successfully crafted, it isn’t stored internally. Instead, it is immediately ejected from the front face of the Crafter. This design facilitates seamless integration with collection systems.
- Redstone Component: As a dedicated Redstone component, the Crafter is built to integrate directly into complex Redstone circuits. This makes it a foundational element for advanced automation setups.
Building Your Automation Hub: Crafting the Crafter
Before you can automate your production lines, you first need to craft the Crafter itself. The recipe is relatively straightforward, requiring a mix of common and Redstone-related materials:
To create a Crafter, you will need the following items:
- Five iron ingots
- One crafting table
- Two pieces of Redstone dust
- One dropper
These components are arranged in a specific pattern within a standard crafting table. The dropper goes in the bottom middle slot, flanked by two Redstone dust. The crafting table sits in the center, with iron ingots filling the remaining five slots (top row, and the left and right middle slots). Once crafted, you’re ready to place it and begin setting up your automated factory.
The Recipe for Success: Configuring Inputs and Outputs
Setting up the Crafter involves a methodical approach to ensure correct ingredient delivery and recipe configuration.
- Placing Ingredients: Materials are fed into the Crafter’s nine input slots. The most common and efficient method for supplying ingredients is by using hoppers. Hoppers placed on top of the Crafter will automatically deposit items into its inventory. It’s important to note that hoppers fill slots in a specific order: from left to right, then top to bottom. Understanding this filling order is crucial for recipes that require specific item placement.
- Configuring the Recipe: Access the Crafter’s interface by right-clicking it. Within this GUI, you will place the necessary ingredients into the input slots to form your desired recipe, just as you would on a regular crafting table. The critical step here is to disable any slots that should remain empty for your specific recipe. This is done by clicking on the empty slot in the Crafter’s GUI. An empty slot that is disabled will appear slightly different or have an overlay, indicating it will not accept items or be considered part of the recipe for crafting. This prevents accidental crafting of unintended items if excess materials are supplied.
Powering the Production Line: Redstone Integration
With ingredients loaded and the recipe configured, the next step is to activate the Crafter and manage its output.
- Applying Redstone Power: The Crafter will only perform a craft when it receives a Redstone signal. This can be as simple as a button press, a lever flick, or a Redstone torch placed adjacent to it. For continuous automation, a Redstone clock circuit is ideal, as it provides regular pulses, allowing for mass production of items. The Crafter is sensitive to Redstone signals from any adjacent side, making it flexible for integration into various Redstone designs.
- Collecting Output: Once the Redstone signal triggers a craft, the newly created item will be ejected from the front face of the Crafter. To collect these items, ensure there is an open space directly in front of the Crafter. Hoppers are again the preferred method here; they can be placed below the output face to automatically collect crafted items and transport them to chests, barrels, or other storage systems.
Mastering Efficient Automation: Advanced Tips
To truly leverage the Crafter’s potential, consider these advanced strategies:
- Optimizing Hopper Input: Always use hoppers to automatically feed ingredients. For complex recipes, consider using multiple hoppers feeding into different sides or a hopper chain to ensure specific slots are filled correctly, especially when the default left-to-right, top-to-bottom filling order isn’t ideal for your recipe.
- The Importance of Disabled Slots: Reiterate the necessity of disabling slots in the Crafter’s GUI that are not part of your intended recipe. This is the single most important step to prevent crafting errors and ensure consistent item production.
- Leveraging Redstone Clocks: For continuous, high-volume automation, connect a Redstone clock circuit. Various clock designs exist, from simple comparators to more complex observer-based systems, allowing you to control the crafting speed precisely.
- Robust Output Management: Always ensure there’s an unobstructed path for the crafted item to be ejected. A hopper or barrel directly beneath the output face is standard practice. For high-throughput systems, consider multiple output hoppers or a high-capacity storage solution to prevent backups.
- Comparator Feedback Systems: A Redstone comparator can read the Crafter’s state, providing valuable feedback. It outputs a Redstone signal based on the number of disabled slots and items present. This signal can be used to create smart automation systems that only activate the Crafter when all necessary ingredients are present, or to pause production when storage is full, preventing over-crafting and wasted resources.
Avoiding Production Pitfalls: Common Troubleshooting
Even with careful planning, issues can arise. Here are common mistakes and how to avoid them:
- Incorrect Redstone Power: The Crafter requires a direct Redstone signal. Transparent blocks like glass will not transfer Redstone power to it. Ensure your Redstone dust, repeaters, or power sources are directly adjacent or properly connected.
- Wrong Ingredients: The Crafter is precise. Supplying incorrect materials (e.g., gold nuggets instead of ingots, or cobblestone instead of stone) will prevent the Crafter from working, even if other slots are correctly filled. Double-check your input streams.
- Disabled Essential Slots: A frequent oversight is accidentally disabling a slot that is actually required for the recipe. If a slot crucial for the craft is disabled, the Crafter will simply not function, regardless of ingredients present. Review your recipe configuration carefully.
- Jammed Output: If the front of the Crafter is blocked by another block, a solid wall, or even an item that has nowhere to go, crafted items cannot be ejected. This will cause the entire system to stop, as the Crafter cannot proceed without ejecting its product.
- Improper Hopper Filling: Remember that hoppers fill slots from left to right, then top to bottom. If your recipe requires a specific pattern that doesn’t align with this default hopper behavior, items might end up in the wrong slots. This often requires careful hopper placement or using multiple hoppers feeding into specific slots.
- Not Enough Ingredients: The Crafter will not attempt a craft if all necessary materials are not fully present in their respective enabled slots. Ensure your input supply is consistent and sufficient for continuous operation.
The Future of Crafting in Minecraft
The Crafter represents a significant leap forward in Minecraft automation. It moves beyond simple sorting and storage to actual item production, allowing players to build truly complex and self-sustaining industrial setups. By understanding its mechanics, mastering its configuration, and integrating it effectively with Redstone, players can transform their block-by-block crafting into a streamlined, automated process, opening up new possibilities for creativity and efficiency in their worlds.
Tags:
YOU MAY ALSO LIKE...


