

Minecraft How to Breed Villagers 1.21
One of the most frustrating experiences for a seasoned Minecraft player can be watching a perfectly designed villager breeder, once a paragon of efficiency, suddenly cease to function after an update. Many players attempting to establish a thriving villager population in Minecraft 1.21 find their old setups failing, often due to subtle yet critical changes in game mechanics. Understanding these updated requirements is key to successfully breeding villagers and expanding your in-game economy or trading empire.
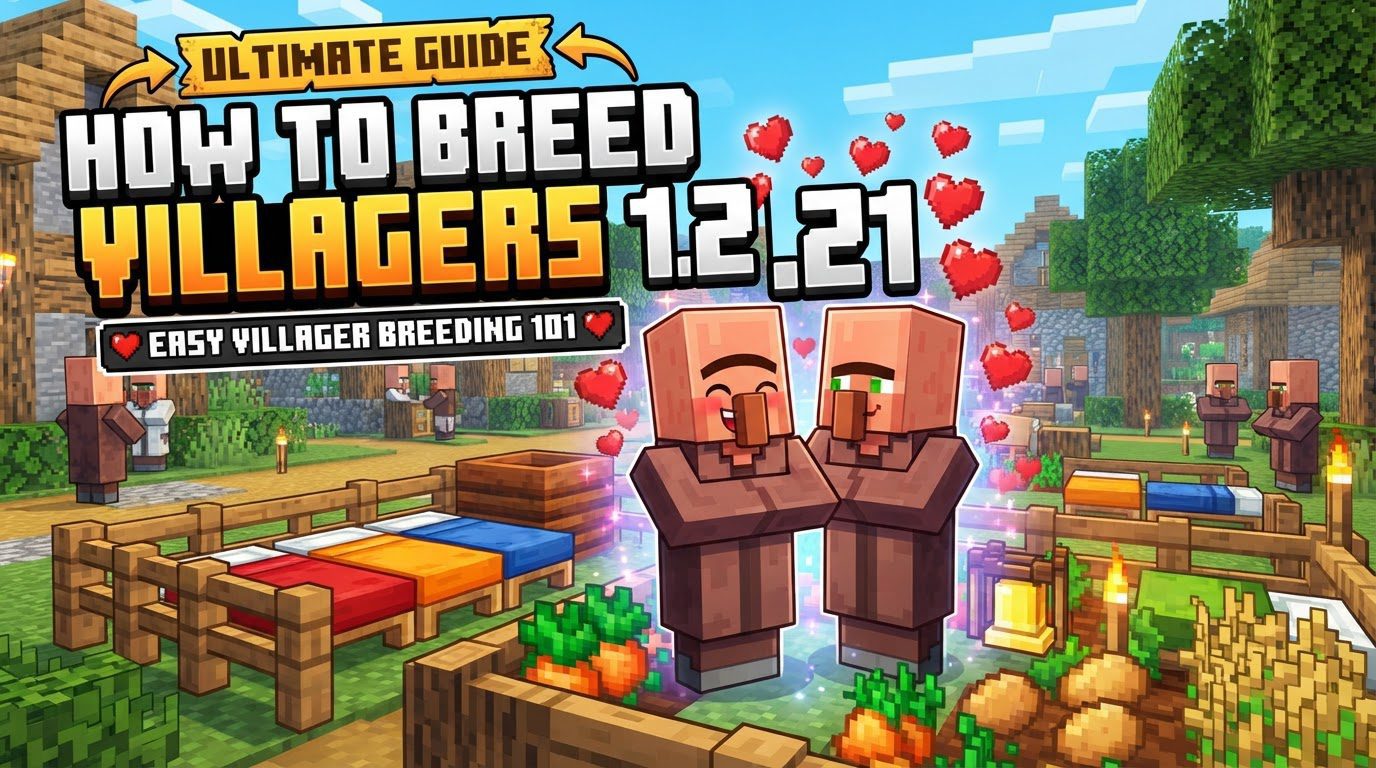
The Foundations of Villager Procreation: Understanding Willingness
Villagers aren’t just going to breed on a whim; they need specific conditions met before they become “willing.” This state of willingness is the crucial precursor to any baby villagers appearing. Three primary factors dictate whether your villagers feel inclined to expand their family:
- Beds are Paramount: For two villagers to breed and produce a single baby, there must be at least three beds available. Each adult villager needs their own bed, and the newborn also requires one. Crucially, these beds must be accessible; villagers need to be able to pathfind to them, meaning no blocks obstructing their path to the bed itself.
- A Full Stomach: The Food Requirement: Villagers need to feel well-fed to consider breeding. They will pick up food items dropped near them and store them in their inventory. Different food items contribute varying “point values” towards their breeding readiness. Without sufficient food, they simply won’t be willing.
- Room to Grow: Space for the New Arrival: A baby villager needs a place to spawn. This means there must be enough open air blocks directly above the beds for the new villager to appear. If the space is too confined, breeding will not occur, even if all other conditions are met.
When these conditions are met, you’ll often observe villagers throwing food items at each other, a clear visual cue that they have become willing and are ready to breed.
Establishing Your First Villager Nursery: A Step-by-Step Guide
Creating a self-sustaining villager population can seem daunting, but by following a clear process, you can reliably encourage them to breed.
- Step 1: Relocating Your Future Parents
Begin by bringing at least two adult villagers to a designated breeding area. This area should be secure and free from zombies or other threats that could harm your villagers or prevent breeding. Using minecarts, boats, or simply guiding them with food can help in their relocation. - Step 2: Setting Up the Sleeping Arrangements
Once your villagers are in place, arrange at least three beds within their accessible range. Ensure there are no blocks directly above the beds that would prevent a baby from spawning. The villagers must be able to walk to and “use” these beds, even if they don’t necessarily sleep in them every night. - Step 3: A Bountiful Feast for Breeding
Villagers are particular about their diet when it comes to procreation. Drop a generous supply of food items near them. Excellent choices include bread, carrots, or potatoes. They will slowly pick these items up and store them in their internal inventory. Continue to supply food until they have enough; you might need quite a bit initially. - Step 4: The Waiting Game
With beds available and food in their inventories, your villagers should soon become willing. Look for the heart particles appearing above their heads, followed by a smaller set of heart particles merging to create a baby villager. This process isn’t instantaneous, so a little patience is often required. - Step 5: Expanding Your Village
To continue growing your villager population, simply ensure the conditions remain met. Provide additional beds for each new villager you wish to create, maintain a steady food supply, and confirm there’s always space for new babies to spawn.
Beyond the Basics: Optimizing Your Breeding Efforts
Once you’ve mastered the fundamentals, you can refine your villager breeding operations for greater efficiency and scale.
- Modern Breeder Blueprints: Due to ongoing changes in Minecraft updates, including the size of baby villagers, it is highly recommended to use villager breeder designs specifically verified to work in version 1.21 or later. Outdated designs might have subtle flaws that prevent them from functioning correctly. Search for “Minecraft 1.21 villager breeder” to find reliable schematics.
- Streamlining the Production Line: For large-scale villager farms, efficient breeder designs often incorporate mechanisms to automatically collect baby villagers. This usually involves water streams or trapdoors that guide the newborns away from the breeding chamber, freeing up space and beds for continuous production. This also prevents the breeding chamber from becoming overcrowded.
- Strategic Food Choices: While bread, carrots, and potatoes are excellent, understanding which foods provide the most “breeding points” can help you optimize your food supply. For instance, bread often requires fewer individual items to reach the willingness threshold compared to single carrots or potatoes, making it a highly efficient choice if you have a wheat farm.
Troubleshooting Your Villager Farm: Avoiding Common Pitfalls
Even with the right knowledge, breeding villagers can sometimes be tricky. Here are common issues and how to resolve them:
- The Peril of Legacy Designs: One of the most frequent reasons for breeding failure in Minecraft 1.21 is using an older breeder design. Changes to villager AI, pathfinding, and even baby villager hitboxes can render old setups ineffective. Always check that your design is current.
- Bed Shortages: A common oversight is not providing enough beds. Remember the rule: one bed for each adult, plus one for the potential baby. If you have two adults, you need at least three beds. If you’re trying to breed multiple pairs simultaneously, scale up your bed count accordingly.
- Hungry Villagers, No Babies: Villagers will absolutely not breed if their internal food supply is insufficient. If you’re not seeing heart particles, ensure you’ve dropped plenty of food and given them time to pick it up. Sometimes they can be slow to collect items.
- Blocked Paths to Comfort: Beds might be present, but if villagers cannot physically pathfind to them, they are useless. Check for any blocks obstructing their movement to the bed’s hitbox. This includes trapdoors, pressure plates, or even other villagers blocking the way.
- Cramped Quarters: If there isn’t enough open space directly above the beds (typically 2-3 blocks high, depending on the exact design), the baby villager has nowhere to spawn. Ensure the breeding chamber has adequate vertical clearance.
- The Growth Spurt Dilemma: Particularly in Java Edition, updates have sometimes altered the physical size or hitbox of baby villagers. This can cause older, tightly-packed breeder designs to fail if the baby gets stuck or cannot spawn correctly in a space that was previously just large enough. This is another reason to favor updated designs.
By keeping these core mechanics and common pitfalls in mind, you’ll be well-equipped to establish a thriving villager population in your Minecraft 1.21 world, unlocking powerful trading opportunities and expanding your in-game empire.
Tags:
YOU MAY ALSO LIKE...


