

Minecraft How to Build a Roof
A truly great Minecraft build isn’t complete without a thoughtfully constructed roof, yet it’s often the last and most rushed element. Many new builders overlook the critical role a roof plays, both functionally and aesthetically, relegating it to a simple cap rather than an integral part of the design. A well-designed roof can elevate a drab box into a captivating home, providing character, depth, and a sense of completeness to your structure.
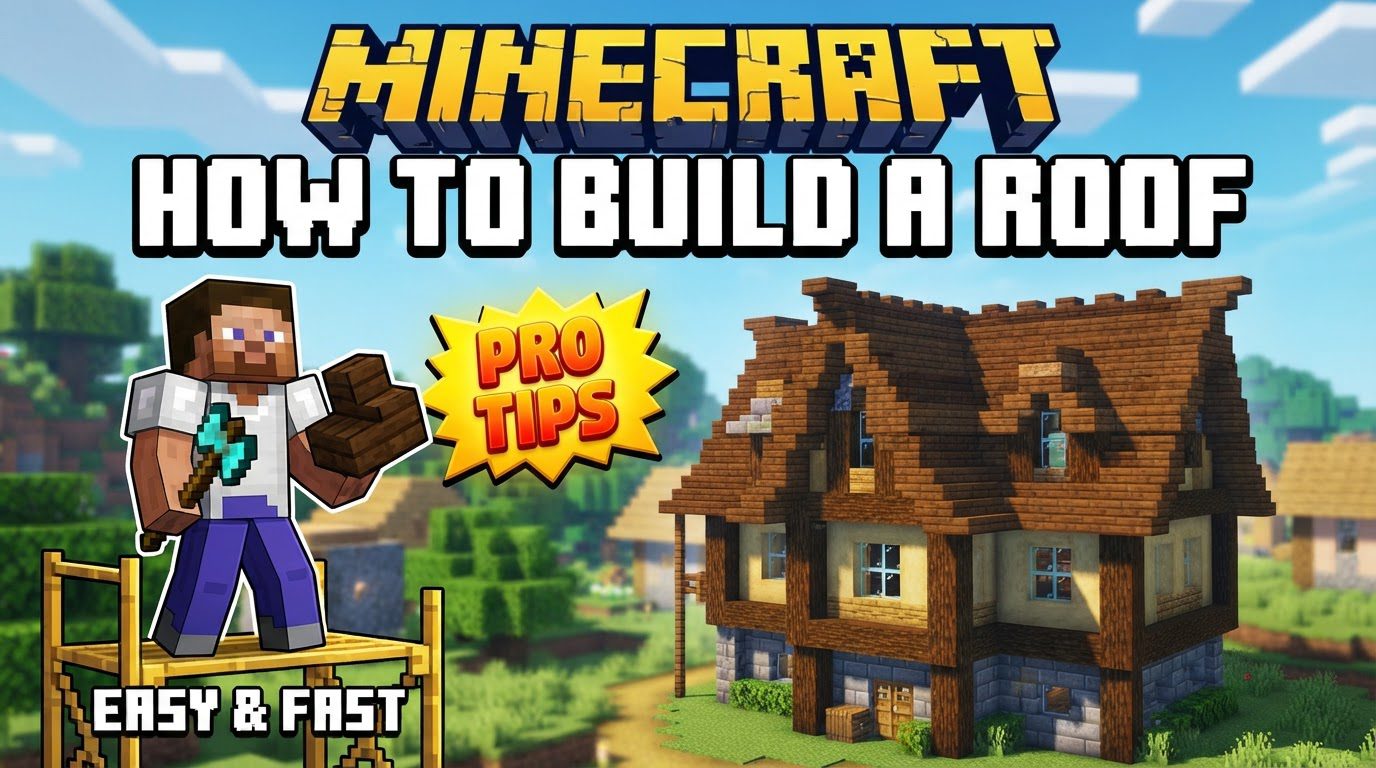
The Unsung Hero: Why Your Build Needs a Great Roof
Beyond merely keeping out the rain, a roof in Minecraft serves several crucial purposes:
- Protection from Mobs: A solid roof prevents Phantoms from spawning above you at night and stops other hostile mobs from dropping in unexpectedly. It’s a fundamental layer of security for your base.
- Weather Shield: While rain and snow don’t technically harm players indoors, a roof provides visual consistency and a sense of shelter, enhancing the immersion of your build.
- Structural Integrity (Visual): A well-proportioned roof makes your building look sturdy and believable, even if Minecraft’s physics don’t strictly require it. It visually ties all the walls together.
- Aesthetic Appeal: This is arguably the most significant role. A roof defines the architectural style of your building. It adds height, texture, and color, transforming a simple structure into something grand, cozy, modern, or ancient. It’s a canvas for creativity.
Foundational Roof Designs: Starting Simple
Understanding basic roof shapes is the first step to mastering roof construction. Most complex designs are simply combinations or elaborations of these fundamental forms.
- Flat Roofs:
The simplest to construct, a flat roof is essentially a solid layer of blocks across the top of your building. They are excellent for modern or industrial builds and can be functional, serving as a rooftop garden, an observation deck, or a place for animal pens. The challenge with flat roofs is making them look interesting; consider adding skylights, varying block textures, or creating small parapets around the edge to avoid a ‘boxy’ appearance.
- Sloped (Gable) Roofs:
This is the most common and iconic roof type, reminiscent of traditional houses. A gable roof features two sloping sides that meet at a ridge, forming a triangular section (the gable end) at each end of the building. Constructed primarily with stairs and slabs, these roofs offer a classic, cozy feel. Building them involves layering stairs, often with full blocks or slabs underneath for support and depth, to create the desired slope. Experiment with different slopes – a steeper roof can look more dramatic, while a gentler slope feels more understated.
- Pyramid Roofs:
Ideal for square or octagonal towers and smaller, standalone structures, pyramid roofs are built by gradually decreasing the size of each square layer of blocks as you build upwards, eventually meeting at a single apex. They are relatively easy to construct and provide a strong, symmetrical look, often seen on castles or watchtowers.
- Dome Roofs:
The most challenging of the basic shapes, dome roofs are curved structures that require careful planning and a good understanding of circular patterns. They are often used for grand builds like cathedrals, observatories, or fantasy structures, offering a unique and organic aesthetic. Building a dome typically involves using a circular generator tool or planning out layers of diminishing circles manually.
- Mixed & Complex Roofs:
Once you’re comfortable with the basics, you can start combining these shapes. An L-shaped house might have two intersecting gable roofs, or a central tower could sport a pyramid roof while the surrounding sections have flat roofs. Multi-tiered roofs, where different sections of the roof are at varying heights, add significant visual interest and architectural sophistication.
Choosing Your Palette: Materials Matter
The blocks you select for your roof dramatically influence its final appearance. Consider color, texture, and how they complement your wall materials.
- Wood (Planks, Stairs, Slabs): Incredibly versatile, wood blocks come in various colors (oak, spruce, dark oak, jungle, acacia, birch, crimson, warped). They are perfect for rustic, traditional, or fantasy builds. Spruce often makes a good dark roof, while birch can brighten a structure.
- Stone (Cobblestone, Stone Bricks, Andesite, Diorite, Granite): These materials lend a durable, sturdy, and often medieval or castle-like appearance. Stone bricks are clean, while cobblestone offers a rougher texture. Polished variants of andesite, diorite, and granite provide smoother alternatives.
- Terracotta / Glazed Terracotta: For vibrant colors and unique patterns, terracotta is excellent for exotic, modern, or Mediterranean-inspired builds. Glazed terracotta, with its intricate designs, can add striking detailing.
- Prismarine / Dark Prismarine: With their unique, somewhat alien textures and greenish-blue hues, these blocks are fantastic for aquatic themes, futuristic builds, or unique fantasy structures.
- Nether Brick / Blackstone: These dark, imposing materials are perfect for ominous builds, villainous lairs, or structures with a strong, gothic presence. Nether brick fences and walls can also make great decorative elements.
- Glass / Stained Glass: Incorporating glass panes or blocks into your roof creates skylights, conservatories, or modern architectural accents, letting light into your interior spaces.
- Leaves / Hay Bales: For an organic, natural, or thatched roof look, leaves (especially dark oak or spruce) can be used, though they are not fully solid. Hay bales, when placed as a roof, offer a distinct texture but are highly flammable, so use with caution!
- Mixing Materials: Don’t be afraid to combine blocks. A base of stone bricks with a trim of darker wood, or a terracotta roof with glazed terracotta accents, can add significant depth and visual interest.
Adding Character: Overhangs, Gables, and Dormers
These architectural details transform a basic roof into a masterpiece, adding realism and visual flair.
- Overhangs: An overhang is when the roof extends one or two blocks past the wall line of the building. This simple addition creates shadows, adds depth, and makes the roof look less like it’s just sitting on top of the walls. It also visually “protects” the walls from imaginary rain.
- Gables: As mentioned, this is the triangular section of wall formed by a sloped roof. Instead of leaving it a plain wall, consider decorating it with windows, contrasting block patterns, or even small balconies. It’s a prime spot for adding character.
- Dormers: A dormer is a structural element of a building that protrudes vertically from the slope of a pitched roof, typically to accommodate a window. Building a dormer involves creating a small, mini-roof section on top of your main roof, complete with its own small walls and window. They add complexity, break up large roof surfaces, and can provide light and space to an attic level.
The Art of Blending: Aesthetic Principles
Beyond the mechanics, a truly great roof adheres to certain aesthetic guidelines:
- Proportion: Ensure your roof’s size is proportionate to your building. A roof that’s too small can look like an afterthought, while one that’s too large can make the building feel dwarfed. Aim for a balanced visual weight.
- Color Harmony: Choose roof colors that either complement or tastefully contrast with your wall materials. Using different shades of the same material (e.g., dark oak planks for walls, spruce planks for the roof) can create subtle depth.
- Texture Variety: Avoid using only one type of block for your entire roof. Incorporate stairs, slabs, full blocks, and even fences or walls for trim, ridges, and eaves. This adds visual texture and prevents the roof from looking flat and uninteresting.
- Height Variation: If your building has multiple sections, consider giving each section a roof at a different height or with a different slope. This creates a dynamic skyline and adds complexity to your build.
- Roof Ridges and Eaves: Pay attention to the edges. Using slabs or a different block type along the ridge (the peak) and the eaves (the bottom edge) can help define the roof’s lines and add a polished finish.
Mastering the Apex: Tips for Aspiring Architects
Building impressive roofs takes practice, but these tips can help you on your journey:
- Start Simple: Don’t try to build an elaborate multi-tiered dome on your first attempt. Begin with flat or simple gable roofs to get a feel for the mechanics.
- Plan Ahead: Before placing a single block, visualize your roof. Consider the shape of your walls and how the roof will sit on them. Sketching it out, even roughly, can be immensely helpful.
- Utilize Slabs and Stairs: These are your primary tools for creating slopes, curves, and fine details. Master their placement and orientation.
- Don’t Fear Experimentation: Minecraft is a sandbox game. It’s easy to break and rebuild. Try different materials, slopes, and designs. You never know what amazing combination you’ll discover.
- Look at Real-World Inspiration: Browse images of real-world architecture. Observe how different roof styles are constructed and how they integrate with the rest of the building. This can spark countless ideas.
- Practice Makes Perfect: The more roofs you build, the better you’ll become at judging proportions, selecting materials, and executing complex designs.
A well-crafted roof is more than just a cap; it’s the crown jewel of your Minecraft creation. By understanding basic shapes, choosing appropriate materials, and incorporating thoughtful details, you can transform any structure into a truly memorable build. So next time you’re building, remember to give your roof the attention it deserves – your builds (and your inner architect) will thank you.
Tags:
YOU MAY ALSO LIKE...


