

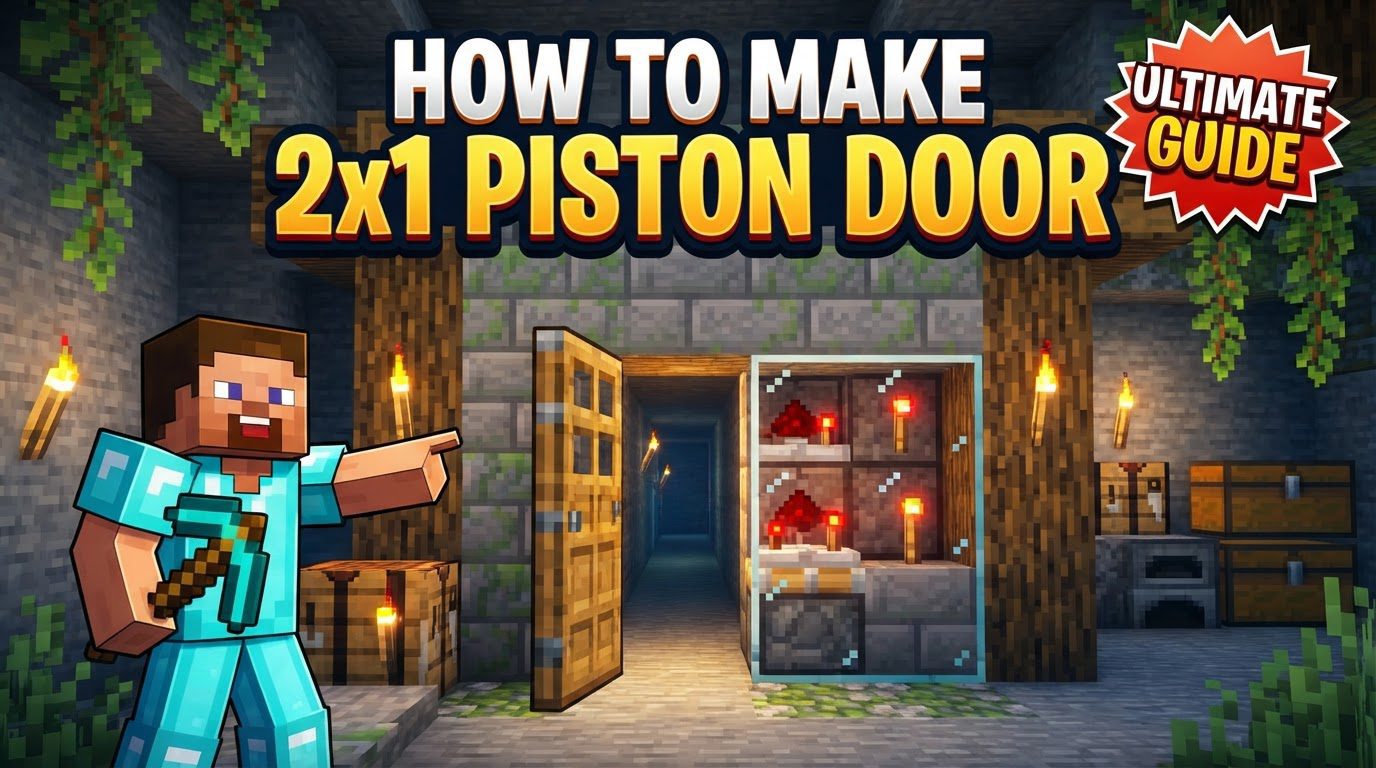
Minecraft How to Make 2×1 Piston Door
The silent frustration of a sticky piston refusing to retract, or a door half-opening, is a common rite of passage for many budding Redstone engineers in Minecraft. Building a functional 2×1 piston door, while seemingly simple, requires a precise understanding of Redstone mechanics to ensure a smooth, reliable operation. This guide will demystify the process, empowering you to integrate seamless, hidden entrances into your builds.
The Essential Components of Redstone Engineering
Before you can construct your automated entryway, understanding the fundamental tools at your disposal is paramount. Each component plays a specific role in transmitting power and manipulating blocks.
- Sticky Pistons: These are the workhorses of any piston door. Unlike regular pistons, sticky pistons not only extend to push blocks but also retract to pull them back. This dual action is crucial for creating the opening and closing motion of your door. You’ll need at least two for a basic 2×1 door.
- Redstone Dust: The veins of your Redstone circuit, Redstone dust transmits power from activation mechanisms to other Redstone components. Think of it as electrical wiring; it needs to be placed on solid blocks to carry a signal effectively.
- Redstone Torches: These versatile components can act as a constant power source, emitting a signal of power level 15. Crucially, they can also invert a Redstone signal, turning an ‘on’ signal ‘off’ and vice-versa, which is often vital for controlling piston states in more complex designs.
- Redstone Repeaters: Redstone signals transmitted by dust only travel a maximum of 15 blocks before dying out. Repeaters solve this by re-strengthening the signal, allowing it to travel further. They also introduce adjustable delays, measured in “ticks” (1 tick = 0.1 seconds), which can be essential for timing pistons to activate in a specific sequence.
- Powering Pistons: Pistons can be activated in a couple of ways: either by being directly powered (e.g., Redstone dust pointing into them, a lever on their side) or, in Java Edition, through a mechanism called “quasi-connectivity.” Quasi-connectivity means a piston can be activated if the block directly above it is powered, even if the piston itself isn’t directly powered. Understanding this difference is key, especially when looking at designs across different Minecraft versions. To retract the blocks, the power source to the piston must be removed.
- Door Blocks: These are simply the blocks that the pistons will push and pull to create the actual door. Any solid block, such as stone, wood, or even obsidian (though pistons cannot push obsidian), can be used.
Constructing Your Simple 2×1 Piston Door
Let’s dive into the practical steps for building a reliable and straightforward 2×1 piston door. This design focuses on functionality and ease of construction.
- Establish Your Doorway: Begin by creating the 2-block high and 1-block wide opening in your wall where the door will eventually be. This defines the space your door blocks will occupy when closed.
- Place the Sticky Pistons: Stand behind your doorway. Place two sticky pistons, one directly above the other, flush with the edge of your future door opening. Ensure the sticky faces of these pistons are pointing towards the opening, as they will push and pull your door blocks. For a truly flush design where the pistons are hidden within the wall, you might place them one block further back, pushing the door blocks into the opening.
- Attach the Door Blocks: Place your chosen door blocks directly onto the sticky faces of the two pistons. When the pistons are extended, these blocks will fill your doorway.
- Set Up the Redstone Power System: This is where the magic happens.
- Bottom Piston Power: Place a solid block directly behind the bottom sticky piston. On the back face of this block, place a Redstone torch. This torch will directly power the bottom piston, causing it to extend.
- Top Piston Power: Place another solid block directly on top of the Redstone torch you just placed. Then, place a piece of Redstone dust on top of this second block. Because the Redstone torch powers the block above it, this Redstone dust will be powered, which in turn powers the top sticky piston (often via quasi-connectivity in Java Edition, or direct power if the dust is adjacent to the piston). Both pistons should now extend, closing your door.
- Signal Inversion (for opening): To make the door open, you need to turn off the power to these pistons. Run Redstone dust from the base of the block holding the Redstone torch (the one powering the bottom piston) to your desired activation point. When this Redstone dust receives a signal, it will turn off the Redstone torch, causing both pistons to retract and the door to open.
- Connect the Activation Mechanism:
- Lever: Place a lever on a block connected directly to the Redstone dust leading to your door mechanism. Toggling the lever will switch the Redstone torch on/off, opening and closing the door.
- Button: For momentary activation, place a button on a block connected to your Redstone. The button will provide a brief pulse, opening the door for a few seconds before it closes again. You might need to add a Redstone repeater set to a delay or a Redstone torch inverter depending on your specific Redstone layout to ensure the signal is inverted correctly.
- Pressure Plates: Place pressure plates on the ground leading into or out of your door. Connect them via Redstone dust to your mechanism. Stepping on the plates will activate the door, which will then close automatically once you step off.
- Conceal the Redstone (Optional but Recommended): Once your door functions correctly, use appropriate building blocks to hide all the Redstone components and pistons. This integrates the door seamlessly into your structure, providing a clean and professional look.
Refining Your Design: Tips for the Savvy Builder
Once you’ve mastered the basic 2×1 door, consider these tips to enhance your creations.
- Flush Designs: For a completely hidden door, the Redstone mechanisms are often built underground or cleverly integrated within the wall itself. This requires careful planning of Redstone routing and piston placement so that no Redstone components are visible when the door is closed.
- Compactness: Experienced builders often strive for the most compact Redstone designs possible. This not only saves space but also reduces resource usage. Experiment with different Redstone layouts to see if you can achieve the same functionality with fewer blocks.
- Activation Versatility: While levers offer a toggle on/off, buttons provide momentary access, and pressure plates offer automatic entry/exit. For hidden bases, consider “torch keys” – specific block placements that trigger a hidden Redstone circuit – or even item-frame detectors for more advanced concealment.
- Survival Friendly: Many tutorials prioritize designs that use easily obtainable materials like cobblestone, wood, and basic Redstone components. This makes them ideal for survival mode, where resource gathering is a constant consideration.
- Platform Specifics: Always be aware that Redstone mechanics can differ between Minecraft Java Edition and Bedrock Edition. Quasi-connectivity, for instance, is a feature primarily found in Java. If a design isn’t working as expected, it’s worth checking if it’s a Java-specific mechanism being attempted in Bedrock, or vice-versa.
Troubleshooting Your Creation: Common Pitfalls and Solutions
Even seasoned builders encounter issues. Here are common problems and how to fix them:
- Pistons Not Extending or Retracting: This is frequently a power issue. Double-check that your Redstone signal is strong enough (use repeaters if the signal travels more than 15 blocks). Ensure Redstone dust is correctly placed on solid blocks and that power sources are directly adjacent or connected to the circuit. Make sure no blocks are obstructing the Redstone dust’s path.
- Incorrect Repeater Delay: If your door’s pistons are activating out of sequence, or one isn’t moving at all, check your repeater settings. Some designs require specific tick delays (right-click a repeater to adjust its delay) for proper timing. A common mistake is not providing enough delay for one piston to retract before another extends.
- Obstructed Pistons: Ensure there are no blocks directly in front of the sticky pistons that would prevent them from extending or retracting the door blocks. This can be a subtle issue if you’re building a compact or flush design. The piston needs clear space to move its block.
- Redstone Signal Issues: Remember that Redstone dust needs to be placed on solid blocks to transmit power. It cannot transmit power across empty space. Also, ensure your power source (lever, button, torch) is correctly connected to the Redstone circuit. A Redstone torch can only power blocks it is attached to or the block directly above it.
- Bedrock vs. Java Differences: If you’re following a tutorial, confirm which edition of Minecraft it’s designed for. Quasi-connectivity, for example, is a Java-specific mechanic. Attempting a Java-specific quasi-connectivity design in Bedrock Edition will likely result in a non-functional door. Always search for designs tailored to your specific platform if you encounter persistent issues.
Mastering the 2×1 piston door is a foundational step in your Redstone journey. With practice and an understanding of these core mechanics, you’ll soon be building more complex and creative automated systems in your Minecraft world.
Tags:
YOU MAY ALSO LIKE...


