

Minecraft Potion Chart
Many aspiring alchemists in Minecraft waste precious resources brewing concoctions with no effect, creating what are known as Mundane or Thick Potions. These useless mixtures are often the result of not understanding the fundamental building block of nearly all potent elixirs: the Awkward Potion. Mastering Minecraft’s potion system transforms survival, combat, and exploration, turning dangerous encounters into manageable challenges and opening new avenues of gameplay. This intricate system, centered around the Brewing Stand, allows players to craft a vast array of beneficial (and sometimes detrimental) effects, but it requires a precise understanding of ingredients and processes.
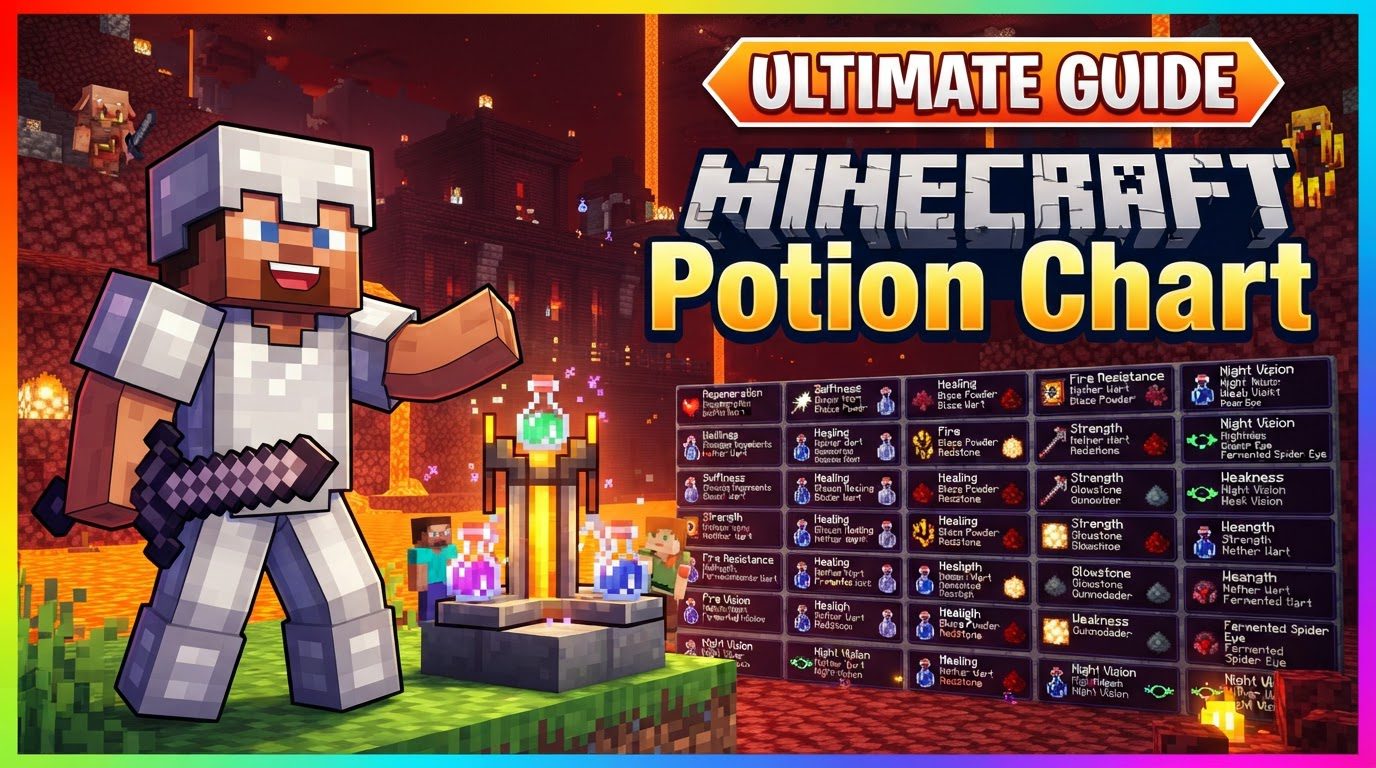
The Alchemist’s Cornerstone: The Brewing Stand
At the heart of all potion-making lies the Brewing Stand. This essential utility block is your gateway to transforming simple water into powerful elixirs. Crafting it is straightforward: you’ll need one Blaze Rod, typically acquired from Blazes found in Nether Fortresses, and three blocks of Cobblestone. Once crafted and placed, the Brewing Stand presents a user interface with several slots: a top slot for ingredients, three bottom slots for bottles, and a leftmost slot specifically for fuel. Remember, a single Brewing Stand can process up to three potions simultaneously, making bulk brewing significantly more efficient.
Fueling Your Potions: Blaze Powder
Unlike many other utility blocks, the Brewing Stand doesn’t run on traditional fuels like coal or wood. Instead, it requires Blaze Powder. This critical fuel source is obtained by crafting a Blaze Rod into two units of Blaze Powder. Each unit of Blaze Powder provides enough energy to fuel multiple brewing operations, so a small supply can go a long way. Keeping a steady stock of Blaze Powder is crucial for any serious alchemist, as brewing will halt without it.
The Foundation of All Elixirs: Water Bottles and the Awkward Potion
Every potion’s journey begins with the simplest ingredient: Water Bottles. These can be easily filled from any water source block or by interacting with a cauldron containing water. Once you have your Water Bottles, the next vital step is to create the Awkward Potion. This unassuming potion is the fundamental base for nearly all effect potions in Minecraft. To make it, place Water Bottles in the bottom slots of your Brewing Stand and a Nether Wart in the top ingredient slot. Nether Wart, found exclusively in the Nether, is therefore an indispensable crop for any potion brewer. The Awkward Potion itself has no direct effect, but it acts as the canvas upon which all other potion effects are painted.
Crafting Potions: A Step-by-Step Guide
Brewing potions might seem complex at first, but it follows a consistent and logical sequence:
- Craft a Brewing Stand: Combine 1 Blaze Rod and 3 Cobblestone.
- Obtain Fuel and Bottles: Gather Blaze Powder from Blaze Rods (found in the Nether) and fill Glass Bottles with water.
- Create Awkward Potions: Place your Water Bottles in the bottom slots of the Brewing Stand and a Nether Wart in the top ingredient slot. This will produce Awkward Potions.
- Add Main Ingredient: With Awkward Potions now in the bottom slots, add your desired effect-specific ingredient to the top slot. For example, Sugar creates a Potion of Swiftness, while Magma Cream yields a Potion of Fire Resistance. This step transforms the Awkward Potion into an effect potion.
- Apply Modifiers (Optional): Once you have your base effect potion, you can further enhance or alter it using specific modifier ingredients.
The Art of Modification: Tailoring Your Brews
After creating a base effect potion, you can refine its properties using modifier ingredients:
- Redstone Dust: Adding Redstone Dust to an effect potion will extend its duration. This is invaluable for effects you want to last longer, such as a Potion of Night Vision or Fire Resistance.
- Glowstone Dust: Brewing with Glowstone Dust will typically increase the potency or level of a potion’s effect. For instance, a Potion of Healing becomes a Potion of Healing II. However, this often comes at the cost of reduced duration, so choose wisely based on your needs.
- Gunpowder: This modifier transforms a standard drinkable potion into a Splash Potion. Splash Potions can be thrown, affecting an area or instantly applying their effect to entities (including yourself) upon impact. This is particularly useful for offensive potions or for quickly healing allies.
- Dragon’s Breath: A rare and powerful ingredient, Dragon’s Breath is used to create Lingering Potions from Splash Potions. Lingering Potions, when thrown, leave a cloud of the potion’s effect on the ground for a short period, continuously applying the effect to any entity that enters it.
The Corrupting Touch: Fermented Spider Eye Mechanics
A unique and often unintuitive ingredient in the brewing process is the Fermented Spider Eye. This item is used to “corrupt” potions, typically reversing their primary effect or changing it into something entirely different. For example, brewing a Potion of Swiftness with a Fermented Spider Eye will turn it into a Potion of Slowness. Similarly, a Potion of Night Vision can be corrupted into a Potion of Invisibility. The application of this corruption mechanic can feel inconsistent across different potion types, making it a point of careful experimentation. It’s also worth noting a peculiar exception: the Weakness Potion is unique in that it can be brewed directly from a Water Bottle and a Fermented Spider Eye, completely bypassing the Awkward Potion step, which is a rare deviation from the standard brewing path.
Mastering the Craft: Essential Brewing Tips
To become a truly efficient alchemist, consider these practical tips:
- Bulk-brew Awkward Potions: Always have a ready supply of Awkward Potions. This allows you to quickly pivot to brewing specific effect potions as needed without the initial delay.
- Organize Your Ingredients: Keep your brewing ingredients well-organized. Label chests near your Brewing Stand for Nether Wart, Blaze Powder, specific main ingredients (e.g., Sugar, Magma Cream), and modifiers (Redstone, Glowstone, Gunpowder). This streamlines the entire process.
- Carry Splash Potions of Healing: These are invaluable in combat. A quick throw can provide instant health restoration, potentially saving you from a fatal blow.
- Create a Nether Wart Farm: Since Nether Wart is the foundation for almost all potions, establishing a dedicated farm on Soul Sand in the Nether (or even in the Overworld if you bring Soul Sand) ensures a continuous and abundant supply.
Pitfalls to Avoid: Common Brewing Blunders
Even seasoned players can make mistakes. Be aware of these common blunders:
- Brewing Mundane or Thick Potions: As mentioned, these useless potions result from adding random ingredients to Water Bottles without first brewing them into Awkward Potions using Nether Wart. Always start with Awkward Potions for effect-bearing brews.
- Wasting Rare Ingredients: Placing valuable or rare ingredients into a Water Bottle directly, or into an already modified potion, can lead to wasted resources. Always ensure you’re adding main ingredients to Awkward Potions, and modifiers to existing effect potions.
- Misunderstanding Corruption: The Fermented Spider Eye’s effects can be counter-intuitive. Experiment with common potions first to understand how it alters them before using it on rare or complex brews.
By understanding the core mechanics, following the steps diligently, and avoiding common pitfalls, you’ll soon become a master alchemist, capable of brewing any potion the Minecraft world demands. From swift escapes to enhanced combat, the power of potions is a game-changer.
Tags:
YOU MAY ALSO LIKE...


