

Minecraft Seed Map
A single numerical or alphanumeric value holds the blueprint for an entire infinite Minecraft world. This powerful string, known as a “seed,” dictates every hill, every valley, every tree, and every structure that will ever generate. But what if you could peer into that world before ever loading it in-game, exploring its hidden treasures and strategic locations from the comfort of your web browser? This is precisely the magic offered by a Minecraft Seed Map.
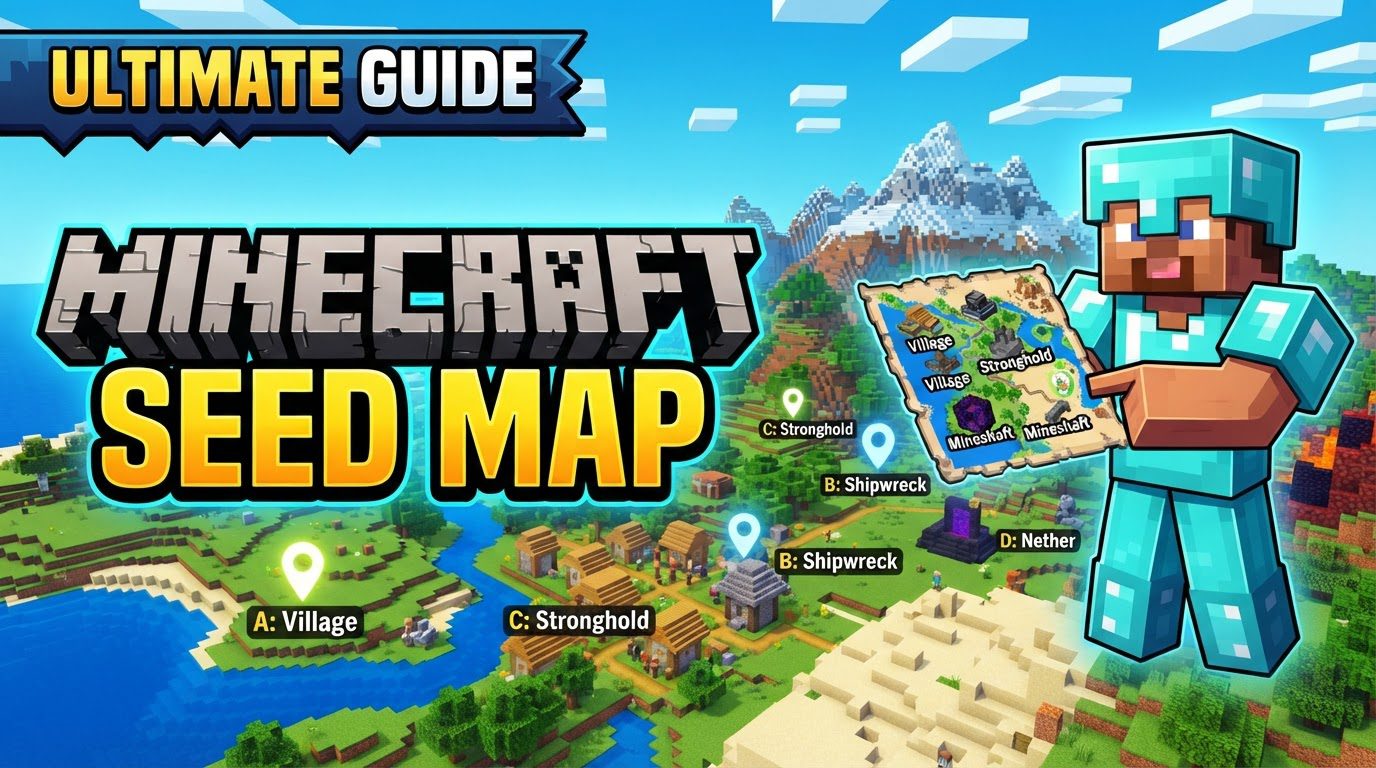
The Digital Architect: Understanding Minecraft Seed Maps
At its core, a Minecraft Seed Map is an online tool designed to visualize a Minecraft world’s layout based on its unique seed. Instead of blindly exploring an unknown landscape, these sophisticated utilities allow players to preview biomes, structures, and terrain features. This pre-exploration capability transforms the game experience, shifting from pure discovery to strategic planning.
The fundamental principle behind these maps lies in Minecraft’s deterministic world generation. Every seed, when processed by the same game version and edition, will consistently produce an identical world. Seed maps leverage this by running the very same world-generation algorithms that Minecraft uses, typically within a web browser environment. They don’t store pre-built worlds; rather, they calculate and render features on demand as you navigate the map, mirroring the effectively infinite nature of Minecraft worlds.
Modern seed maps are incredibly efficient, often employing technologies like WebAssembly and specialized libraries such as cubiomes. This allows for fast, client-side rendering, meaning your seed information is processed directly on your computer and generally isn’t sent to a server. This design ensures both speed and privacy while providing a detailed, interactive representation of your chosen world.
Unlocking Your World’s Secrets: A Step-by-Step Guide
Utilizing a Minecraft Seed Map is a straightforward process that grants you immense foresight into your game world. Here’s how to do it:
- Retrieve Your Seed:
- Java Edition: In-game, press F3 to bring up the debug screen, or type
/seedin the chat window. - Bedrock Edition: Navigate to Settings > Game and look for the “Seed” field, or use the command
/seedif cheats are enabled for your world. - For existing worlds, some advanced seed map tools allow you to upload your
level.datfile, which contains the seed and other world data.
- Java Edition: In-game, press F3 to bring up the debug screen, or type
- Access a Seed Map Tool: Open your web browser and visit a reputable online seed map website. Popular examples include Chunkbase or MC Seed View.
- Enter Your Seed: Locate the designated input field on the seed map tool’s page and carefully type or paste your world’s seed number or text string. Ensure there are no extra spaces or characters.
- Select Version & Dimension: This is a crucial step. Choose the correct Minecraft game version (e.g., 1.20, 1.18) and the desired dimension (Overworld, Nether, or End) from the available options. Incorrect selections can lead to inaccurate maps.
- Enable Features: Most seed maps allow you to toggle on specific structures, biomes, or features you wish to locate. This might include villages, strongholds, mansions, ocean monuments, slime chunks, or specific rare biomes.
- Explore the Map: Once the map generates, you can drag your mouse to pan across the landscape and use your scroll wheel to zoom in and out. The map will dynamically render features as you explore.
- Identify Details: Click on icons representing structures or points of interest to reveal exact in-game coordinates. Many tools also provide the corresponding
/tpcommand for quick teleportation in-game.
Beyond the Basics: Advanced Tips for Strategic Exploration
Once you’re comfortable with the fundamentals, these tips will help you maximize the utility of Minecraft Seed Maps:
- Biome Highlighting: Actively use the biome highlighting features. This is invaluable for quickly locating rare or desirable biomes such as Cherry Groves, Mushroom Fields, or specific forest types for resources.
- Plan Efficient Travel: Before embarking on long in-game journeys, use the map to plan your routes. Calculate distances between points of interest, allowing you to optimize travel time and resource expenditure. This is especially useful for finding End Portals or remote structures.
- Integrated Seed Finder Functions: Many advanced seed maps offer “seed finder” capabilities. These allow you to input specific criteria (e.g., “village + stronghold near spawn,” “rare biome within 1000 blocks”) and discover new seeds that match your ideal starting conditions.
- Adjust Y-Level Sliders: For underground exploration, look for Y-level sliders. Adjusting these can help visualize subterranean features like vast cave systems, ancient cities, or even the precise depth of diamond veins in certain contexts.
- Share Discoveries: If you find an interesting spot or a perfect seed, many tools can generate shortlinks. Share these with friends or community members, and they will see the exact map view and filters you had active.
- Base Planning and Resource Gathering: Use seed maps to plan your main base location, ensuring it’s near essential biomes, resources, or even a good slime chunk for an efficient farm. Locating strongholds for End Portals or ocean monuments for prismarine farms becomes trivial.
Common Pitfalls and How to Avoid Them
While incredibly powerful, seed maps aren’t foolproof. Being aware of common mistakes can save you frustration:
- Incorrect Seed or Coordinates: The most frequent error. Always double-check the entered seed for accuracy, including any leading or trailing spaces. Similarly, ensure you’ve copied coordinates correctly when using them in-game.
- Wrong Edition or Version: This is a critical distinction. Failing to select the correct Minecraft edition (Java vs. Bedrock) or the precise game version (e.g., 1.19.2 vs. 1.20.1) can lead to significant discrepancies. While biome layouts might be similar across editions (especially since 1.18’s world generation parity), structure placements can differ drastically for the same seed.
- Assuming Pixel-Perfect Biome Borders: Biome rendering on seed maps is an approximation. In-game biome borders can sometimes vary slightly (typically within 5-50 blocks) from what the map displays. Use them as a general guide rather than an exact blueprint.
- Expecting Universal Accuracy: Not all in-game features are 100% accurately depicted on every seed map. Some elements, such as specific dungeon types, End City Ships (especially on Bedrock), or Amethyst Geodes, may have incorrect or missing locations due to the complexity of their generation mechanics. Always cross-reference crucial locations if absolute precision is needed.
- Using World-Altering Mods: If you’re using mods or data packs that modify world generation (e.g., custom terrain generators, biomes o’ plenty), the in-game world will inevitably differ from the seed map’s output. Seed maps are designed for vanilla Minecraft generation.
The Strategic Advantage of Seed Maps
The ability to preview your Minecraft world before playing offers an undeniable strategic advantage. Whether you’re a speedrunner looking for a perfect spawn, a builder seeking an ideal location for your next mega-project, or a survivalist wanting to ensure a good start with nearby resources and structures, seed maps are an invaluable asset. They eliminate guesswork, reduce wasted time, and empower players to make informed decisions about their in-game adventures, transforming exploration from a gamble into a calculated journey.
Tags:
YOU MAY ALSO LIKE...


