

Minecraft the End Graduation Cap
Building an End Portal in Minecraft is notoriously finicky; misplacing just one frame or orienting an Eye of Ender incorrectly can prevent activation, leaving you stranded from the game’s final challenge. This precise attention to detail is a surprising parallel to crafting the increasingly popular “Minecraft The End Graduation Cap,” a symbolic topper for students completing a significant life stage.
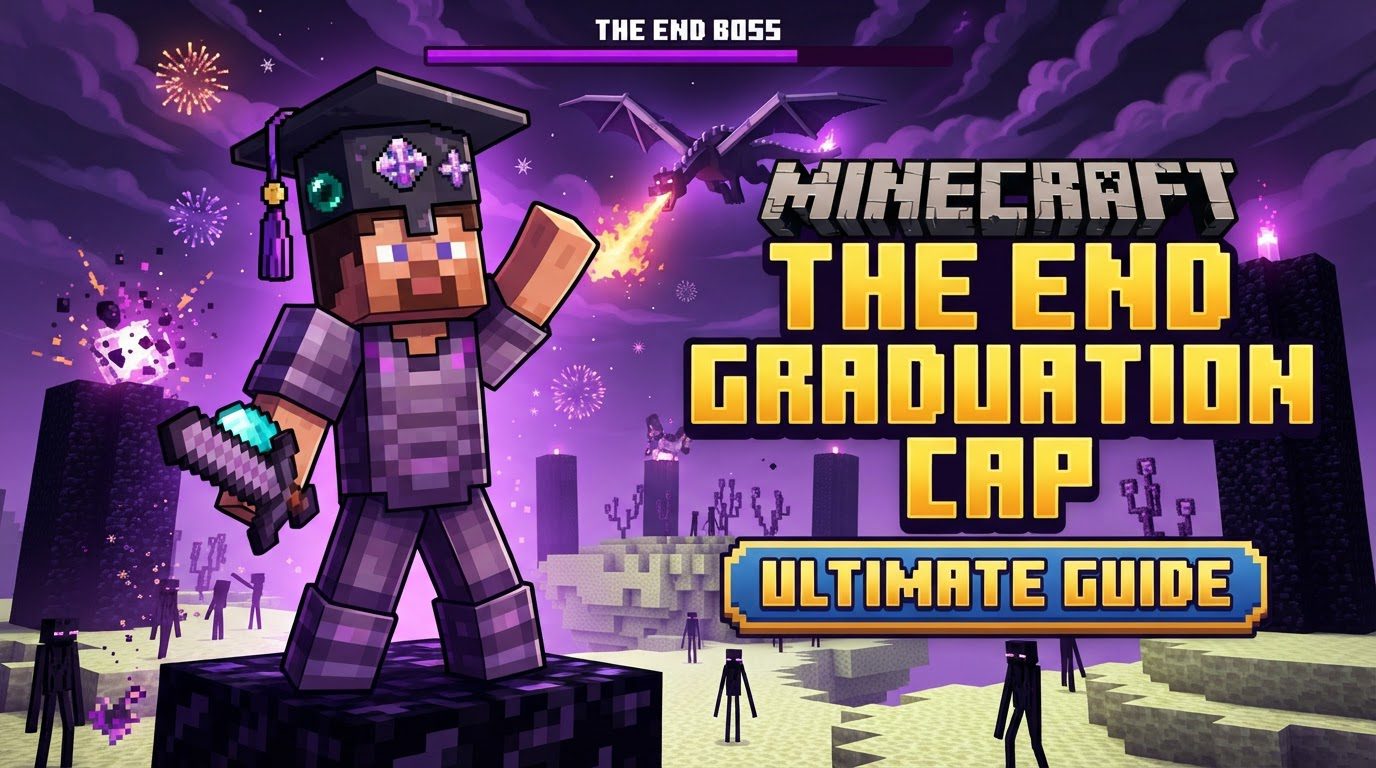
The “Minecraft The End Graduation Cap” trend has exploded among graduating students who are passionate about the iconic block-building game. It represents the culmination of years of hard work, much like reaching “The End” in Minecraft signifies completing the game’s primary storyline. This guide delves into the symbolism, design elements, and practical steps for creating your very own pixelated portal to the next chapter of your life.
Understanding the Symbolism: Your New Beginning
At its heart, the End Graduation Cap is a powerful metaphor for transition and achievement. The End dimension in Minecraft is the final frontier, home to the Ender Dragon and the ultimate challenge. For graduates, completing their education feels much the same – a major hurdle overcome, leading to new opportunities and a fresh start. The cap transforms a traditional academic accessory into a personal statement of triumph, creativity, and a nod to a beloved virtual world.
The core elements of these caps are steeped in in-game lore and carry profound symbolic weight. The entire design often centers on the idea of a portal, a gateway to a new realm, which directly mirrors the graduate’s journey from academia to the professional world or higher education. It’s a declaration that an “achievement has been made,” and a rhetorical question, “The End?”, implying that while one journey concludes, another exciting adventure is just beginning.
Deconstructing the Design: Key Visual Elements
Crafting an authentic “The End” graduation cap involves incorporating several iconic Minecraft features. Each element contributes to the overall narrative and visual appeal:
- The End Portal: This is the central and most iconic element, often depicted as a 3D model on the cap. Symbolizing the transition to a new chapter, it echoes the game’s final dimension. Its distinct teal and black block design is instantly recognizable to any Minecraft player, representing the threshold between worlds. Many designs aim for a three-dimensional effect, making the portal blocks appear to jut out from the cap.
- “Achievement Made! The End?” Text: Frequently rendered in a pixelated, in-game style, this phrase is a common and powerful feature. It directly references Minecraft’s achievement system, where players are notified of milestones. The rhetorical question, “The End?”, adds a reflective and forward-looking touch, acknowledging the completion of an educational journey while hinting at future endeavors.
- Eyes of Ender: These are typically placed within the End Portal frame, precisely mimicking their in-game function of activating the portal. They are often crafted with a glowing or iridescent effect to capture their mystical essence. Their correct placement is crucial for the visual authenticity of the portal.
- Color Palette: The chosen colors are vital for setting the mood. Designs predominantly utilize dark, void-like colors, such as black, often enhanced with glitter, for the background to represent the ominous yet captivating End dimension. This dark backdrop strikingly contrasts with the vibrant teal of the portal blocks and the crisp white text, making these elements pop.
- End Poem Quotes: For a more reflective and emotional touch, some designs incorporate meaningful quotes directly from the Minecraft End Poem. Phrases such as “And the player began a new dream” resonate deeply with graduates, adding a layer of introspection and aspiration to the design.
- 3D Elements: To add depth and visual interest, many caps feature three-dimensional aspects. This is particularly true for the End Portal blocks and the Eyes of Ender, which can be raised using foam or layered cardstock to create a more immersive and tactile experience.
Crafting Your Achievement: A Step-by-Step Guide
Creating one of these intricate graduation caps is a rewarding project that combines artistic skill with a love for Minecraft. Here’s a common crafting process:
- Planning and Sketching: Before cutting any materials, it’s crucial to plan your design. Sketching helps visualize the layout, intricate pixel work, and text placement. Consider the scale of the elements relative to the cap and how they will interact. This stage is vital for ensuring all elements fit harmoniously.
- Material Selection: The right materials make all the difference. Cardstock is frequently used due to its ability to hold crisp lines and facilitate pixelated designs. For a “starry, void-like feel” for the background, glitter or glitter cardstock is highly effective. Foam blocks or multiple layers of printed cardstock can be used to create 3D elements, such as the portal blocks or even bookshelves if incorporating an enchantment table theme.
- Cutting and Layering: Designs often involve cutting out various shades of cardstock to mimic Minecraft’s blocky, pixelated aesthetic. Some crafters prefer manual cutting for precision, while others might use cutting machines (like Cricut or Silhouette) for intricate shapes and text. Layering different materials or cardstock helps create depth and makes the design pop, giving a true 3D effect to the portal.
- Assembling the Elements: Once all pieces are cut, the assembly begins. This involves carefully placing and adhering the End Portal frame, Eyes of Ender, and text onto the cap. Precision is key to replicating the in-game look.
- Securing Elements: Hot glue is a common and effective adhesive for attaching components, especially 3D elements, ensuring they stay firmly in place. For glitter, a good adhesive spray can minimize fallout, keeping your cap looking pristine.
- Personalization Touches: This is where your cap truly becomes unique. Adding elements like white and teal flowers (to match the portal), silver butterflies, or personalizing the “Achievement Made” text with your name or graduation year are common ways to make the cap distinctly yours.
Mastering the Craft: Essential Tips for Success
To ensure your graduation cap is a masterpiece worthy of “The End,” consider these expert tips:
- Plan Your Layout Meticulously: As mentioned, sketching is non-negotiable. It helps prevent costly mistakes and ensures intricate pixel work and text placement are perfect. Think about how the design will look from various angles.
- Choose Materials Wisely: Opt for high-quality cardstock for crisp lines and a professional finish. If using glitter, invest in a good adhesive spray to prevent it from shedding all over your gown and fellow graduates.
- Layer for Depth: Don’t shy away from using multiple layers of cardstock or foam blocks. This technique gives your cap a dynamic, three-dimensional appearance that truly makes the End Portal stand out.
- Personalize It: Make your cap genuinely unique. Instead of just “Achievement Made,” consider a different achievement related to your major, your in-game name, or even elements from your favorite Minecraft biome. This personal touch will make your cap even more meaningful.
- Allocate Sufficient Time: These intricate toppers are not quick projects. Rushing can lead to errors. Start well in advance of your graduation day to allow ample time for planning, cutting, assembling, and drying.
Avoiding the Void: Common Pitfalls in Cap Creation
Just as in Minecraft, where a slight misstep can prevent an End Portal from activating, crafting a graduation cap has its own set of potential pitfalls:
- Incorrect End Portal Frame Placement: Metaphorically, this refers to the overall alignment and perspective of your design. In Minecraft, placing portal frames while standing outside the 3×4 square causes them to face the wrong way. Similarly, on your cap, an ill-considered layout or crooked elements can detract from the aesthetic. Careful alignment and a good initial sketch are crucial.
- Improper Eye of Ender Orientation: Even if the portal frame is perfect in the game, the Eyes of Ender must face inward to activate. This translates to the importance of correct orientation and meticulous attention to detail when placing crafted Eyes of Ender on your cap. Ensure they are uniformly placed and facing the correct direction to maintain visual accuracy.
- Rushing the Process: Given the intricate nature of these designs, rushing is a common mistake. It can lead to errors in cutting, assembly, or placement, resulting in a less polished final product. Take your time, enjoy the process, and allow adhesives to dry properly.
- Ignoring Material Quality: Using flimsy cardstock or cheap adhesives can lead to a cap that doesn’t hold up, with elements peeling off or looking less vibrant. Invest in good quality materials to ensure your cap looks fantastic on your big day.
The “Minecraft The End Graduation Cap” is more than just a decorative item; it’s a handcrafted emblem of achievement, a personal narrative of perseverance, and a vibrant symbol of embarking on a new journey. By paying attention to detail, embracing creativity, and following these guidelines, you can craft a memorable and meaningful tribute to your academic quest and your passion for Minecraft.
Tags:
YOU MAY ALSO LIKE...


