

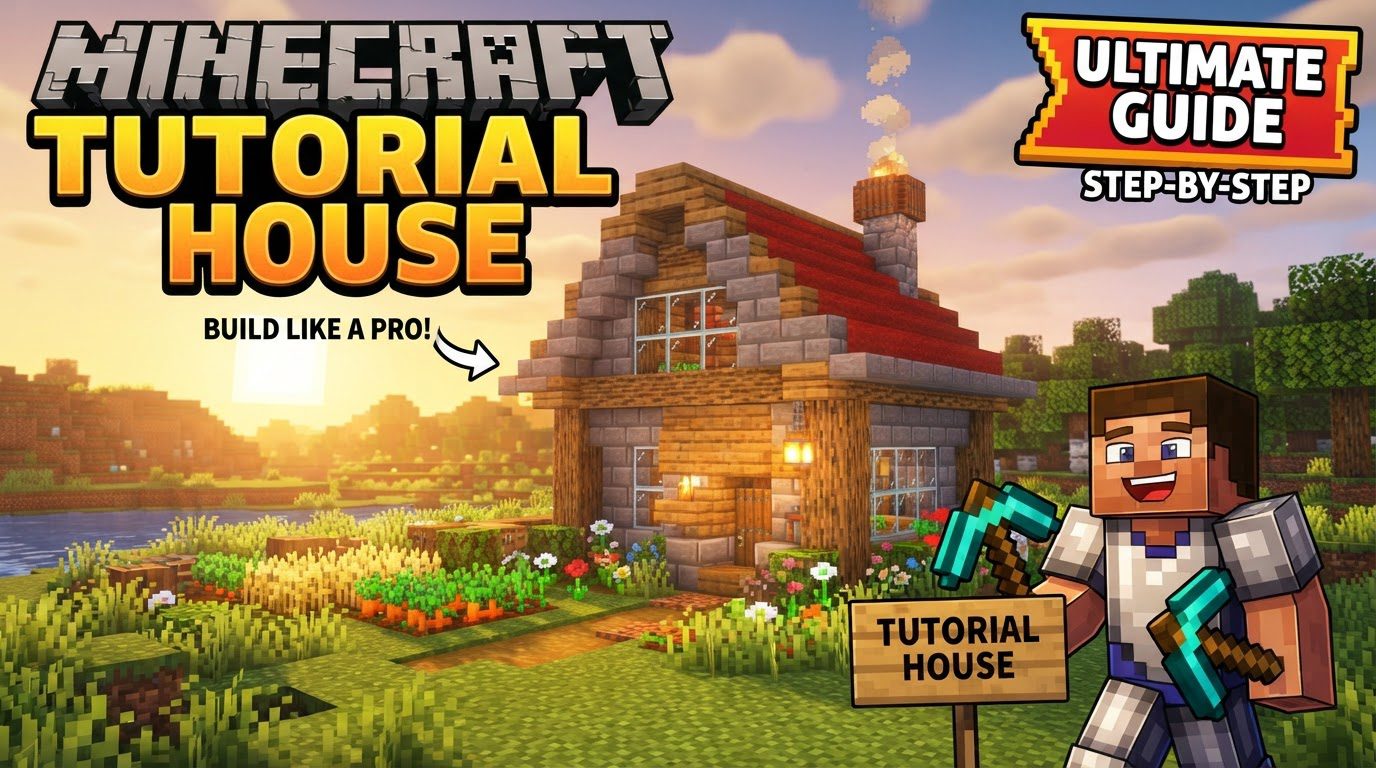
Minecraft Tutorial House
The greatest oversight many aspiring block architects make in Minecraft is underestimating the foundational importance of their very first home. Rushing into a haphazard build without forethought or sufficient resources often leads to a vulnerable, uninspired, and ultimately frustrating experience. A well-constructed “tutorial house,” however, serves as a safe haven, a crafting hub, and a launching pad for all your future adventures. This guide will equip you with the knowledge to build that essential first dwelling, ensuring safety, functionality, and a touch of personal flair.
Establishing Your Blueprint: Planning and Resources
Before a single block is placed, the most crucial steps involve careful planning and diligent resource gathering. Just as a master builder consults blueprints, you must envision your structure. For beginners, a flat area is highly recommended to establish a stable foundation without fighting terrain. A common, practical starting size for a basic house is a 7×4 block rectangle, offering enough space for essential crafting stations and a bed.
Resource gathering is the bedrock of any construction project. Wood, sourced from trees using your hands or an axe, is an indispensable primary material for starter homes. Consider oak or dark oak for planks, or spruce logs for structural elements. Beyond wood, materials like cobblestone, stone bricks, and even stripped oak can add variety and strength. Before commencing construction, create a material list, referencing building guides or apps if available, to ensure you have everything you need. These tools can provide block-by-block instructions, material quantities, and visual step-by-step guidance, simplifying the entire process.
Core Architectural Elements: Foundation to Roof
Every sturdy structure in Minecraft relies on fundamental components: a solid foundation, robust walls, and a protective roof. Understanding these elements is key to a successful build.
- The Foundation: This is the base upon which your house rests. Materials like cobblestone, wood planks, or stone bricks are excellent choices. Laying down the foundation first defines the exact footprint of your home.
- The Walls: Providing security and defining rooms, walls can be built from various materials. For a strong aesthetic, consider using spruce logs for two-block-high corner posts, lending a rustic yet stable appearance. The wall layers between these posts can then be filled with stone bricks, wood planks, or even sideways logs for added texture.
- The Roof: Crucial for protection from hostile mobs and the elements, a roof completes your shelter. While a flat roof is simple, using stairs or slabs allows you to create a more appealing, sloped design. Overhangs on the roof can add depth and prevent rain from running directly down your walls.
Constructing Your First Sanctuary: A Step-by-Step Guide
With planning complete and materials in hand, it’s time to bring your tutorial house to life.
- Gather Essential Materials: Begin by collecting all necessary resources. Focus on wood, such as oak or dark oak, for planks and possibly spruce logs for structural support. Ensure you have enough for your planned 7×4 footprint, walls, and roof.
- Map Out Your Foundation: Using a temporary block, or even just by counting, determine the exact 7×4 block footprint of your house. This initial outline helps visualize the space and prevents errors.
- Build the Foundation and Walls: Replace your outline with your chosen foundation material (e.g., cobblestone or stone bricks). Once the base is laid, start constructing the walls. Place two-block-high spruce logs at each corner. Then, fill in the wall sections with materials like stone bricks or sideways logs, building them up to a few blocks high.
- Install the Flooring: Before the walls reach their full height, lay down the interior floor. This makes access easier and ensures a consistent ground level inside your home. Wood planks are a popular and readily available choice for flooring.
- Construct the Roof: Once your walls are complete, add the roof. For a sloped design, place stairs around the perimeter, facing inwards. You can then add another layer of stairs or slabs to create a gentle incline, ensuring full coverage to keep out the rain and unwelcome guests.
- Add Doors and Windows: Place a door (or two, if desired) to serve as your entry and exit point. Doors are vital for keeping hostile mobs out at night. For natural light, craft and install windows, which can be simple glass panes or blocks.
- Decorate Your Home: Once the basic structure is complete, personalize your space. Inside, add essential items like a crafting table, furnace, and bed. Outside, enhance the aesthetic with details such as fences, lanterns for illumination, and potted plants or flowers to brighten the surroundings.
Elevating Your Build: Advanced Techniques and Aesthetics
While a functional house is paramount, a visually appealing one makes your Minecraft experience even more enjoyable. Incorporate these tips to add depth and character to your tutorial house:
- Material Variety for Depth: Avoid monolithic, flat surfaces. Introduce different but complementary materials. For instance, use overhangs for your roof, or recess your front door by one block to create visual interest.
- Texturing Your Walls: Mix blocks of similar colors to prevent your walls from looking bland. Combine cobblestone with regular stone, stone bricks, and even andesite to create a rich, varied texture that mimics natural wear or construction methods.
- Detailing with Smaller Blocks: Utilize smaller, more intricate blocks to add fine details. Fence posts can serve as support beams or decorative columns. Slabs and buttons can be used for window sills or small accents. Trap doors can act as shutters or small decorative elements on walls.
- Landscaping the Surroundings: Your house doesn’t exist in a vacuum. Enhance the immediate environment by adding landscaping elements. A small pond, a simple farm, or strategically placed foliage like bushes and trees can make your home feel more integrated into the world.
- Expand Later: Don’t feel pressured to build a mansion on your first attempt. Start with a smaller, single-room house that meets your immediate needs. You can always expand it later, adding new rooms, a basement, or even a second story as your resources and expertise grow.
- Utilize External Guides: For more complex designs or when you’re looking for specific inspiration, don’t hesitate to use dedicated building guides. Many offer step-by-step visual instructions and precise material lists, making ambitious projects manageable.
Avoiding Common Pitfalls
While the path to a perfect tutorial house is straightforward, certain missteps can hinder your progress or compromise your safety:
- Neglecting Planning: Starting to build without a clear idea of your house’s size, shape, and optimal location is a recipe for inefficiency and potential rebuilding. Take the time to plan your 7×4 rectangle and scout a flat area.
- Insufficient Material Gathering: Halting construction midway because you ran out of wood or stone is frustrating. Always over-gather, especially for primary resources. A well-stocked inventory ensures a smooth building process.
- Flat, Uninspired Designs: A simple box house, while functional, can be visually dull. Incorporate material variety, textures, and small details from the start to make your home more engaging and aesthetically pleasing.
- Forgetting Protection: The primary purpose of a house is to keep you safe. Neglecting to add a roof or install doors leaves you vulnerable to hostile mobs like zombies, skeletons, and creepers, especially during the night. Prioritize these protective elements.
Building your first tutorial house in Minecraft is more than just stacking blocks; it’s about establishing your base of operations, ensuring your survival, and laying the groundwork for your creative journey. By following these guidelines, you’ll construct a safe, functional, and aesthetically pleasing home that will serve you well in the expansive world of Minecraft.
Tags:
YOU MAY ALSO LIKE...


