

Solving the Mystery of Random Chunk Corruption
Not backing up your world before attempting repairs is the most significant blunder a Minecraft player or server administrator can make when facing data inconsistencies. This single oversight can lead to the permanent loss of countless hours of exploration, building, and progress, turning a solvable problem into an irreversible tragedy. Understanding the intricacies of Minecraft’s chunk system and how to effectively combat corruption is paramount for maintaining the health and longevity of your digital worlds.
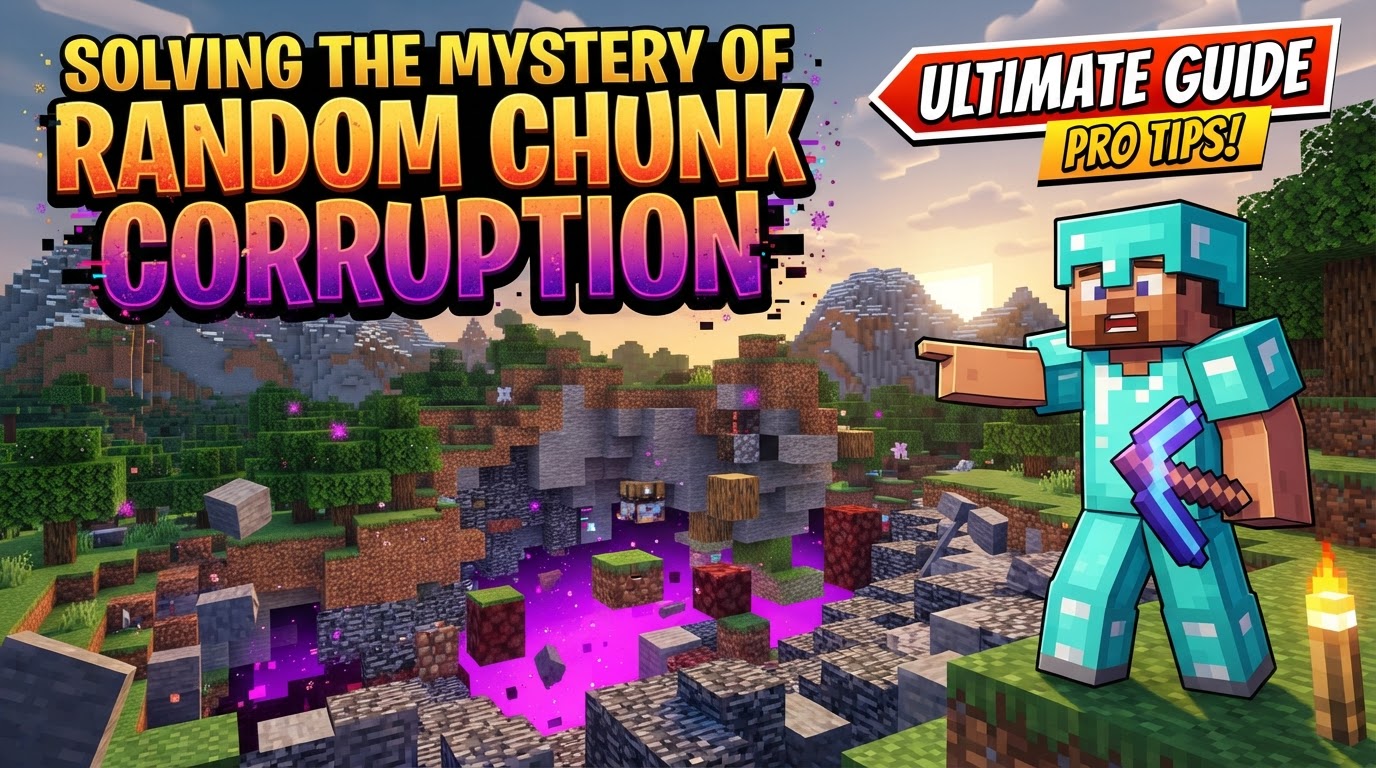
Understanding Chunk Corruption
Minecraft’s vast landscapes are not stored as a single, monolithic file. Instead, the world is divided into smaller, manageable units known as “chunks.” Each chunk represents a 16×16 block area, extending vertically from bedrock to the sky limit. Chunk corruption occurs when one of these vital data units fails to load or save correctly, leading to inconsistencies within the world’s files.
The manifestations of this corruption can vary significantly:
- Client-side errors: These are often visual glitches, appearing as “world holes,” missing blocks, or invisible terrain. They can sometimes be resolved by simply reloading chunks in-game (e.g., by pressing
F3 + A). Crucially, the underlying chunk data might still be intact, and the issue is merely how the client is rendering it. - Server-side errors: These are far more serious, indicating actual data loss or corruption within the world files themselves. Server-side corruption can lead to severe problems such as server crashes, the inability to load the world entirely, data not saving properly, and even malfunctioning plugins due to corrupted block data or tile entities.
The Roots of Corruption
Identifying the cause of chunk corruption is often the first step toward preventing its recurrence. Several factors can contribute to these data inconsistencies:
- Improper shutdowns/crashes: Abrupt termination of the game or server, whether due to a power outage, system crash, or force-quitting, is a leading cause. If the game is in the middle of writing chunk data when it shuts down, that data can become corrupted.
- Insufficient disk space: When a server or game runs out of available storage space, it cannot properly write new or updated chunk data to the disk. This can result in incomplete or corrupted files.
- Badly-written plugins/bugs: For server owners, certain plugins, especially those that extensively manipulate blocks or create complex tile entities, can introduce corrupted data. Similarly, bugs within Minecraft itself can occasionally lead to corruption.
- Mod conflicts: Modded Minecraft worlds are particularly vulnerable. Conflicts between different mods, or specific bugs within individual mods (e.g., the “Rats” mod or “Immersive Engineering” wires mentioned in some communities), can easily lead to chunk data becoming unreadable or incorrect.
- Hardware issues: While less common, underlying hardware problems such as faulty RAM or a failing hard drive can cause data to be written incorrectly, leading to corruption.
- Downgrading worlds: Attempting to load a world that was last saved in a newer Minecraft version with an older version of the game client or server is a recipe for disaster. Newer versions often introduce new blocks, data formats, or world generation features that older versions cannot interpret, leading to irreversible corruption.
Your Step-by-Step Guide to Recovery
When faced with chunk corruption, a systematic approach is essential. Follow these steps carefully to maximize your chances of recovery while minimizing further damage.
- Backup Your World: This cannot be stressed enough. Always create a complete, verifiable backup of your world folder before attempting any repair. This is your safety net, allowing you to revert to a known good state if repairs go awry.
- Identify the Problem:
- For visual glitches, try pressing
F3 + Ain-game. If this resolves the issue, it was likely a client-side rendering problem, not true corruption. - For server-side issues, examine your server logs. Look for error messages specifically referencing chunk coordinates (e.g.,
[SEVERE] java.lang.Throwablementioning chunk(42, -2)). This helps pinpoint the exact location of the corruption.
- For visual glitches, try pressing
- Stop Your Server/Game: Ensure the Minecraft world is not actively running. Any repair attempts on an active world can lead to further corruption or conflicts.
- Download World Data (if on a server): If your world is hosted on a server, use an SFTP client or your hosting panel’s file manager to download the entire world folder to your local machine. This allows you to use powerful desktop-based tools for repair.
- Use a World Editor/Repair Tool: Choose the appropriate tool based on your Minecraft version:
- MCEdit: Excellent for worlds from Minecraft 1.12 and prior.
- Amulet Editor: The go-to tool for Minecraft 1.13 and later versions, offering robust features for modern world formats.
- Minecraft Region Fixer: A Python-based utility specifically designed to automatically detect and delete corrupted chunks, regenerating them using the world’s original seed.
- MCA Selector: A powerful tool for visualizing region files and selectively deleting corrupted chunks or entire regions.
- Manual Deletion (Advanced): For highly experienced users who know the exact region file and chunk data offset, a hex editor can be used to “zero out” specific chunk data, forcing the game to regenerate it. This is risky and generally not recommended for beginners.
- Locate and Repair/Delete Corrupted Chunks: Within your chosen tool, load the world and navigate to the coordinates identified in your server logs or where you observed the corruption. Most tools allow you to either attempt a repair (less common for severe corruption) or, more reliably, delete the corrupted chunk(s). Deleting a chunk will force the game to regenerate it based on the world’s seed, effectively creating a “fresh” chunk in its place.
- Upload/Replace World Data: Once repairs are complete, upload the modified world folder back to your server (replacing the original) or place it back into your Minecraft saves folder for single-player worlds.
- Test the World: Start your server or load the world in single-player mode. Thoroughly check the repaired areas to ensure the corruption is resolved and no new issues have arisen.
Prevention is Key: Safeguarding Your World
While recovery is possible, preventing chunk corruption in the first place is always the best strategy:
- Frequent Backups: Implement a robust and automated backup strategy. Regular backups ensure that even if corruption occurs, you can quickly restore your world to a recent, uncorrupted state.
- Sufficient Disk Space: Always ensure your server or computer has ample free storage. Monitor disk usage to prevent write errors caused by full drives.
- Graceful Shutdowns: Always shut down your Minecraft server or game client properly. Avoid force-quitting applications or letting your computer go to sleep while the game is running, especially if it’s saving.
- Monitor Server Logs: Pay close attention to your server logs. Early warning signs, such as repeated error messages related to chunk loading or saving, can indicate impending corruption.
- Mod/Plugin Caution: Exercise caution when adding new mods or plugins. Always test them on a separate, disposable world first if possible. Ensure they are compatible with your specific Minecraft version and with other installed mods/plugins.
- Chunk Corruption Preventor Mod: For Minecraft 1.18+ (and potentially newer versions), consider using mods like “Chunk Corruption Preventor.” This mod attempts to detect and mitigate corruption by safely serializing chunks, preventing an entire chunk from being wiped if only a single element within it is faulty.
Common Pitfalls to Avoid
Even with the best intentions, certain mistakes can exacerbate chunk corruption issues:
- Not Backing Up: As mentioned, this is the most critical error. Without a backup, severe corruption can mean irreversible loss.
- Ignoring Client-Side Glitches: Mistaking a temporary visual rendering glitch (fixable with
F3+A) for deep-seated world corruption can lead to unnecessary and potentially damaging “fixes.” - Downgrading World Versions: Never attempt to open a world saved in a newer Minecraft version with an older version of the game. This almost guarantees severe and often unfixable corruption.
- Running Repair Tools Without Knowledge: Using powerful tools like MCEdit or Amulet Editor without understanding their functions or the implications of certain actions can cause more damage than the original corruption. Read documentation carefully.
- Overlooking Hardware Issues: Assuming software is always the culprit can lead to overlooking underlying hardware problems, such as a failing hard drive or unstable RAM, which will continue to cause corruption even after software fixes.
By understanding the causes, employing proper repair techniques, and focusing on prevention, you can navigate the complex world of Minecraft chunk corruption and ensure your blocky adventures continue uninterrupted.
Tags:
YOU MAY ALSO LIKE...


