Why Is My Minecraft Villager Not Breeding?
Did you know that a single missing block of air above a bed can halt your entire Minecraft villager breeding operation? Many players find themselves scratching their heads when their meticulously planned villager farms yield no new inhabitants. The truth is, villager breeding in Minecraft is not a random event but a precise science governed by a handful of critical conditions. If your villagers aren’t producing adorable little block-headed offspring, it’s almost certainly because one or more of these essential requirements haven’t been met.
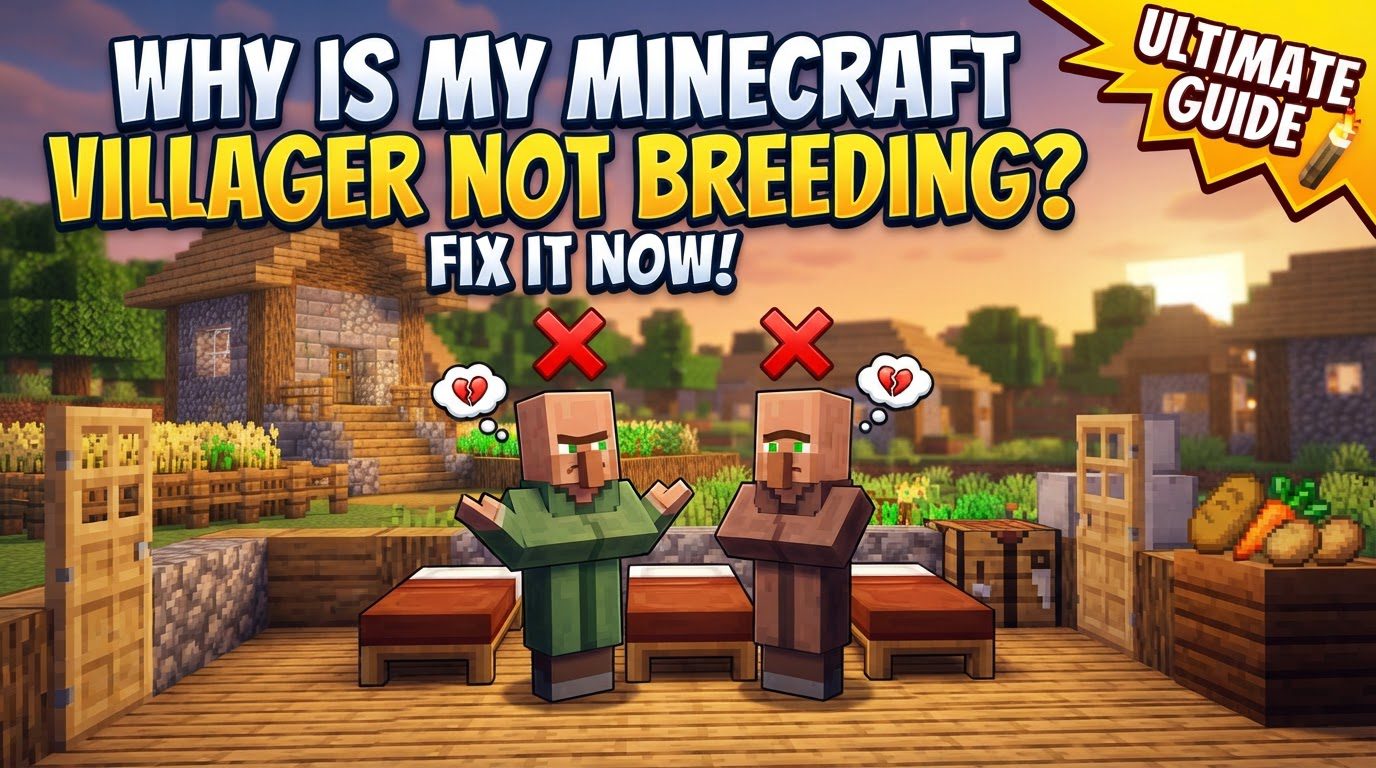
The Cornerstone of Procreation: Willingness
At the heart of any successful villager breeding program is the concept of “willingness.” Villagers must actively decide they want to breed, a state visually indicated by heart particles hovering above their heads. This isn’t an arbitrary whim; it’s triggered by specific conditions related to their inventory and, in some cases, player interaction.
Food’s Role in Willingness
The primary driver of willingness is food. Each villager needs to accumulate a minimum of 12 food points in its personal inventory to enter the willing state. These food points are derived from specific items:
- Bread: Provides a substantial 4 food points per loaf. This means a villager needs just 3 loaves of bread to become willing.
- Carrots: Each carrot contributes 1 food point. A villager will require 12 carrots.
- Potatoes: Similar to carrots, potatoes offer 1 food point each, necessitating 12 potatoes per villager.
- Beetroots: Also provide 1 food point per beetroot, requiring 12 for willingness.
To initiate this, players must throw these food items onto the ground near the villagers. Villagers will pathfind to and pick up the food, storing it in their inventory. Once two villagers have independently met their food point quota, they will display the heart particles, signaling their readiness to breed.
Trading for Willingness (Java Edition Specific)
For players on Java Edition, there’s an additional method to encourage willingness: trading. Regularly engaging in trades with villagers can also contribute to their desire to breed. While food remains the most consistent and universally applicable method, trading offers an alternative or supplementary approach for Java players.
The Bedrock of a New Life: Beds
Beyond willingness, the physical environment plays an equally crucial role, specifically the availability and placement of beds. Beds are not just for sleeping; they are the anchors of a villager’s perceived home and absolutely essential for reproduction.
Quantity is Key
For breeding to occur, there must be a sufficient number of unclaimed beds within the “village” area. This isn’t just one bed for the new baby; it’s a precise count:
- Each existing adult villager must have an assigned bed.
- Additionally, there must be at least one extra, unclaimed bed available for the new baby villager to claim upon its birth.
If there are, for example, two adult villagers, you would need a minimum of three beds (two for the adults, one for the potential baby) for breeding to even be considered by the villagers.
Placement Matters
Simply having enough beds isn’t enough; their placement is also critical. For a bed to be considered valid for breeding purposes, it must:
- Be reachable by the villagers. They need to be able to pathfind to it.
- Have at least two empty blocks of space directly above it. If these two blocks are obstructed by any other block (including transparent ones like glass in some cases, though air is always safest), the bed will not be counted as valid, and breeding will not proceed.
This often overlooked detail is a frequent culprit behind breeding failures.
A Step-by-Step Guide to Successful Breeding
Understanding the mechanics is one thing; putting them into practice is another. Here’s a streamlined process to get your villager population booming:
Establishing Your Breeding Zone
- Start with at least two adult villagers: These will be your initial breeding pair.
- Provide ample beds: Place enough beds for all existing villagers, plus at least one additional bed for the baby. For two villagers, this means three beds minimum.
- Ensure bed validity: Double-check that each bed has two clear, empty blocks of space directly above it and that villagers can easily reach them.
Nourishing Your Future Generations
- Gather food: Collect a good supply of bread, carrots, potatoes, or beetroots. Remember the food point values: 3 bread, or 12 of any other specified crop, per villager.
- Feed your villagers: Throw the food items onto the ground near your villagers. They will pick them up and store them. Ensure both villagers receive their required amount.
Observing the Signs of Success
- Wait for Willingness: Once both villagers have enough food in their inventory and can pathfind to an unclaimed bed, heart particles will appear above their heads. This is your cue!
- Baby Villager Spawns: If all conditions are met, a baby villager will spawn. This new arrival will immediately claim the previously available extra bed, making it occupied. For continuous breeding, you’ll need to add another unclaimed bed.
Optimizing Your Villager Farm
Once you’ve mastered the basics, you can refine your setup for more efficient and continuous breeding.
Automating Food Supply with Farmers
One of the most effective ways to ensure a constant supply of willing villagers is to incorporate a farmer villager. A farmer, given access to farmland and crops, will automatically harvest mature crops and distribute food to other villagers. This creates a self-sustaining breeding cycle, as the farmer keeps other villagers fed and willing.
Creating a Secure and Serene Environment
Villagers are skittish creatures. They will not breed if they feel threatened. Therefore, it’s crucial to:
- Ensure the area is well-lit: This prevents hostile mobs from spawning.
- Secure the perimeter: Build walls or fences to keep out any wandering hostile mobs, particularly zombies, which can cause villagers to panic.
- Confine the villagers: Keep your breeding pair (and their offspring) in a reasonably enclosed space. This ensures they stay near the beds and food, making it easier for them to meet the breeding criteria.
The Power of Commerce
As mentioned, for Java Edition players, regular trading can boost a villager’s willingness. While not strictly necessary if you’re providing ample food, it can act as a supplementary mechanism to keep your villagers in a happy, breeding mood.
Timing is Everything
While villagers can technically breed at any time, they are often observed doing so during their designated meeting times, which typically occur during the earlier and later parts of the in-game day. Keeping them active and engaged during these periods can sometimes seem to encourage faster results.
Troubleshooting: Common Pitfalls and How to Avoid Them
Even with the best intentions, breeding attempts can fail. Here are the most common mistakes and how to rectify them:
The Bed Shortage
Mistake: Not having enough unclaimed beds (one per existing villager + one for the baby).
Solution: Always ensure you have at least one more bed than your current villager population. For two villagers, you need three beds. For three, you need four, and so on.
Dietary Deficiencies
Mistake: Villagers lacking the specific amounts of food (12 food points) in their inventory.
Solution: Throw sufficient quantities of bread (3 loaves) or carrots, potatoes, or beetroots (12 of any) directly onto the ground near each villager you want to breed.
Blocked Beds Syndrome
Mistake: Beds having less than two air blocks of space directly above them.
Solution: Ensure a clear, two-block high space above every bed. Remove any blocks, even transparent ones, that might be obstructing this space.
The “MobGriefing” Conundrum
Mistake: The “mobGriefing” game rule is set to false.
Solution: If /gamerule mobGriefing false is active, villagers cannot pick up dropped food items. This prevents them from accumulating food points and becoming willing. Set it to /gamerule mobGriefing true to allow them to pick up items.
Pathfinding Problems
Mistake: Villagers cannot reach the available beds.
Solution: Ensure there are no physical obstructions between your villagers and the beds. They need a clear path to interact with them.
The Elusive Village Center
Mistake: No recognized “village center” for villagers.
Solution: Villagers need to perceive a central point for their “village,” often established by beds and job site blocks. Ensure your setup creates a recognizable village structure around your breeding area.
Population Caps (Bedrock Edition)
Mistake: In Bedrock Edition, the population cap for the village is met.
Solution: If your village has reached its maximum allowed population based on the number of valid beds, villagers will cease breeding. You’ll need to expand your bed count to increase the cap.
Panic and Proximity
Mistake: Villagers are panicking due to nearby threats (e.g., zombies) or a raid is active.
Solution: Secure your breeding area completely from hostile mobs. Villagers will not breed if they are in a state of alarm or panic.
By systematically checking each of these conditions-ensuring villagers are willing through food, providing ample and valid beds, and maintaining a safe environment-you can transform your barren villager setup into a thriving community. Patience and attention to detail are your greatest tools in the world of Minecraft villager breeding.
Tags:
YOU MAY ALSO LIKE...