Syncing Chat Across Servers on a Proxy Network — A Quick Guide
Building a thriving Minecraft community often involves a network of servers, each offering a unique gameplay experience. However, isolating players to individual server chats can hinder overall community interaction. To overcome this, synchronizing chat across your entire proxy network becomes essential. This guide will walk you through the process of unifying your chat experience, allowing players to communicate seamlessly regardless of which server they are currently playing on.
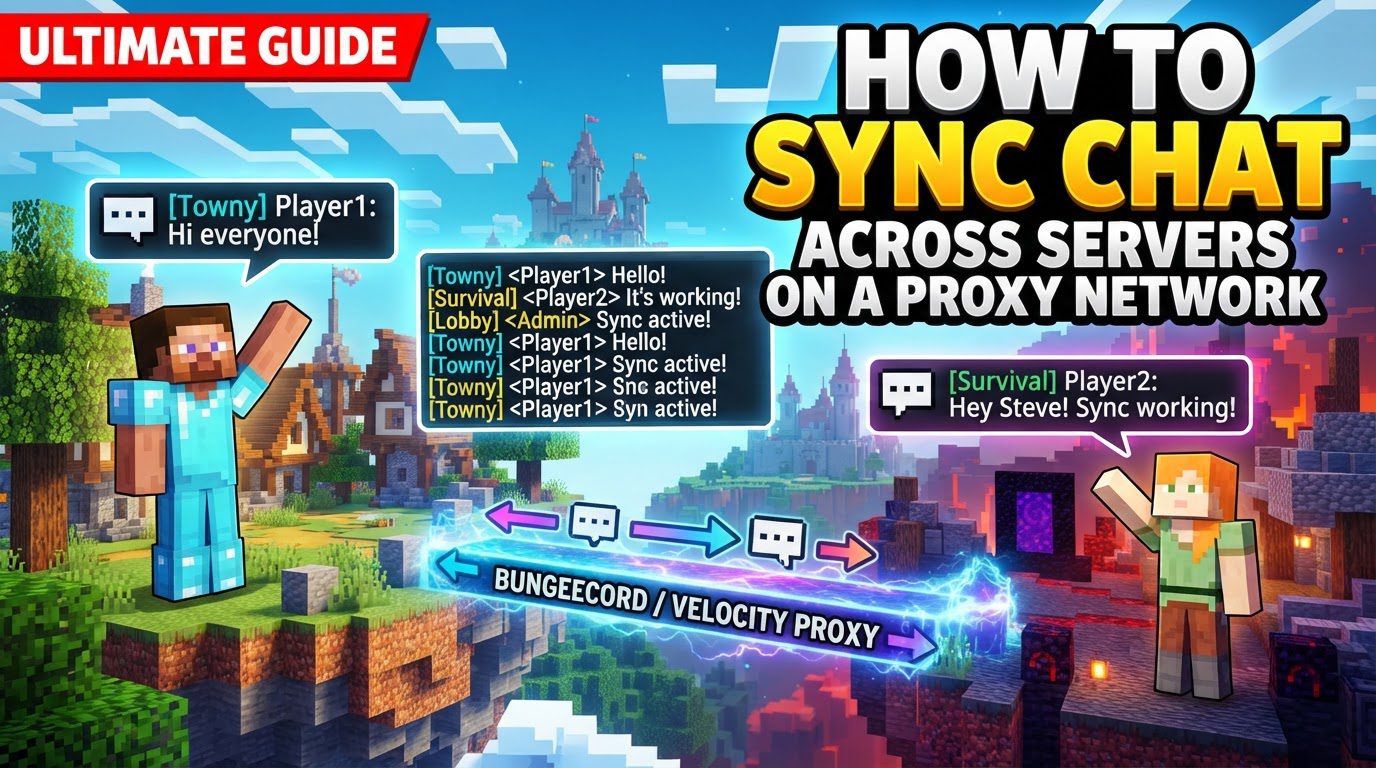
The primary method for achieving this unified chat system involves leveraging specialized plugins designed for proxy software like BungeeCord or Velocity. These powerful tools act as the bridge, facilitating real-time communication between all your backend servers and creating a cohesive chat environment for your players.
Key Mechanics of Chat Synchronization
Understanding how chat synchronization works at a fundamental level is crucial for effective implementation and troubleshooting. The core principles revolve around plugin-driven communication and flexible deployment strategies:
- Plugin-based Solution: At its heart, chat synchronization across a proxy network is achieved through dedicated plugins. These plugins are specifically engineered to manage and broadcast chat messages across multiple server instances, ensuring that a message sent on one server is seen by players on all connected servers.
- Cross-Server Communication: These specialized plugins enable the broadcasting of various communication types. This includes standard chat messages, private messages between players, and often even essential network notifications like join and leave messages, all in real-time across every server connected to your proxy.
- Centralized or Distributed Installation: The deployment strategy for these plugins can vary. Some plugins, such as MultiChat or vMessage, are designed for a centralized approach, meaning they are installed directly on the proxy server (BungeeCord or Velocity) and manage global chat from there. Other plugins, like AdvancedChat, adopt a more distributed model, requiring installation on each individual backend Minecraft server (e.g., Spigot, Paper, Bukkit) rather than on the proxy itself. It’s vital to know which installation method your chosen plugin uses.
- Configuration Files: Customization is key to integrating a chat system seamlessly into your network’s branding and functionality. All chat synchronization plugins utilize configuration files, typically named
config.ymlorconfig.toml. These files allow server administrators to extensively customize chat formats, define server display names, set up specific permissions for chat features, and configure numerous other plugin-specific settings. - External Brokers (Optional): For larger or more complex proxy networks, some advanced chat plugins may opt for more robust messaging infrastructure. This can involve using external messaging brokers, such as MQTT or RabbitMQ. These brokers enhance the reliability and scalability of message transfer between servers, which can be particularly beneficial for networks with a high player count or significant message volume.
Step-by-Step Process for Syncing Chat
Implementing chat synchronization involves a structured approach, from plugin selection to final configuration. Follow these steps to set up a unified chat system on your Minecraft proxy network:
- Select a Plugin: The first and most critical step is choosing the right chat synchronization plugin. Ensure that your chosen plugin is fully compatible with your specific proxy software (BungeeCord, Velocity, or Waterfall) and all your backend Minecraft server types (Spigot, Paper, or Bukkit). Research different options and their features to find one that best suits your network’s needs.
- Download Plugin Files: Once you’ve selected a plugin, obtain its executable
.jarfile(s). Always download these files from trusted, official sources to ensure security and prevent compatibility issues. - Install on Proxy: Navigate to the directory of your BungeeCord or Velocity proxy server. Locate the
plugins/folder and place the downloaded.jarfile(s) for your chosen chat synchronization plugin directly into this folder. This is where the proxy-side component of the plugin resides. - Install on Backend Servers (if required): Depending on the plugin, additional installation may be necessary. If your plugin (like AdvancedChat) or any associated helper plugins (e.g., for PlaceholderAPI support) specify it, you must also install their respective
.jarfile(s) into theplugins/folder of each individual backend Minecraft server that you wish to include in the synchronized chat. Do not place these backend-specific plugins on the proxy server. - Restart Servers: After placing all necessary plugin files, it’s crucial to restart your entire network. Start or restart your proxy server first, and then proceed to restart all connected backend servers. This action allows the newly installed plugins to load correctly and generate their default configuration files, which are essential for customization.
- Configure Plugin Settings: With the servers restarted, navigate to the plugin’s newly generated folder (typically found within the
plugins/directory of either your proxy or backend servers, depending on the plugin’s installation). Open the configuration file, usually namedconfig.ymlorconfig.toml, using a text editor. Here, you can extensively customize chat formats, define unique server aliases for display in chat, set up granular permissions for various chat features, and configure any other specific functionalities offered by the plugin. - Reload Configuration: After making changes to the configuration files, you generally do not need to perform another full server restart. Most modern chat synchronization plugins offer an in-game or console command to reload their configurations dynamically. Examples of such commands include
/chattools reload,/spc-reload,/vmessage reload,/bcd reload, or/nshoutreload. Executing this command will apply your changes immediately.
Important Tips for an Optimal Chat Experience
Beyond the basic setup, several considerations can significantly enhance your network’s chat synchronization and overall player experience:
- Verify Compatibility: Before deploying any plugin, always double-check its compatibility. Ensure that your chosen chat synchronization plugin is fully compatible with the exact versions of your proxy software (BungeeCord, Velocity, Waterfall) and your backend servers (Spigot, Paper, Bukkit). Version mismatches are a common source of errors and unexpected behavior.
- Extensive Customization: Take full advantage of the plugin’s configuration options. By leveraging these settings, you can create a truly unique and branded chat experience. This includes custom chat formats that show server prefixes, player ranks, and other dynamic information, as well as personalized private messaging capabilities and custom join/leave messages that reflect your network’s style.
- Permission Management: Integrate your chat synchronization plugin with a robust permission system, such as LuckPerms. This allows you to precisely control who can use specific chat features or commands across your entire network, enabling features like staff chat, donor chat colors, or moderated global chat access.
- PlaceholderAPI Integration: If your backend servers utilize PlaceholderAPI for dynamic text, confirm that your chosen chat synchronization plugin supports it. Many plugins offer direct integration or require a small helper plugin to display PlaceholderAPI placeholders (e.g., player balance, server name, rank prefix) correctly within the synchronized chat. This ensures rich and dynamic information is displayed for players.
- Discord Bridging: To further extend your community’s reach and engagement, consider plugins that offer integration with Discord. These plugins can sync in-game chat messages directly to a designated Discord channel and, conversely, allow messages from Discord to appear in-game, creating a seamless communication bridge between your Minecraft server and your Discord community.
Common Mistakes to Avoid
While setting up chat synchronization is generally straightforward, certain pitfalls can lead to frustration. Being aware of these common mistakes can save you valuable troubleshooting time:
- Incorrect Plugin Installation Location: A frequent error is placing a backend-only plugin into the proxy’s
plugins/folder, or vice-versa. This will invariably prevent the plugin from functioning correctly. Always refer to the plugin’s documentation to ensure it is installed in the designatedplugins/directory for the correct server type (proxy or backend). - Outdated Software: Running outdated versions of your Minecraft server software, proxy software, or the chat synchronization plugins themselves is a recipe for compatibility issues. Old versions can lead to unexpected behaviors, security vulnerabilities, and outright failure of chat synchronization. Regularly update all components of your network.
- Missing Helper Plugins: Some advanced features, especially when integrating with other systems like PlaceholderAPI, require additional “helper” plugins to be installed on your backend servers. Forgetting to install these can cause specific features to fail or placeholders to not resolve correctly, resulting in broken chat displays.
- Unconfigured Settings: Relying solely on default configuration files often results in a generic chat experience. Failing to customize the settings can lead to unappealing chat formats, missing desired features, or an inconsistent look across your network. Always review and tailor the
config.ymlorconfig.tomlto your network’s specifications. - Not Reloading Configurations: Changes made to configuration files will not take effect until the plugin is instructed to reload its settings or the server is restarted. Simply saving the file is not enough. Remember to use the plugin’s specific reload command (e.g.,
/chattools reload) or perform a server restart after any configuration modifications. - Firewall or Network Restrictions: Firewalls (software or hardware), antivirus programs, or VPNs can inadvertently block the necessary network traffic required for communication between your proxy and backend servers, or external services like Discord. Ensure that relevant ports are open and connections are allowed, as network restrictions can silently prevent chat synchronization from working.
Tags:
YOU MAY ALSO LIKE...