Upgrading a Blood Magic Living Armor Set
Mastering the Living Armor: A Comprehensive Upgrade Guide
The Blood Magic Living Armor set is a unique and powerful addition to any adventurer’s arsenal in Minecraft, offering an unparalleled level of personalization and growth. Unlike conventional armor, Living Armor evolves with its wearer, gaining passive upgrades based on the actions performed while equipped. This guide will walk you through the process of crafting, upgrading, maintaining, and ultimately mastering your Living Armor set, transforming it into a truly formidable extension of your character.
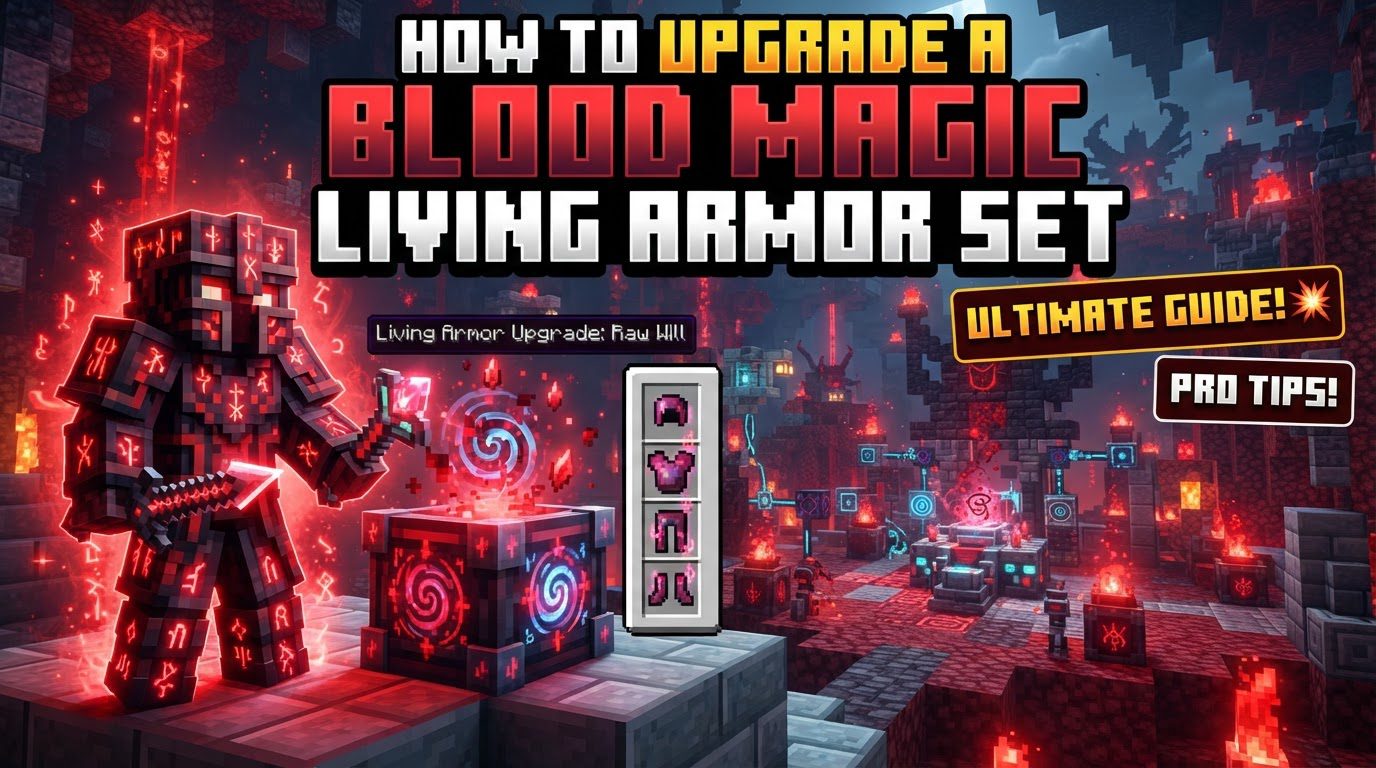
At its core, Living Armor functions as a symbiotic entity. For its unique features to be active, a complete set of all four pieces must be worn. In Minecraft 1.12+ and later versions, the Chestplate piece serves as the central hub, storing all the accumulated upgrade data. Each level of an upgrade consumes 3 upgrade points. A newly crafted set of Living Armor begins with 100 available points, allowing for approximately 33 upgrade levels across various skills. This capacity can be significantly expanded, offering even greater potential for customization. Living Armor also possesses durability comparable to diamond armor and requires regular maintenance, which can be performed using Binding Reagent in an anvil.
Crafting Your Living Armor Set
The journey to a powerful Living Armor set begins with its creation. This multi-step process requires specific Blood Magic components and a foundational understanding of the mod’s mechanics.
- Craft Binding Reagent: This essential component is the catalyst for creating Living Armor. To craft it, combine one glowstone, one redstone, one gold nugget, one gunpowder, and 10 wool. Be aware that the exact component requirements may vary slightly depending on your specific Minecraft version or modpack configuration.
- Create Alchemical Array: With your Binding Reagent ready, the next step is to establish an Alchemical Array. This is done by placing Arcane Ashes directly onto the ground. This array serves as the crafting station for transforming mundane materials into Blood Magic items.
- Form Living Armor: Place the Binding Reagent into the Alchemical Array. Then, place an Iron armor piece (helmet, chestplate, leggings, or boots) into the same array. This transformative process requires a Common Tartaric Gem with at least 400 Will. The Will is consumed during the creation, imbuing the iron with life and turning it into a Living Armor piece. Repeat this process for all four iron armor pieces to complete your set.
- Wear Full Set: This step is critical. Once you have all four pieces of Living Armor, you must equip them all simultaneously. None of the unique abilities, passive upgrades, or special functionalities of the Living Armor will activate unless the complete set is worn.
Gaining and Managing Upgrades
The true power of Living Armor lies in its ability to adapt and grow with you. Upgrades are gained passively through your actions, but strategic management is key to optimizing your set.
- Gain Upgrades: As you wear the full Living Armor set, simply perform various in-game activities. Actions such as sprinting, jumping, attacking, or mining will passively train and level up different upgrades. For instance, extensive mining will contribute to the “Dwarven Might” upgrade, while constant sprinting will enhance “Quickened Feet.” The armor learns from your gameplay style.
- Monitor Progress: To keep track of your armor’s development, you can view its current upgrades and their progress by pressing Shift + M (this is the default keybind and may be reconfigured). This interface provides valuable insight into which upgrades are active and how close they are to leveling up.
- Increase Upgrade Capacity (Optional): Your initial 100 upgrade points can become a limiting factor. Fortunately, there are ways to expand this capacity:
- Consume a Draft of Angelus: Drinking this item will immediately raise your total upgrade points from 100 to 200, effectively doubling your upgrade potential.
- Execute the “Ritual of Living Evolution”: This more advanced ritual will significantly increase your upgrade points from 100 to a maximum of 300, allowing for a vast array of high-level upgrades.
Advanced Upgrade Management: Tomes and Rituals
As you progress, you may wish to fine-tune your Living Armor, extracting specific upgrades or combining them for greater effect. This requires the use of specialized rituals and crafting mechanics.
- Extract Upgrades (Optional): If you have an upgrade on your Living Armor that you wish to remove, store, or transfer, you can extract it using the “Sound of the Cleansing Soul” ritual. This ritual requires a Tier 4 Blood Altar and consumes 20,000 LP (Life Points) per use. Performing this ritual will convert existing upgrades on your armor into Living Armor Upgrade Tomes.
- Combine Tomes (Optional): Once you have extracted upgrades into Tomes, you can further enhance them. By combining two identical Upgrade Tomes of the same type and level in an anvil, you can create a higher-tier version of that specific upgrade. This is crucial for maximizing the effectiveness of your preferred abilities.
- Apply Tomes (Optional): To apply a Living Armor Upgrade Tome to your set, simply right-click with the Tome in your hand while wearing the Living Armor. This will instantly grant the specific augment to your armor, consuming the Tome in the process.
Maintenance, Repair, and Strategic Tips
Living Armor, while powerful, is not indestructible. Proper maintenance and strategic choices will ensure its longevity and effectiveness.
- Always wear the complete set of Living Armor to ensure all upgrades are active and to continue gaining passive experience for new ones.
- Focus on activities that correspond to the desired upgrades. If you want “Dwarven Might,” spend time mining. If “Quickened Feet” is your goal, sprint frequently. Tailor your gameplay to your upgrade aspirations.
- Consider utilizing Training Bracelets. These items can be configured to selectively allow only specific upgrades to level up, giving you more control over your armor’s development and preventing unwanted point allocation.
- For enhanced mobility, Elytra flight functionality can be added to the armor by crafting an Elytra with a Living Armor Upgrade Tome. This integrates powerful flight capabilities directly into your set.
- Regularly repair your Living Armor. It possesses durability similar to diamond armor and will break if neglected. Use Binding Reagent in an Anvil for repairs. Alternatively, invest in the “Repairing” upgrade for your armor, which provides passive mending functionality, reducing the need for manual repairs.
- Prioritize upgrades that align with your gameplay style. If you’re a combat-focused player, upgrades like “Tough Skin” will be invaluable. If exploration is your forte, consider mobility or utility upgrades.
- If you find yourself with a surplus of upgrade points but feel certain upgrades are no longer useful, consider downgrading less useful upgrades. This frees up capacity for more beneficial skills, allowing for continuous optimization.
Common Mistakes to Avoid
Even experienced players can fall into common pitfalls when dealing with Living Armor. Being aware of these can save you time and resources.
- Not wearing all four pieces of Living Armor: This is perhaps the most common mistake. Remember, the armor’s unique features will not activate, and no upgrades will progress, unless the complete set is equipped.
- Hitting the upgrade point limit: Once your armor reaches its maximum upgrade points (100, 200, or 300), further passive upgrades will cease. Be mindful of your capacity and consider expanding it with a Draft of Angelus or the Ritual of Living Evolution.
- Attempting to create Living Armor or perform advanced rituals without the required Blood Altar tier: Certain processes, such as creating Living Armor, require a Tier 3 Blood Altar, while rituals like “Sound of the Cleansing Soul” demand a Tier 4 Altar. Ensure your Blood Altar is sufficiently upgraded for the task at hand.
- Over-accelerating your Blood Altar without sufficient blood reserves: Advanced rituals and processes consume significant amounts of LP. If you accelerate your Blood Altar without a robust supply of blood, you risk running into critical LP shortages, halting your progress.
- Assuming Living Armor is indestructible: It is not. Living Armor has durability, much like any other armor piece, and will break if not repaired. A broken piece will cause all its properties to be lost until it is fixed or replaced.
- Ignoring the repair of Living Armor: A broken piece of Living Armor is essentially useless. All its unique properties and upgrades become inactive until the piece is repaired, making timely maintenance crucial.
- Experiencing issues where upgrades don’t seem to apply or function correctly: While rare, this can occur. If you encounter such problems, it might be due to bugs within the mod or conflicts with other installed mods. Always check your modpack’s issue tracker or the Blood Magic documentation for known issues.
By diligently following these guidelines and understanding the intricate mechanics of Blood Magic, you will transform your Living Armor into a truly formidable and personalized asset, capable of adapting to any challenge the world of Minecraft throws your way.
Tags:
YOU MAY ALSO LIKE...