Marking Coordinates for Easy Navigation, Explained
Navigating the vast and often treacherous landscapes of Minecraft can be a daunting task, especially when you need to return to a hidden base, a valuable resource vein, or a specific landmark. The key to effortless navigation lies in mastering Minecraft’s coordinate system and effectively marking important locations. This comprehensive guide will walk you through the essential mechanics and techniques to ensure you never get lost again.
Understanding the Minecraft Coordinate System
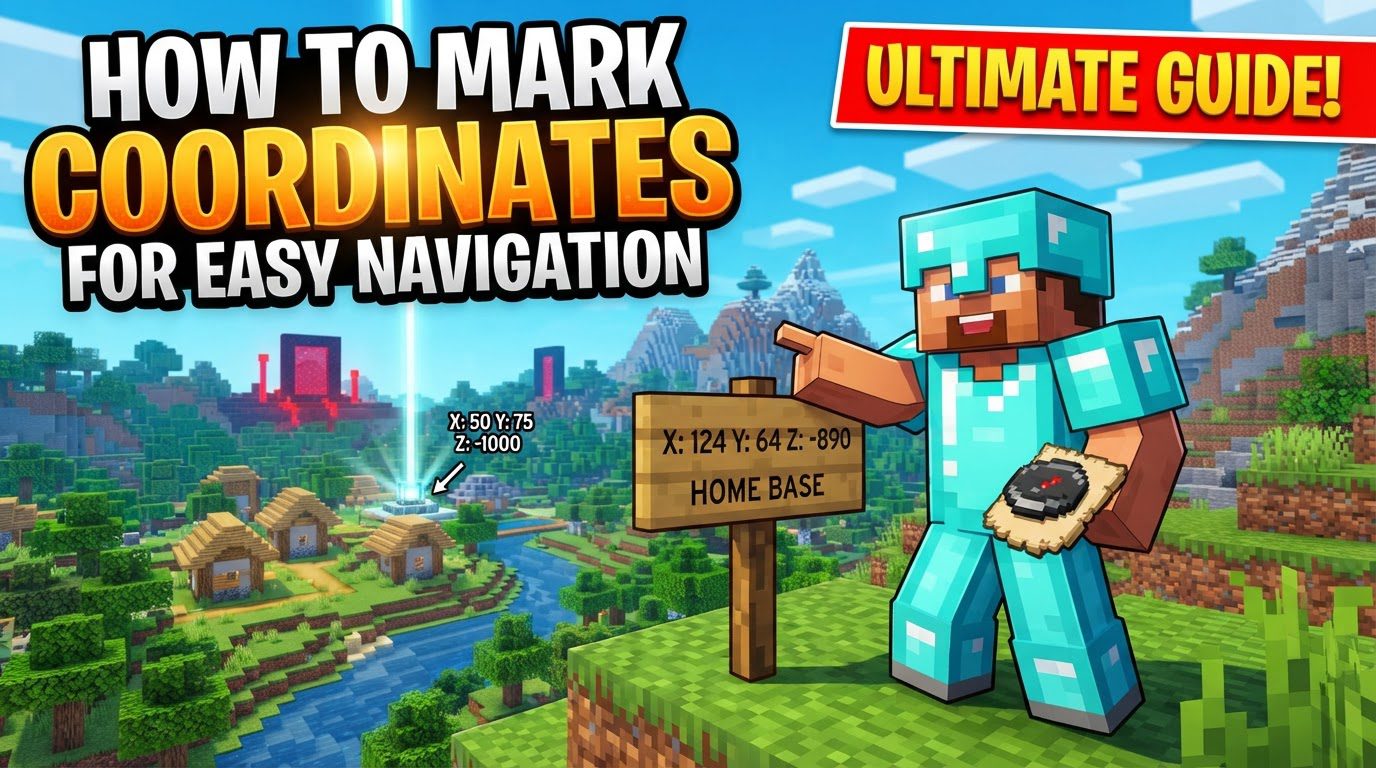
At its core, Minecraft utilizes a three-dimensional coordinate system (X, Y, Z) to precisely identify the location of every single block within your world. Think of it as a grid that extends infinitely in three directions.
- X-axis: This axis dictates your East-West position. As you move towards the East, your X-coordinate will increase (positive values). Conversely, moving West will decrease your X-coordinate (negative values).
- Z-axis: The Z-axis governs your North-South position. Traveling South will cause your Z-coordinate to increase (positive values), while heading North will result in a decrease in your Z-coordinate (negative values).
- Y-axis: This axis represents your vertical position, indicating height or depth. Higher Y values signify greater elevation, such as standing on a mountain peak. Lower Y values denote deeper positions, like within a cavern or mine. In the Overworld dimension, the lowest possible Y-coordinate is -64, extending up to a maximum of 319.
Understanding these axes is fundamental to interpreting the numerical values you’ll encounter. A common mnemonic to remember the directions is “X marks the spot East-West, Z for North-South, and Y for ‘why am I so high/low?'”.
Beyond absolute positions, Minecraft also uses relative positions. These are indicated by a tilde (~) before each number, such as ~0 ~0 ~0. This notation signifies a position relative to the player’s current location, often used in commands to specify a target block near the player without needing to know their exact coordinates.
Displaying Your Coordinates
Before you can mark locations, you need to be able to see your current coordinates. The method for doing this varies slightly between Minecraft’s Java and Bedrock Editions.
- Java Edition: In Java Edition, accessing your coordinates is straightforward. Simply press the
F3key on your keyboard. On some keyboards, particularly laptops, you might need to pressFn + F3. This action will open the debug screen, a detailed overlay displaying various game information. Look for the line labeled “XYZ:” which shows your current X, Y, and Z coordinates. - Bedrock Edition: For players on Bedrock Edition (which includes mobile, console, and Windows 10/11 versions), displaying coordinates requires enabling a specific setting.
- Navigate to your world’s “Settings.”
- Under the “Game” section, locate and toggle the “Show Coordinates” option to “on.”
- Alternatively, if cheats are enabled in your world, you can use a command to activate it: type
/gamerule showcoordinates trueinto the chat and press Enter. If you are on a server, the administrator may need to enable this setting for all players.
Once enabled, your coordinates will typically appear on the top left of your screen, making them constantly visible as you explore.
Step-by-Step Process for Marking Locations
Once you can reliably display your coordinates, the next step is to record and mark important places.
- Display Your Coordinates: As detailed above, ensure your coordinates are visible using
F3in Java Edition or by enabling “Show Coordinates” in Bedrock Edition settings. - Record Important Locations: Whenever you discover a location you wish to revisit – be it your main base, a stronghold, a village, a valuable diamond mine, or a unique biome – make sure to write down its X, Y, and Z coordinates. The Y-coordinate is particularly important; it helps distinguish between locations directly above or below each other, such as an entrance to a mine versus a structure on the surface. You might find a physical notebook, a digital document, or even a simple text file on your computer to be invaluable for this purpose. Include a brief description alongside each set of coordinates to easily remember what each location represents.
- Mark with Banners (Java Edition for Maps): This advanced technique is specific to Java Edition and provides a highly visual way to mark locations directly on your in-game maps.
- Craft a Map: Begin by crafting an empty map. This requires a compass placed in the center of a crafting grid, surrounded by eight pieces of paper.
- Craft a Banner: Next, craft a banner. This is done by placing six wool blocks (of any color) in the top two rows of a crafting grid, with a stick in the center of the bottom row.
- Rename the Banner (Recommended): To make your map markers truly useful, rename your banner. Place the banner in an anvil, then enter a descriptive name (e.g., “My House,” “Mining Outpost,” “Ocean Monument”). Renaming requires at least one experience level.
- Place the Banner: Place the renamed banner at the exact location you wish to mark on your map.
- Add Marker to Map: Hold the crafted map in your hand and right-click on the placed banner. This action will “link” the banner’s location and name to your map, displaying a colored marker on the map that shows the banner’s color and its custom name.
- Reference the Map: You can then keep this marked map in your inventory for quick reference or place it in an item frame in your base for a permanent, visible directory of your important places.
Important Tips for Effective Navigation
- Understand Axes Thoroughly: Always reinforce your understanding of which axis corresponds to which direction. Positive X is East, negative X is West. Positive Z is South, negative Z is North. Y is for vertical position. Confusing these can send you far off course.
- Keep a Detailed Log: Do not underestimate the value of a dedicated logbook. Whether it’s a physical notebook or a digital document, maintaining a list of coordinates with clear descriptions is crucial for a vast world like Minecraft. Include the dimension (Overworld, Nether, End) if applicable.
- Utilize Banners for Map Markers (Java Edition): As detailed in the step-by-step process, banners offer an incredibly intuitive and visually appealing way to create custom-named waypoints directly on your in-game maps in Java Edition. This reduces the need to constantly check a separate list of coordinates.
- Leverage the Teleport Command (Cheats Enabled): If you are playing in a world where cheats are enabled, the
/tp X Y Zcommand is an invaluable tool. It allows you to instantly travel to any specific set of coordinates. This is not only useful for quickly returning to distant marked locations but also for verifying that your recorded coordinates are accurate. - Master Nether Travel: The Nether presents unique challenges for navigation due to its distorted scale. For every 1 block traveled horizontally in the Nether, you cover approximately 8 blocks in the Overworld. When establishing a portal, record its coordinates in both the Overworld and the Nether. This 1:8 ratio is vital for planning efficient long-distance travel and connecting distant Overworld locations via the Nether.
Common Mistakes to Avoid
Even experienced players can make simple mistakes that lead to getting lost. Be mindful of these common pitfalls:
- Confusing Axes: This is perhaps the most common error. Mixing up the X, Y, and Z coordinates, or misremembering which direction each axis represents, can lead you astray. Always double-check your understanding before setting off.
- Incorrectly Recording Coordinates: When transcribing coordinates, it’s easy to swap numbers, miss a digit, or misread a positive/negative sign. Always double-check the numbers you write down against what is displayed on your screen. A single incorrect digit can place you hundreds of blocks away from your intended destination.
- Forgetting to Enable Coordinates: In Bedrock Edition, if your coordinates aren’t appearing, ensure that the “Show Coordinates” option is actively enabled in your world settings. If on a server, confirm with the administrator that the
/gamerule showcoordinates truecommand has been executed. - Expecting Banner Markers in Bedrock Edition: A key distinction between editions is the banner-map interaction. The functionality of placing a banner, renaming it, and then right-clicking it with a map to create a labeled marker is a feature exclusive to Java Edition. Bedrock Edition players cannot use banners in this specific way for creating map waypoints.
- Ignoring the Y-coordinate: While X and Z define your horizontal position, the Y-coordinate is critical for vertical placement. Forgetting to record or account for the Y-coordinate can lead you to the correct horizontal spot but at the wrong elevation, leaving you digging for an underground base or searching for a sky-high platform.
- Relying Solely on Memory: The Minecraft world is vast and full of similar-looking terrain. Relying purely on memory to find your way back to important locations is a recipe for getting lost. Always write down coordinates for anything you deem important enough to revisit.
By diligently following these guidelines and understanding the nuances of Minecraft’s coordinate system, you will transform from a lost wanderer into a master navigator, capable of finding your way to any marked location with ease and precision.
Tags:
YOU MAY ALSO LIKE...