

Using a Structure Block in Load Mode — A Quick Guide
The structure block in Minecraft is a powerful tool for builders and mapmakers, allowing for the saving and loading of intricate builds. While its “Save” mode captures creations, its “Load” mode is equally vital, enabling players to seamlessly reintroduce those saved structures into their worlds. Understanding how to effectively use a structure block in load mode can drastically improve efficiency and creativity in construction projects, allowing for the replication of complex designs, the placement of pre-built elements, or even the transfer of creations between different worlds.
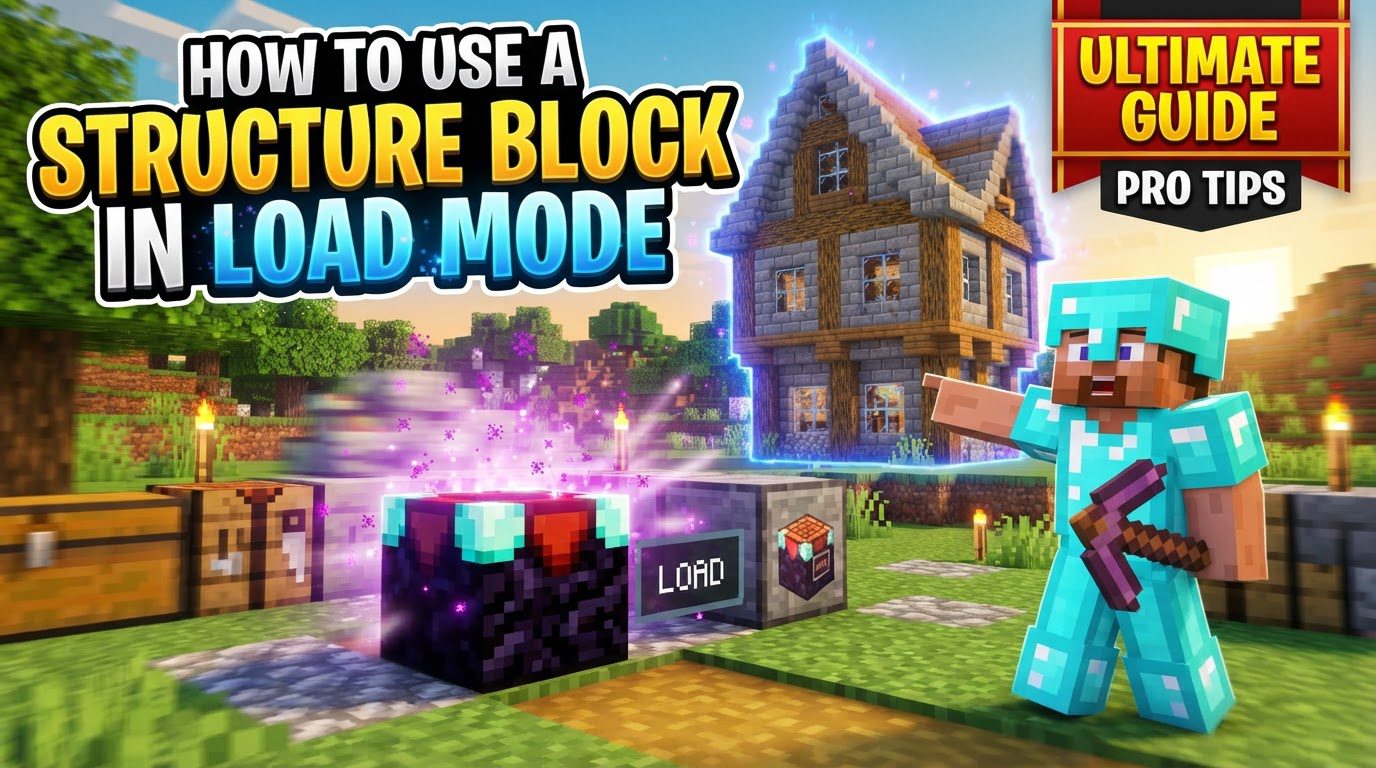
Key Mechanics of Load Mode
When operating a structure block in load mode, several critical settings and features come into play, each designed to give you precise control over how your structure is placed.
- Purpose: The fundamental purpose of load mode is to load a previously saved structure into your Minecraft world. This structure must have been saved using a structure block in “Save” mode beforehand.
- Modes: Structure blocks possess four distinct modes: Save, Load, Corner, and 3D Export. For the specific task of placing a structure, you must ensure the block is set to “Load” mode.
- Structure Name: This is perhaps the most crucial setting. You must input the exact name of the structure you intend to load. In Java Edition, this name can correspond to structures saved directly to memory, files located in your world’s structure directory (
saves/<World Name>/generated/<namespace>/structures/), or structures bundled within data packs. Case sensitivity is vital here. - Offset: The offset setting allows you to fine-tune the placement of the loaded structure relative to the structure block itself. You can adjust the X, Y, and Z coordinates to shift the structure’s position. A positive X value moves it east, a negative X value moves it west, and similarly for Y (up/down) and Z (south/north).
- Rotation: Structures can be rotated upon loading. The available options are 0°, 90°, 180°, or 270° clockwise. This is incredibly useful for placing a structure in various orientations without needing to re-save it multiple times.
- Mirroring: Beyond rotation, you can also mirror the structure. Options include no mirroring, mirroring left-to-right across the X-axis, or mirroring front-to-back across the Z-axis (this mirroring occurs at 0° rotation). Mirroring provides even greater flexibility in structure placement.
- Include Entities: By default, this setting is turned off. If your saved structure includes entities such as mobs, item frames, armor stands, or chests with inventory, you must toggle “Include Entities” on to ensure they are loaded along with the blocks.
- Structure Integrity & Seed (Java Edition): These advanced settings are exclusive to Java Edition. They control the completeness of the loaded structure. Lower integrity values will result in a random percentage of blocks being removed from the structure based on the provided seed. This can be used to create ruined or naturally decayed versions of a structure.
- Waterlog Blocks (Bedrock Edition): Specific to Bedrock Edition, this option allows blocks to become waterlogged if the structure is loaded within a body of water. Without this, blocks might simply replace water with air, or air with water where the structure doesn’t fill.
- Remove Blocks (Bedrock Edition): Another Bedrock-specific feature. If enabled, only entities within the saved structure are placed into the world, and any blocks that were part of the structure are removed. This can be useful for placing only entity groups.
- Redstone Activation: Structure blocks are not just for manual interaction. They can be activated by a Redstone pulse. This means you can design automated systems to load structures, which is invaluable for adventure maps, minigames, or dynamic world generation.
- Animation: When loading, structures don’t have to appear instantly. They can be loaded with an animation, appearing block-by-block or layer-by-layer over a set duration. This adds a visual flair to the loading process.
Step-by-Step Process for Loading a Structure
Loading a structure involves a sequence of clear steps to ensure your build appears exactly where and how you intend.
- 1. Obtain a Structure Block: Structure blocks are not found in the creative inventory. To get one, you must use a command. Open your chat and type
/give @s structure_block. This will place a structure block directly into your inventory. - 2. Place the Structure Block: Choose the location where you want to initiate the structure load. Right-click to place the structure block. Its position will serve as the reference point for the structure’s offset.
- 3. Switch to Load Mode: Right-click the placed structure block to open its interface. Locate the “Mode” button and click it until it displays “Load”.
- 4. Enter Structure Name: In the “Structure Name” field, carefully type the exact name of the structure you wish to load. Pay close attention to capitalization and spelling. If the name is recognized, the text will often appear white, indicating a valid input.
- 5. Adjust Position and Orientation:
- Offset: Modify the X, Y, and Z values in the “Offset” fields. These numbers determine how far the structure’s origin point will be from the structure block itself. Experiment with these values to get the desired placement.
- Rotation: Select the appropriate rotation (0°, 90°, 180°, or 270° clockwise) from the “Rotation” dropdown.
- Mirroring: If necessary, choose a mirroring option (none, left-to-right, or front-to-back) from the “Mirror” dropdown.
- Include Entities: If your structure contains entities you wish to load, ensure the “Include Entities” checkbox is ticked.
- Other Settings: Adjust “Structure Integrity” and “Seed” (Java Edition), “Waterlog Blocks” (Bedrock Edition), or “Remove Blocks” (Bedrock Edition) as needed for your specific use case.
- 6. Preview the Structure: Once all settings are configured, click the “Load” button once. This action will not immediately place the structure. Instead, it will display a transparent bounding box (a wireframe cube) in the world, indicating the exact location and dimensions where the structure will appear. This preview is crucial for verifying your settings.
- 7. Final Load: Review the bounding box. If you are satisfied with the preview and its placement, click the “Load” button a second time. The structure will then be placed into the world according to your specified settings.
Important Tips for Effective Structure Loading
- Exact Naming is Paramount: Always double-check the structure name you enter. It must be identical, including case sensitivity, to the name used when the structure was saved. A single incorrect character will prevent the structure from loading.
- Visualize with Bounding Box: Never skip the preview step. The bounding box is your best friend for avoiding misplacements, overlaps with existing builds, or structures appearing in unintended locations. Use it to confirm your offset, rotation, and mirroring.
- Offset for Precision: Leverage the offset settings to precisely align your structure. For instance, if you want a structure to appear directly on top of the structure block, you might need to adjust the Y offset to account for the structure’s height.
- Remember “Include Entities”: This is a frequently overlooked setting. If you save a house with villagers, chests full of items, or paintings, and then load it without “Include Entities” checked, those entities will be missing.
- Inter-world Transfer: Structure blocks facilitate transferring builds between different Minecraft worlds. Saved structures are typically stored as NBT files. You can copy these files from one world’s
structuresfolder to another’s, allowing you to load them in the new world. - Automate with Redstone: For dynamic environments, adventure maps, or complex contraptions, connect your structure block to a Redstone circuit. A simple button, lever, or Redstone clock can trigger the loading process, making structures appear or disappear on demand.
Common Mistakes to Avoid
- Incorrect Game Mode: Structure blocks can only be fully interacted with and edited in Creative mode. Attempting to use them in Survival mode will limit functionality or prevent interaction entirely.
- Permission Issues: On multiplayer servers, if you’re unable to open or use a structure block, it’s likely due to insufficient permissions. You’ll need operator status or specific server permissions to utilize them.
- Mismatched Structure Names: This is arguably the most common error. If the structure name you enter doesn’t exactly match a saved structure, the block will not be able to find and load it. Double-check your spelling and capitalization.
- Forgetting “Include Entities”: If you load a structure and find that all your mobs, items in chests, or other entities are absent, the most probable cause is forgetting to enable the “Include Entities” option during the loading process.
- Unexpected Block Replacement: Be aware that when a structure is loaded, it will replace any existing blocks within its bounding box. This can lead to the destruction of existing builds. Plan your placements carefully. Special blocks like Structure Void blocks can be used during saving to create areas that don’t replace existing blocks upon loading, acting as a special form of air.
- Not Pressing Load Twice: Remember the two-step loading process: the first click previews the bounding box, and the second click (after confirming the preview) actually places the structure. Many players mistakenly only click once and wonder why the structure doesn’t appear.
Tags:
YOU MAY ALSO LIKE...


