Creeper Farm Charged Variant Design Logic
Acquiring mob heads in Minecraft, a symbol of prestige and a key ingredient for decorative builds, hinges almost entirely on one rare and unpredictable event: a lightning strike transforming a humble creeper into its supercharged variant. Understanding the precise mechanics and design principles behind a ‘Creeper Farm Charged Variant’ is crucial for any player aiming to reliably collect these coveted trophies. This advanced farm design doesn’t just produce creepers; it orchestrates the conditions necessary to charge them, turning a random natural phenomenon into a controlled, repeatable process for valuable loot.
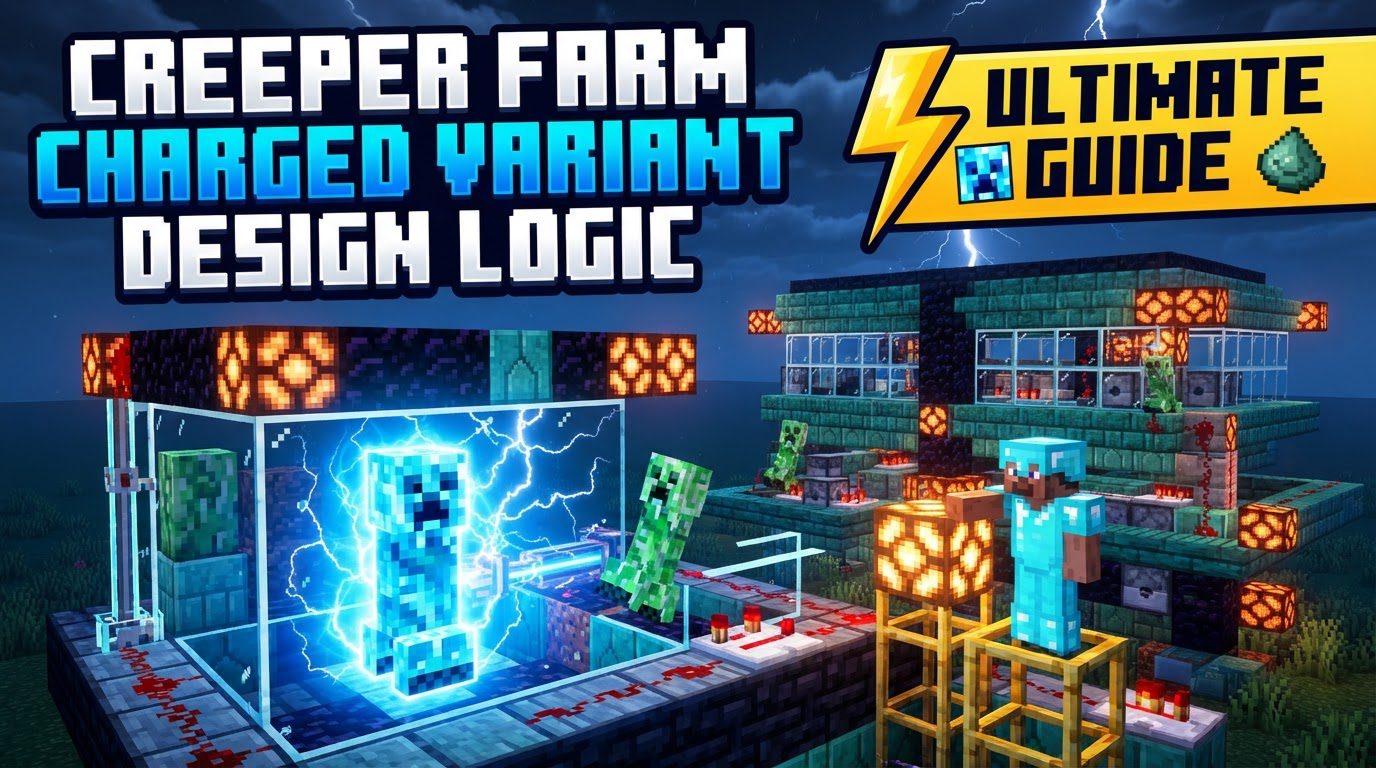
The Genesis of a Charged Creeper: Lightning’s Touch
The fundamental principle of a charged creeper farm revolves around a single, pivotal mechanic: a regular creeper transforms into its charged counterpart when struck by lightning. This isn’t a direct hit requirement; any lightning strike occurring within a 4x4x4 block area around the creeper (centered on the block the creeper occupies) will trigger the transformation. The resulting charged creeper boasts significantly increased explosion power, but its true value lies in its unique ability to drop mob heads. When a charged creeper explodes and kills another mob – be it a zombie, skeleton, or even another creeper – that mob will drop its respective head. This mechanic is the sole method for obtaining most mob heads, making charged creeper farms indispensable for collectors and builders alike.
Phase One: Engineering Creeper-Exclusive Spawning
The first step in any charged creeper farm is to generate a consistent supply of creepers, free from other hostile mobs. This requires careful manipulation of spawning mechanics.
- Enclosed, Dark Spawning Platforms: Like any mob farm, these platforms must be completely dark (light level 0) to allow hostile mobs to spawn.
- The Trapdoor Trick: Creepers are slightly shorter than other common hostile mobs like zombies and skeletons. By constructing a 2-block high spawning space and placing trapdoors on the ceiling, only creepers (and spiders, which are handled separately) can spawn. The trapdoors occupy the top half of the second block, effectively blocking taller mobs while allowing creepers to fit.
- Spider Suppression: Spiders, being 2×2 blocks wide, can be problematic. Some designs incorporate cobblestone walls in the floor, arranged to create areas smaller than 3×3 blocks, which prevents spiders from spawning in those specific spots while still allowing water flow for collection. Alternatively, placing carpets with two blocks between them can also prevent spider spawns without hindering creeper rates.
- Optimal Biome Choice: Building your farm in an ocean biome is highly recommended. Ocean biomes minimize the number of land blocks in the surrounding area, reducing the chances of other hostile mobs spawning outside your farm and competing with your creeper spawn cap.
- Strategic AFK Platform: To maximize spawning rates within your farm and despawn unwanted mobs elsewhere, an AFK (Away From Keyboard) platform should be built high above the spawning area. This platform needs to be within 128 blocks of your spawning platforms (to keep creepers loaded) but at least 24 blocks away (to ensure efficient spawning).
Phase Two: Collection and Secure Holding
Once creepers spawn, they need to be efficiently transported to a designated charging zone without despawning or exploding prematurely.
- Water Stream Transportation: Water streams are the most common and reliable method for moving spawned creepers from the various spawning platforms to a central collection point. The water’s flow pushes them gently, preventing fall damage.
- Funneling into Cells: Creepers are typically funneled into individual “cells” or a small, confined chamber where they can be held. This prevents them from wandering off and ensures they are in a controlled environment for the next phase. Vertical transportation can be expedited using water columns or packed ice slides.
- The Name-Tag Imperative: This is a critical step. Charged creepers, like all hostile mobs, will despawn if the player moves too far away. To prevent this, every creeper in the holding cell awaiting charging must be named using a name tag. This makes them persistent entities, allowing you to wait for a thunderstorm without losing your valuable creeper stock.
Phase Three: The Charging Mechanism – Harnessing Lightning
This is where the farm transitions from a standard creeper farm to its charged variant, focusing on inducing the lightning strike.
- The Channeling Trident (Manual/Semi-Automatic): During a thunderstorm, a player can directly intervene by using a trident enchanted with Channeling. When thrown at a mob during a storm, Channeling summons a lightning bolt at the target’s location, instantly charging any creeper it hits. This method requires active player presence during a thunderstorm but offers direct control.
- Lightning Rods (Automatic/Passive): For a more automated approach, lightning rods are the cornerstone. Placed strategically above the creeper holding cell, these rods attract lightning strikes within a 128-block radius. A common setup involves using pistons and a pressure plate to hold a creeper directly under the lightning rod. When a lightning bolt strikes the rod, the creeper below is charged. Redstone can be integrated here; for instance, an observer detecting a lightning strike on the rod could trigger a system or simply provide a visual cue. It’s crucial that the creeper has direct sky access above it in the charging cell; no glass or opaque blocks should be directly above the creeper’s position, as this can impede the lightning strike. Placing netherrack around the charging area can also be helpful, as it stays lit after a lightning strike, offering a visual confirmation of activity.
Phase Four: The Detonation Chamber and Head Harvesting
Once a creeper is successfully charged, the final stage is to detonate it safely and collect the valuable mob heads.
- Target Mob Introduction: The charged creeper is typically moved to a separate, blast-proof chamber. Here, other target mobs (zombies, skeletons, or even Wither skeletons, especially in Bedrock Edition) are introduced. These mobs can be bred or transported from other farms.
- Controlled Detonation: The charged creeper then needs to explode in proximity to the target mobs. This can be done manually by a player using flint and steel, or automatically. For automation, a sculk sensor can be used to detect the sound of the target mobs (or the charged creeper itself) and trigger a dispenser to ignite a block, or activate a mechanism that causes the creeper to detonate.
- Blast-Resistant Construction: Given the significantly increased explosion power of a charged creeper, the detonation chamber must be constructed from blast-resistant blocks. Obsidian is the preferred material due to its complete immunity to explosions, ensuring the farm remains intact after each detonation.
- Automated Collection: Hoppers placed beneath the detonation chamber, leading into chests, will automatically collect any dropped mob heads and other loot, streamlining the process.
Optimizing Your Farm for Peak Performance
Several factors can significantly impact the efficiency and reliability of your charged creeper farm.
- Strategic Biome Selection: Beyond just spawning rates, biome choice is paramount for lightning. Build your farm in biomes where thunderstorms naturally occur. Avoid dry and cold biomes such as deserts, mesas, savannas, ice plains, taigas, mega taigas, and extreme hills, as lightning strikes are rare or non-existent in these environments. Temperate biomes like forests, plains, and jungles are ideal.
- AFK Spot Precision: Your AFK spot’s height is critical. It must be high enough to ensure that only creepers spawn within the farm’s boundaries and that any other hostile mobs in surrounding caves or unlit areas despawn. Remember the 24-128 block rule to maintain loaded chunks and active spawning.
- Mob Head Collection System: Ensure your hopper-and-chest system is robust enough to handle all drops, preventing item despawning. Consider a sorting system if you’re collecting other mob drops as well.
- Spider Prevention Refinement: Experiment with different spider prevention techniques (carpets, wall configurations) to find what works best for your specific design, balancing efficiency with ease of construction.
- Enhanced Transportation: For large-scale farms, consider using packed ice for horizontal transport or soul sand water columns for rapid vertical movement of creepers, reducing travel time to the charging station.
Common Pitfalls to Avoid
Even experienced players can make mistakes when designing complex farms. Be aware of these common issues:
- Obstructing Sky Access: Never place glass or any block that prevents direct sky access directly above the block where the creeper stands in the charging cell. Lightning needs a clear path to strike.
- Incorrect Trapdoor Placement: Double-check that trapdoors are placed in the upper half of the block space and are configured correctly to allow only creepers to pass or spawn. An improperly placed trapdoor can block creepers or allow other mobs.
- Forgetting Name Tags: This is a frequent oversight. Creepers held for charging will despawn if not name-tagged, leading to frustration and lost resources.
- Player Proximity Mismanagement: Being too close to a charged creeper can cause it to explode prematurely if it detects the player. Conversely, being too far will cause it to despawn. Maintain a safe but loaded distance.
- Neglecting Blast Protection: Underestimating the power of a charged creeper’s explosion can lead to significant damage to your farm. Always use obsidian or other blast-resistant blocks in the detonation chamber to protect your investment.
Building a successful charged creeper farm is a testament to a player’s understanding of Minecraft’s intricate mechanics. By carefully designing each phase-from exclusive spawning to controlled detonation-you can reliably turn a rare atmospheric event into a consistent source of valuable mob heads, elevating your survival game to an expert level.
Tags:
YOU MAY ALSO LIKE...