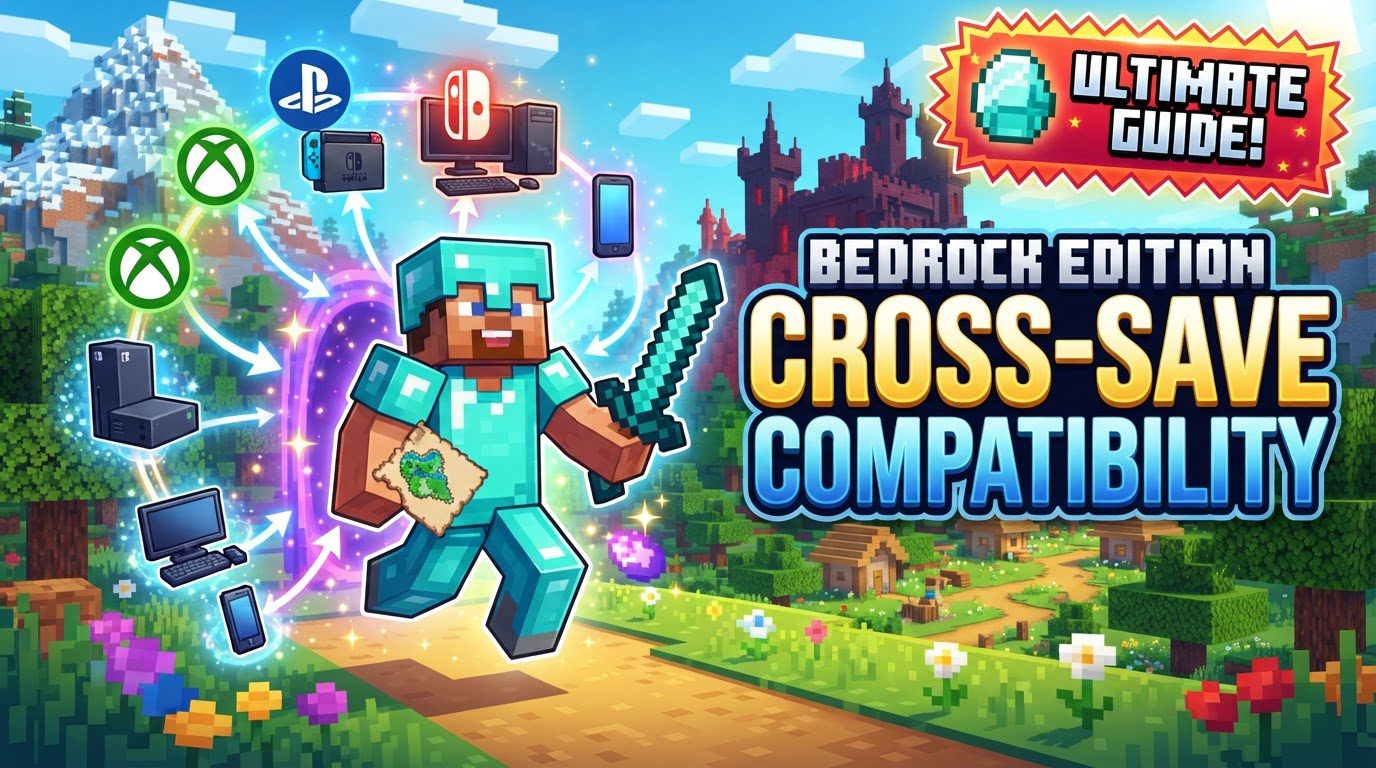
Bedrock Edition Cross-Save Compatibility
Many Minecraft players, accustomed to seamless cloud saves in other games, often mistakenly assume their Bedrock Edition worlds automatically sync across devices. The reality is more nuanced: while your Microsoft account manages achievements, marketplace purchases, and multiplayer access, your cherished single-player worlds are typically tied to the specific device they were created on. This fundamental difference is key to understanding cross-save compatibility in Minecraft Bedrock Edition, and navigating it efficiently is crucial for any player who enjoys their blocky adventures on multiple platforms.
The Local Storage Conundrum
At its core, the challenge of cross-save in Minecraft Bedrock Edition stems from its world storage mechanism. Unlike server-based games where all progress is stored remotely, Bedrock Edition worlds are, by default, saved locally on the device you’re playing on. This means a world created on your Xbox is physically stored on that Xbox, and a world built on your mobile phone resides on that phone’s internal storage. Even when signed into the same Microsoft account across different platforms like PlayStation, Xbox, Nintendo Switch, PC, and mobile, these local worlds do not automatically synchronize.
This local storage approach, while providing quick load times and offline play, creates a natural barrier to cross-device continuity. You might be able to access your friends list and purchased texture packs anywhere, but your specific builds and progress within a world remain confined to their originating hardware. This is why a dedicated solution is necessary for truly seamless play across your entire ecosystem of devices.
Minecraft Realms: Your Personal Cloud Server
The most practical and officially supported solution for achieving true cross-save compatibility in Minecraft Bedrock Edition is through Minecraft Realms. Think of a Realm as your own personal, always-online Minecraft server. Instead of your world data being stored locally on your device, it resides on Mojang’s servers. This fundamental shift in storage location is what enables seamless access from any Bedrock platform.
When you play on a Realm, all your progress, inventory, and world changes are saved directly to that Realm. This means you can build a magnificent castle on your PC, then pick up exactly where you left off on your Nintendo Switch, and later continue mining on your mobile phone, all without any manual file transfers. Realms effectively turn your single-player world into a persistent, cloud-hosted experience accessible from anywhere you can log into your Microsoft account with Minecraft Bedrock Edition.
Seamless Progression: Uploading and Downloading Worlds with Realms
Utilizing a Realm for cross-save involves a straightforward process of uploading your existing local world to it and then downloading it to other devices if you wish to play offline or transfer it back. Here’s how it works:
Step-by-Step: Uploading Your World to a Realm
- Ensure Active Realm: First, confirm you have an active Minecraft Realms subscription or a trial period running.
- Launch on Host Device: Start Minecraft on the device where your desired world is currently saved locally.
- Access Realm Settings: Navigate to the “Play” menu, then select “Realms,” and choose your specific Realm from the list.
- Select World Slot: Go to the “Settings” for that Realm. Realms typically have multiple world slots. Choose an empty slot (or one you wish to overwrite if you’re updating an existing Realm world).
- Upload Your World: Select “Edit World” for the chosen slot, and then confirm the upload of your local world to that Realm slot. This process may take a few moments depending on the world’s size and your internet connection.
Once uploaded, your world is now hosted on the Realm and accessible from any other Bedrock device.
Step-by-Step: Downloading Your Realm World to a New Device
If you want to play a Realm world offline on a different device or transfer it back to local storage:
- Launch on Destination Device: Open Minecraft on the device you wish to play on, ensuring you are signed in with the same Microsoft account that owns the Realm.
- Access Realm: Select “Play,” then “Realms,” and choose the Realm containing your uploaded world.
- Initiate Download: Go to the “Settings” for the Realm. Select the world slot you wish to download, and from the bottom of the Game Settings tab, choose “Download World.”
This will save a local copy of the Realm world onto your destination device, allowing you to play it offline or modify it independently if you choose.
Manual Transfers: A More Complex Alternative (PC/Mobile Specific)
While Realms offer the most streamlined experience, manual world file transfers are possible for certain platforms, primarily PC and mobile. This method is considerably more involved and less convenient than using a Realm, but it can be useful if you don’t have a Realm subscription or only need to transfer a world occasionally between specific devices.
The Process of Manual World Transfer:
- Locate World Files: The most challenging step is finding the exact location of your world files.
- For Windows 10/11: The path is typically
C:\Users\[YOUR_USERNAME]\AppData\Local\Packages\Microsoft.MinecraftUWP_8[...]\LocalState\games\com.mojang. Withincom.mojang, you’ll find aminecraftWorldsfolder containing subfolders for each of your worlds. - For Android/iOS: You’ll need to use a file management app. For Android, look in internal storage under
games/com.mojang/minecraftWorlds. For iOS, consult official Minecraft Help documentation or use the Files app/iCloud, though direct file system access is more restricted.
- For Windows 10/11: The path is typically
- Copy World Files: Once located, copy the entire world folder (or the `com.mojang` folder for Windows if you want to transfer all worlds) using a method suitable for your devices. This could involve cloud storage services (like Google Drive, Dropbox, OneDrive), direct device-to-device transfer (e.g., AirDrop for Apple devices), or even a physical USB drive.
- Paste/Import World: Transfer the copied world folder to the corresponding
minecraftWorldslocation on your destination device.
Important Note: Transfers between consoles (e.g., Xbox to iOS) without Realms are typically not supported directly via manual file access. They might require specific third-party applications and often necessitate both devices being on the same local network, adding significant complexity and potential for data loss.
Essential Tips for Smooth Cross-Save Management
- Embrace Realms for Consistency: For the most seamless cross-device play with consistent progression, utilizing Minecraft Realms is by far the recommended and most practical solution. It eliminates the need for manual transfers and ensures your world is always up-to-date.
- Consistent Microsoft Account: Always ensure you are signed into the exact same Microsoft account across all your Bedrock devices. This is fundamental for accessing your Realms, marketplace purchases, and achievements.
- Regular Backups are Prudent: Even if you use Realms, it’s a good habit to regularly back up your important worlds. For PC and mobile users, this means manually copying their world folders to a safe location. Realms also allow you to download a backup of your world at any time.
- Test Before Committing: When experimenting with manual transfers, create a small, new “test world” first. Transferring this trivial world will help you verify the process works correctly on your specific devices before attempting it with a long-term, valuable world.
Common Pitfalls and Limitations to Avoid
Understanding what doesn’t work, or what can go wrong, is just as important as knowing the solutions:
- Automatic Sync Expectation: The most common mistake players make is expecting local single-player worlds to sync automatically between devices. This simply isn’t how Bedrock Edition is designed to function without a Realm.
- Java vs. Bedrock Incompatibility: Minecraft: Java Edition and Bedrock Edition are fundamentally different games, built on different codebases. Their world formats are incompatible, meaning you cannot directly transfer worlds between Java and Bedrock.
- Cloud Storage Overload: When attempting to save local world data or download Realm worlds, running out of available cloud storage space (e.g., for Xbox saves or mobile backups) can lead to frustrating “cloud sync failed” errors. Periodically deleting older, unused worlds from the game’s settings can help alleviate this.
- Corrupted Local Saves: Local world saves, particularly on consoles, can occasionally become corrupted due to power outages, software glitches, or other issues. In such cases, having a recent backup on a Realm can be a lifesaver, allowing you to download a playable version.
- Complexity of Manual Transfers: Manual file transfers, especially across different operating systems or to/from consoles, can be cumbersome, prone to user error, and less straightforward than the cloud-based syncing offered by Realms.
- Varying File Paths: The exact location of world files differs significantly by operating system and device. Users must meticulously find the correct path for both the originating and destination platforms, which can be a barrier for less tech-savvy players.
- Console Memory Caps: Console platforms often impose hard memory limits for saved game data. This can restrict the number or total size of local worlds you can store, potentially forcing you to delete older worlds to make space for new ones or Realm downloads.
While Minecraft Bedrock Edition offers unparalleled cross-platform play for multiplayer, achieving true cross-save for your personal worlds requires a clear understanding of its local storage design. Minecraft Realms stands out as the definitive, most user-friendly solution, transforming a collection of device-specific saves into a unified, accessible adventure that travels with you wherever you play.
Tags:
YOU MAY ALSO LIKE...