

Building a Bridge Across a Large Ravine Safely
66
views ❘
July 13, 2026
Building a Bridge Across a Large Ravine Safely
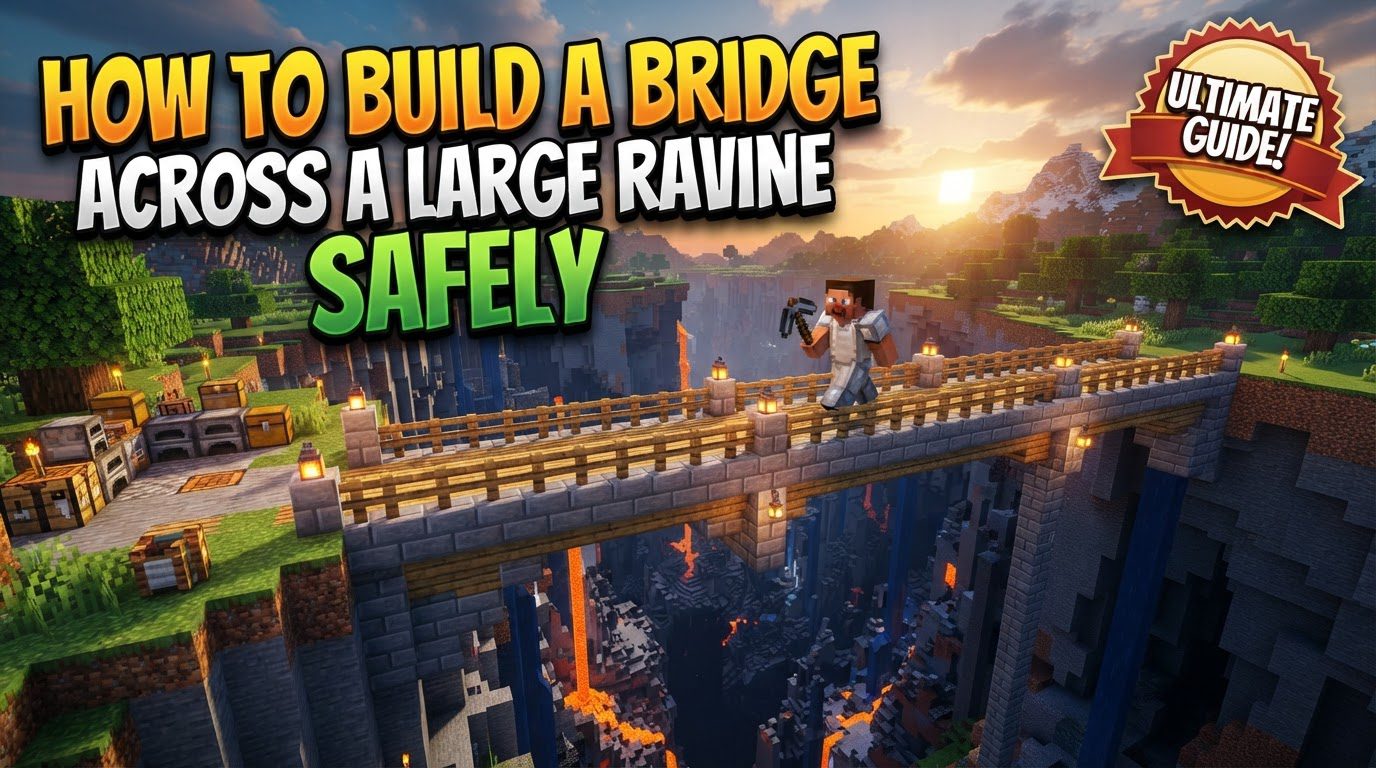
Traversing vast ravines in Minecraft can be a daunting task, but with careful planning and execution, a sturdy and aesthetically pleasing bridge can be constructed. This guide will walk you through the essential mechanics, a step-by-step building process, crucial tips, and common mistakes to avoid, ensuring your construction is both safe and successful.
Key Mechanics for Safe Bridging
- Crouching (Sneak Mode): A fundamental safety mechanic in Minecraft, crouching prevents players from falling off edges. When you are in sneak mode, your character cannot walk off the side of a block, making it indispensable for placing blocks at height or near dangerous drops. This simple action significantly reduces the risk of an accidental fall into a ravine, which could lead to losing valuable items or even death.
- Backward Crouching Block Placement: One highly effective and safe bridging method involves moving backward while simultaneously crouching and placing blocks. By facing away from the direction you are building, you can place blocks directly beneath you while maintaining the safety of sneak mode. This technique ensures that you are always on solid ground, minimizing the chance of misplacement or falling.
- Bedrock Edition Forward Bridging: For players on Minecraft Bedrock Edition, a distinct and safe method is available. This technique requires standing a few blocks away from the edge of the ravine. From this position, you can move forward while continuously holding down the right-click button (or the equivalent ‘place block’ button). This allows for rapid and safe block placement, creating a path as you advance, all while maintaining a safe distance from the immediate drop-off point.
- Suspended or Arched Bridge Designs: When planning a bridge over particularly large gaps like ravines, considering a suspended or arched design can be highly beneficial. These architectural styles are not only visually appealing but also serve a practical purpose: they minimize the need for extensive resources that would otherwise be required to build supports directly from the bottom of the ravine. This can save significant time and material, especially when the ravine floor is very deep or filled with hazards like lava.
Step-by-Step Process for Bridge Construction
Building a robust bridge involves several stages, each crucial for structural integrity and aesthetic appeal.
- Establish Baseline: The initial step is to accurately mark the intended path of your bridge. This is achieved by placing temporary blocks in a straight line across the ravine. These blocks serve as a guide, ensuring that your bridge is perfectly aligned and straight from one side to the other. This foundational step prevents a crooked or misaligned bridge, which can be difficult to correct later.
- Build Supports: Once the baseline is established, focus on constructing symmetrical pillars or foundations on both sides of the ravine. It is vital to ensure these supports reach the ground, providing the necessary stability for the entire structure. For aesthetic considerations, the main bridge platform should be built a few blocks above any water or lava present at the bottom of the ravine, creating a visually cleaner and safer passage.
- Lay the Main Path: With the supports in place, the next step is to connect the main pathway across the gap. This forms the primary walking surface of your bridge. When designing decorative bridges, a useful tip is to aim for an odd number of blocks for the bridge’s length. This makes it easier to find the exact center, which is often crucial for placing structural and aesthetic elements symmetrically.
- Add Safety Barriers: Safety is paramount, especially over dangerous ravines. Install fences, fence gates, or other barrier blocks along the entire length of the bridge’s sides. These barriers are essential for preventing accidental falls, which can be fatal or result in the loss of valuable items. Prioritizing these safety features ensures a secure passage for all who use the bridge.
- Incorporate Lighting: Proper illumination is critical for both visibility and security. Place light sources, such as lanterns, torches, or glowstone, strategically along the bridge, particularly on pillars or at regular intervals. Good lighting illuminates the path, making it safer to navigate, and more importantly, prevents hostile mobs from spawning on or around your bridge, keeping the area secure.
- Detailing: To elevate your bridge from a purely functional structure to a work of art, focus on detailing. Enhance the bridge’s appearance by incorporating decorative elements. This can include using stairs and slabs to add texture and shape, and varying block types to introduce visual interest and sophistication. Thoughtful detailing can transform a simple bridge into a prominent landmark within your Minecraft world.
Important Tips for Effective Bridge Building
- Use Scaffolding: Scaffolding is an invaluable tool for building at height. Utilize scaffolding or other temporary blocks to safely reach difficult areas and place blocks precisely. This allows for vertical progression and access to complex sections of your bridge without resorting to dangerous free-standing block towers.
- Vary Materials: To avoid a monotonous or bland appearance, incorporate different types of wood, stone, and other blocks into your design. Varying materials adds significant visual depth and interest, making the bridge more engaging and less like a single, uniform slab.
- Create Depth: A truly impressive bridge design incorporates depth. Achieve this by designing with overhangs, visible support beams, and varied block placements. These elements give the bridge a more realistic, sturdy, and less flat appearance, adding to its overall architectural appeal.
- Integrate with Environment: A well-designed bridge doesn’t just span a gap; it harmonizes with its surroundings. Consider the natural terrain and integrate the bridge seamlessly into the landscape. This means matching block palettes where appropriate and ensuring the bridge’s entrances and exits flow naturally into the existing environment.
- Practice Bridging Techniques: Before embarking on a large-scale project, take time to practice safe bridging methods. Mastering techniques like crouching and backward block placement will enable you to build more efficiently and significantly minimize the risk of falling, ensuring a smoother and safer construction process.
Common Mistakes to Avoid
- Careless Movement: One of the most frequent causes of accidents during bridge construction is not paying attention while placing blocks. Any momentary lapse in focus can lead to falling into the ravine, resulting in lost items or character death. Always maintain vigilance and use safety mechanics.
- Spam Clicking: While rapidly clicking to place blocks might seem efficient, it can be extremely risky. Spam clicking increases the likelihood of misclicks, which can lead to blocks being placed incorrectly or, worse, the player accidentally walking off an edge. Prioritize precision over speed.
- Flat Designs: Building a bridge with entirely flat walls or surfaces, without any architectural variation, makes the structure look unappealing and simplistic. Avoid creating a two-dimensional look by incorporating elements that add depth and texture.
- Single-Block Bridges: Constructing the entire bridge out of only one type of block often results in a bland and uninteresting build. This lack of variety can make even a large bridge feel insignificant. Embrace material variation to enhance visual appeal.
- Lack of Overhangs: Failing to include overhangs or visible support structures can make the bridge appear less sturdy and less aesthetically pleasing. These elements are crucial for conveying a sense of structural integrity and adding realistic detail.
- Ignoring Surroundings: Focusing solely on the bridge itself and neglecting the paths or decorations around its entrances and exits can make the overall area feel incomplete. A truly great build integrates the bridge with its immediate environment, creating a cohesive and polished look.
Click to rate this post!
[Total: 0 Average: 0]
Tags:
YOU MAY ALSO LIKE...

Configuring a Nether Roof Exploit Prevention, Explained
96
views
Understanding the Nether Roof Exploit The Nether roof in Minecraft presents a unique challenge for…

How to configure a plot-based world for building servers
82
views
Building servers in Minecraft offer a creative outlet for players, and a plot-based world provides…

How to configure a proxy server like BungeeCord or Velocity
89
views
Understanding Minecraft Proxy Servers: BungeeCord and Velocity Configuring a proxy server like BungeeCord or Velocity…

Configuring a Quark Mod Automatic Crafting Feature
46
views
Automating production in Minecraft can transform your gameplay experience, and Quark's backported Crafter block is…

Configuring a Random Value Range with /random Value (Step by Step)
74
views
Minecraft's dynamic world often benefits from an element of unpredictability, and with the introduction of…

Configuring a Safe Zone Where PvP Is Disabled — A Quick Guide
113
views
Configuring a safe zone in Minecraft where Player versus Player (PvP) combat is disabled is…

Configuring a Staff Chat Channel
42
views
Configuring a staff chat channel in Minecraft is an essential practice for server administrators seeking…

Configuring a Tab List Format Plugin (Step by Step)
68
views
Configuring a tab list format plugin in Minecraft is a fundamental aspect of server customization,…

Configuring a Voting Plugin with Online Vote Sites
54
views
Understanding Minecraft Voting Plugins Minecraft server voting plugins are essential tools for server owners looking…