

Your Server Needs Automated Farming Systems
Many Minecraft players find themselves constantly grinding for essential resources, manually tilling soil, planting seeds, and harvesting crops. This repetitive cycle, while fundamental to survival, can consume countless hours that could be spent on exploration, building, or adventuring. The truth is, your server doesn’t need players to be perpetually tied to their hoes; it needs automated farming systems. These ingenious contraptions transform resource gathering from a tedious chore into a passive income stream, allowing players to focus on the more exciting aspects of the game while their farms tirelessly generate materials in the background.
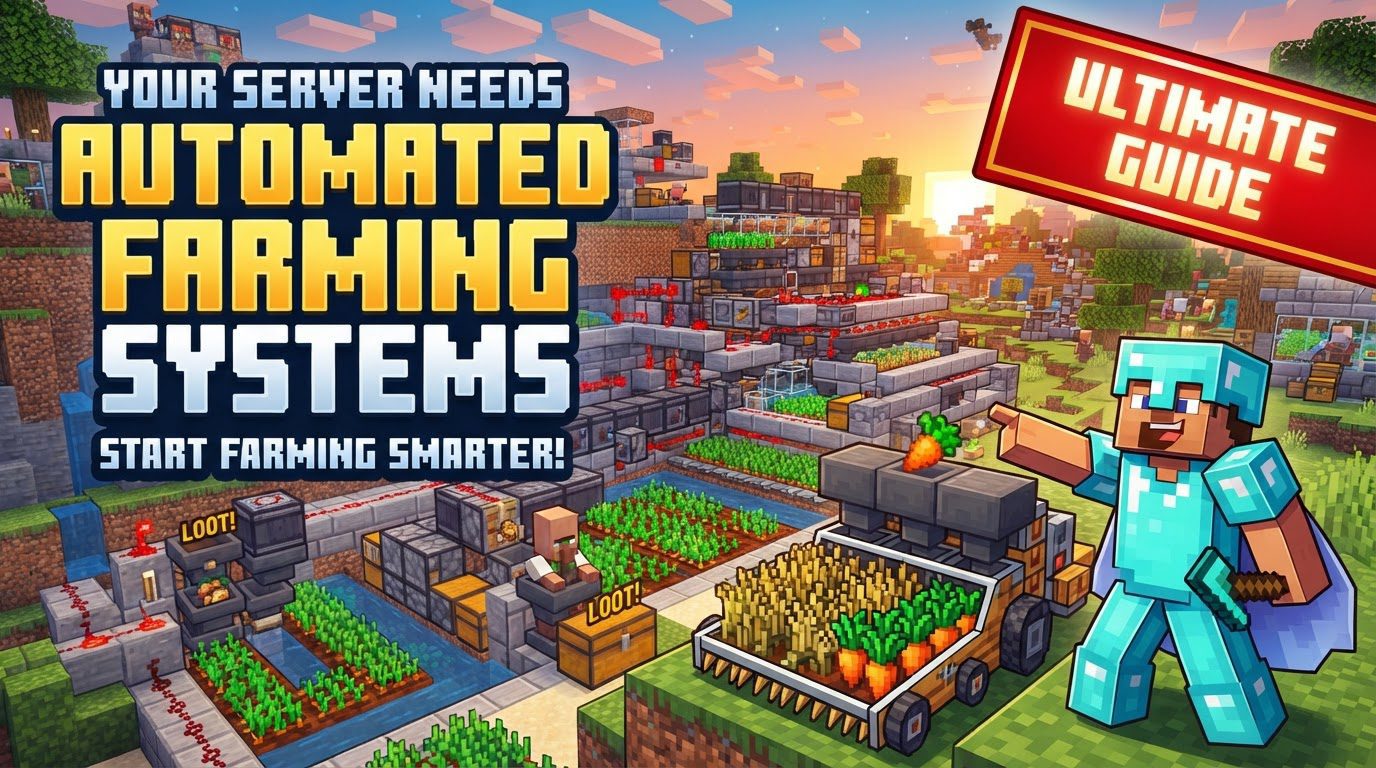
The Core Mechanics: Unlocking Automation’s Potential
At the heart of every efficient automated farm lies a clever combination of Minecraft’s fundamental mechanics. Understanding these building blocks is crucial for designing and troubleshooting your own systems.
- Redstone Mechanics: Redstone is the electrical wiring of Minecraft. It allows for the creation of complex circuits that can power various components, triggering actions automatically or on demand.
- Observer Blocks: These invaluable blocks detect changes in the block in front of them. For farming, they are primarily used to sense when crops mature, providing a redstone signal to initiate the harvesting process.
- Pistons: Pistons are mechanical blocks that can push or pull other blocks. In automated farms, they are commonly employed to break mature crops, separating them from the farmland.
- Water Flow: Water is not just for hydration; it’s also a natural conveyor belt. Strategically placed water currents can push harvested items into designated collection areas, saving players the effort of manual pickup.
- Hoppers: Hoppers are essential for item collection and transfer. They automatically suck up items lying on top of them or from containers above, funneling them into chests or other storage units.
- Crop Requirements: All crops need two basic conditions to grow efficiently: adequate light and proximity to water. Farmland must be hydrated, meaning a water source needs to be within four blocks horizontally of any tilled block.
- Villager Assistance: For certain crops like carrots, potatoes, and wheat, villagers can be integrated into the farm design. Farmer villagers can replant crops after harvesting, making these farms nearly self-sufficient and requiring minimal player intervention.
Building Your First Automated Crop Farm: A Step-by-Step Guide
While designs can vary greatly, the principles for constructing a basic automated crop farm remain consistent. Here’s a general process to get you started:
- Choose a Location and Prepare Farmland: Select a flat area, or flatten one out to your desired size. Use a hoe to till the soil into farmland blocks. The larger the area, the more output your farm will yield.
- Add Water for Growth: Place water sources strategically within your farmland. Each water block can hydrate farmland up to four blocks away horizontally. This ensures optimal growth rates for all your crops.
- Plant Seeds: Once the farmland is tilled and hydrated, plant your desired seeds. Consider what resources you need most – wheat, carrots, potatoes, or other crops.
- Set Up the Collection System: This is where your harvested items will end up. Dig a channel, usually one block deep, either below or at one end of your farm. Place hoppers in this channel, pointing into chests. Ensure the hoppers are correctly positioned to collect items pushed by water currents.
- Install the Harvesting Mechanism: This typically involves observer blocks and pistons. Place observers facing the crops to detect their growth. Connect these observers to pistons (or dispensers filled with water buckets) that will break the crops once they are mature. For instance, a piston might extend to break a row of fully grown wheat.
- Automate with Redstone: Connect your observer blocks to the pistons or dispensers using Redstone dust. When an observer detects a mature crop, it sends a Redstone signal, which then triggers the piston to break the crop or the dispenser to release water, sweeping the items into your collection system.
Advanced Strategies & Optimization Tips
Once you’ve mastered the basics, these tips can help you refine your automated farms for maximum efficiency and output:
- Consider Output Needs: Different crops offer different returns. Melons and pumpkins, for example, provide a good balance of yield and ease of automation. Wheat and carrots offer steady, though generally slower, yields but are essential for food and villager trading.
- Redstone Comparators for Storage Management: Use Redstone comparators to detect when your collection chests are full. This can pause the farm’s operation, preventing item loss due to overflow and adding a layer of smart storage management.
- Implement Redstone Repeater Delays: When connecting observers to pistons or other mechanisms, consider adding Redstone repeater delays (2-3 ticks). This can prevent items from stacking too quickly at collection points and ensures a smoother flow into hoppers.
- Ensure Adequate Lighting: Proper lighting is paramount. Place torches, glowstone, or sea lanterns around and within your farm to prevent unwanted hostile mob spawns, which can damage crops or interfere with farm mechanics.
- Optimal Row Planting: Plant crops in rows with accessible water sources to ensure all farmland remains hydrated. This maximizes growth rates across your entire farm.
- Extend Water Streams: For longer collection paths, you can extend water streams by placing signs or item frames at the end of a water block. This prevents the water from flowing further but allows items to pass over, effectively creating longer item conveyors.
- Utilize Blueprints: Don’t be afraid to consult existing farm blueprints or tutorials. Many complex, highly efficient designs have been perfected by the community and can serve as excellent guides for your own builds.
- Sugarcane Specifics: For sugarcane farms, pistons are typically activated when the cane grows to a certain height. The piston breaks the upper sections, which then fall into water currents below and are funneled into hoppers.
Troubleshooting Common Pitfalls
Even the most experienced builders encounter issues. Knowing common mistakes can save you hours of frustration:
- Lighting Issues: A recurring problem, insufficient lighting leads to hostile mob spawns. Always ensure your farm, especially the collection area, is well-lit to prevent creepers from exploding or zombies from trampling crops. This is particularly critical for mob farms, where mob cap management is key.
- Redstone Circuitry Problems: Incorrect wiring, improper placement, or misorientation of Redstone components are frequent culprits. Double-check every piece of Redstone dust, every repeater, and every observer to ensure they are facing the correct direction and connected as intended.
- “1 Block” Errors: Minecraft is precise. A single block misalignment or incorrect spacing can render a farm inoperable or severely inefficient. Carefully count blocks and confirm placements, especially for water flow and hopper connections.
- Villager Mechanics: When incorporating villagers into wheat, carrot, or potato farms, ensure you understand their AI. Issues with replanting, collecting items, or even their inventory management can cause the farm to fail. Ensure they have sufficient inventory space or are incentivized to farm.
- Mob Cap and Despawn Sphere: While more critical for mob farms, understanding the game’s mob cap and despawn sphere mechanics is vital for efficiency. If too many mobs are present elsewhere, it can prevent new mobs from spawning in your farm.
- Hoppers Not Working: Hoppers must be positioned correctly to collect items. If they’re not picking up items, check their elevation relative to the items, and ensure they are pointing into the correct container or another hopper. Sometimes, a slight adjustment in height or direction is all that’s needed.
Automated farming systems are a cornerstone of efficient gameplay on any Minecraft server. By investing the time to build these contraptions, you’re not just creating a resource generator; you’re freeing up valuable player time, enriching the overall server experience, and building a more sustainable and productive world. Embrace the power of Redstone and watch your resources flourish!
Tags:
YOU MAY ALSO LIKE...


