Minecraft How to Breed Villagers With Jobs
Contrary to what many players might assume, a villager’s job title holds absolutely no bearing on its ability to breed in Minecraft. This often surprises new and even experienced players who might link a villager’s productivity to its reproductive capacity. In reality, the complex system governing villager procreation simplifies down to fundamental needs: food and shelter. Understanding these core mechanics is paramount to successfully establishing and maintaining a thriving villager population, which can then be leveraged for invaluable trades and resources.
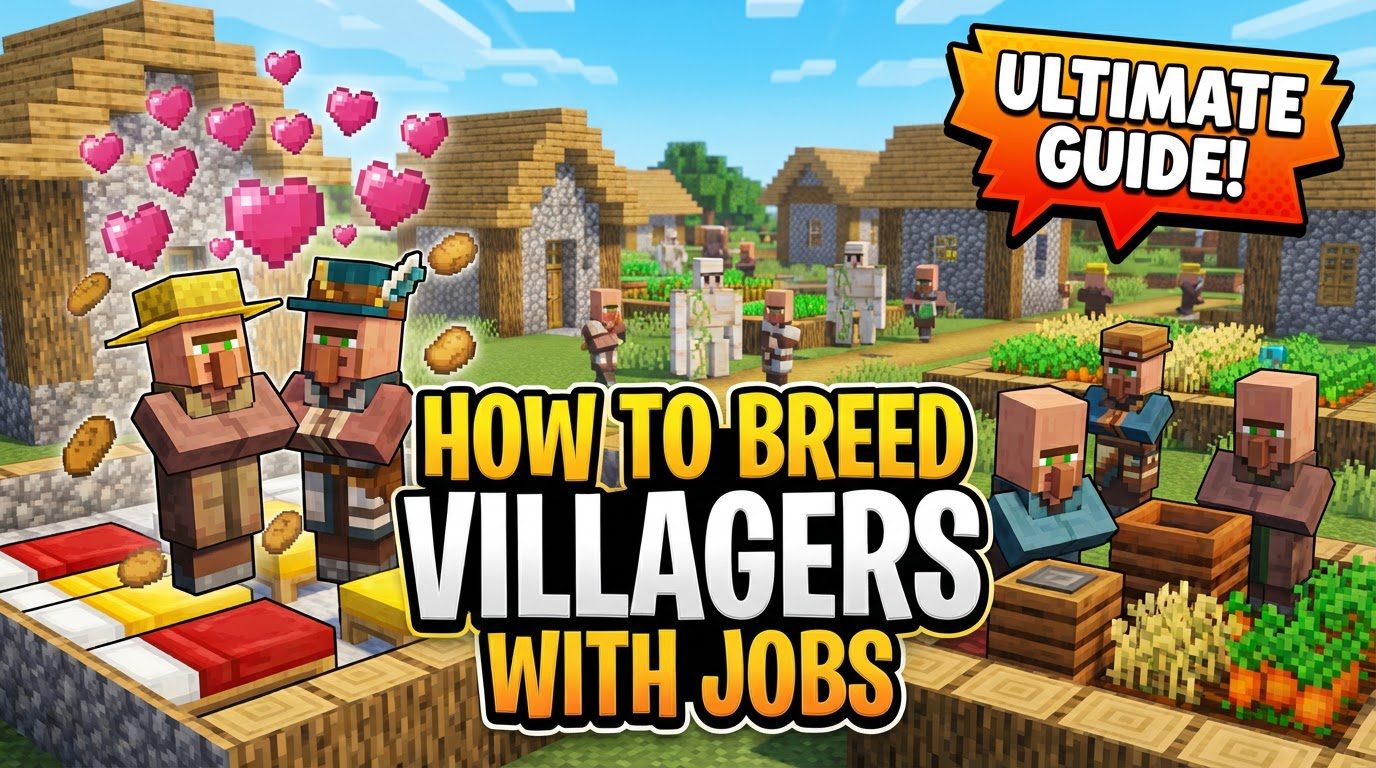
Breeding villagers effectively allows you to expand your trading halls, create iron farms, or simply populate a custom village. The process is less about their profession and more about ensuring their basic needs are met and their environment is conducive to new life. Forget about job blocks and trading for a moment; the true catalysts for villager love are much simpler.
Understanding the Core Mechanics of Villager Reproduction
Before diving into the practical steps, it’s crucial to grasp the underlying rules that govern villager breeding. These mechanics have been refined over various Minecraft updates, simplifying some aspects while making others more precise.
- Willingness to Breed: Villagers don’t just spontaneously decide to have a baby. They must first enter a state of “willingness.” This state is primarily triggered when a villager has sufficient food in its personal inventory. Interestingly, performing trades with a villager also contributes to its willingness, making active trading a secondary, albeit less direct, method of encouraging reproduction. Once willing, heart particles will appear above their heads, signaling their readiness.
- Nourishment for New Life: Food Requirements: Food is the most critical component. Each villager involved in the breeding process needs a specific amount of food in its inventory to become willing. The exact quantities are:
- 3 loaves of bread, or
- 12 carrots, or
- 12 potatoes, or
- 12 beetroots.
Bread is often considered the most efficient option due to its compact stack size and ease of production. Villagers will pick up food items dropped on the ground near them, so simply tossing stacks of these items into their enclosure is the easiest way to provision them.
- The Foundation of a Family: Beds: For breeding to occur, there must be an available, unclaimed bed for each potential new baby villager. This means if you have two breeding villagers, and they are to produce one baby, you need a minimum of three beds: one for each parent and one for the offspring. Crucially, each bed must also have at least two air blocks directly above it. This vertical space is essential for the baby villager to spawn successfully. Without enough unclaimed beds, villagers will display “anger particles” (green swirls with grey crosses) and refuse to breed.
- Dispelling Old Myths: No Doors Needed: In older versions of Minecraft, villagers required valid “village” definitions, which were often determined by the presence of doors. This is no longer the case. You do not need any doors for villager breeding to occur in current versions of the game. Focus on beds and food.
- A Sense of Security: Safety and Routine: While not a direct trigger, villagers may not breed if they perceive their environment as unsafe. This includes the presence of hostile mobs nearby or if their daily routines are constantly interrupted. Ensuring a well-lit, enclosed, and mob-free breeding area is always a good practice.
- Job Status: An Irrelevant Detail: This is the central point to remember: a villager’s job (or lack thereof) has absolutely no impact on its ability to breed. Furthermore, the profession of the parent villagers does not influence the profession of the offspring. Baby villagers are born jobless and will only acquire a profession once they grow into adults and link to an available job site block.
The Practical Approach: Step-by-Step Breeding
With the core mechanics understood, let’s outline the straightforward process for breeding villagers in your world.
- Step 1: Constructing a Secure Habitation: Your first task is to create a safe, enclosed space for at least two adult villagers. This can be a simple chamber made of any solid block. The enclosure prevents them from wandering off, keeps hostile mobs out, and concentrates them for easy food delivery and observation. Transport your chosen villagers into this area using minecarts, boats, or by luring them with beds at night.
- Step 2: Preparing the Nursery with Beds: Place enough beds within the enclosure. Remember the rule: two beds for the parents, plus at least one extra bed for each baby you want to produce. So, for a single breeding pair aiming for one baby, you’ll need a minimum of three beds. Ensure that there are at least two air blocks directly above the head end of each bed for the baby to spawn. The beds should be accessible to the villagers, meaning they can pathfind to them.
- Step 3: Providing Sustenance: Drop the required food items (bread, carrots, potatoes, or beetroots) onto the ground inside the enclosure. You can drop entire stacks. The villagers will pathfind to the items and pick them up, adding them to their internal inventory. Once they’ve consumed enough to meet the “willingness” threshold, you’ll start to see the results.
- Step 4: Witnessing the Miracle: The Breeding Process: After consuming enough food, and if there are unclaimed beds available, you will observe heart particles appearing above the heads of the two willing villagers. They will then approach each other, and shortly after, a baby villager will spontaneously spawn. The baby villager will immediately claim one of the available, unclaimed beds.
- Step 5: Guiding Future Generations: Assigning Professions (Optional): Once the baby villager grows into an adult (which takes about 20 minutes of real-world time), you can then assign it a profession. To do this, simply place a job site block (e.g., a Composter for a Farmer, a Lectern for a Librarian, a Blast Furnace for an Armorer) near the jobless adult villager. It will link to the block and take on the corresponding profession. To lock in its profession and trades permanently, you must perform at least one trade with it. This is particularly useful for creating specific types of traders for your base.
Optimizing Your Villager Farm: Advanced Strategies
To move beyond basic breeding and create an efficient, continuous villager farm, consider these advanced tips:
- Automating Food Distribution: The most effective way to ensure a constant food supply is to incorporate a farmer villager into your breeding setup. Give the farmer access to a small farm of crops (like carrots or potatoes) and a composter. The farmer will harvest, replant, and then, due to having excess food in their inventory, they will share it with other villagers in the breeding area. This creates a self-sustaining food loop.
- Strategic Isolation: For precise control over villager professions and to prevent unwanted linking to distant villages or job blocks, isolate your breeding chamber. Ensure there are no other job site blocks within 100 blocks or so, especially if you plan to assign specific jobs to the offspring. This prevents new adults from claiming a random job block you didn’t intend for them.
- Sustaining the Population Boom: Continuous Breeding: To keep your villagers continuously breeding, you need to provide a steady supply of unclaimed beds. This often means having a system to remove baby villagers from the breeding area before they grow up and claim all the available beds, thus halting further reproduction.
- Managing the Offspring: Removing Baby Villagers: This is critical for continuous breeding. Baby villagers will claim an available bed, and once they grow up, that bed is no longer “unclaimed” for the purpose of new breeding. To ensure continuous breeding, baby villagers need to be moved at least 96 blocks horizontally or 76 blocks vertically away from the breeding pair. This can be achieved with water streams, minecarts, or even manual transportation, directing them to a separate holding area or trading hall.
Avoiding Common Breeding Blunders
Even with a clear understanding, common mistakes can derail your breeding efforts. Being aware of these pitfalls can save you time and frustration.
- The Bed Shortage Crisis: By far the most common reason villagers fail to breed is an insufficient number of unclaimed beds. If you see angry particles (green swirls with grey crosses) above your villagers’ heads, this is almost always the cause. Double-check your bed count and ensure they are all accessible and have the necessary air blocks above them.
- The Empty Pantry: Villagers won’t become willing if they don’t have enough food in their inventory. Make sure you’re dropping the correct types and quantities of food. Observe them picking it up. If they aren’t, check for blockages or pathfinding issues.
- Improper Bed Setup: Forgetting the crucial two air blocks directly above the bed can prevent babies from spawning, even if beds are present and unclaimed. Ensure there are no blocks, even transparent ones like glass, in this space.
- Clinging to Outdated Information: Relying on old breeding mechanics that required doors will lead to failure. Remember, in modern Minecraft, doors are irrelevant to villager breeding.
- Overcrowding the Nursery: If baby villagers remain in the breeding area and grow up to claim all the available beds, the breeding process will stop. Implement a system to move offspring out of the breeding chamber to free up beds for future generations.
In conclusion, breeding villagers in Minecraft, even with the intention of assigning them jobs later, is fundamentally a process driven by food and available beds. Disregard their current profession, focus on providing sustenance and shelter, and create a safe environment. By understanding and applying these simple mechanics, you’ll be well on your way to a thriving villager population, ready to be assigned their specialized roles in your Minecraft world.
Tags:
YOU MAY ALSO LIKE...