

Minecraft Copper Tools
On September 30, 2025, Minecraft players across both Java and Bedrock editions witnessed the dawn of a new era with “The Copper Age” update, officially introducing copper tools and weapons into the game. Prior to this landmark update, copper, a relatively common and aesthetically pleasing resource, was primarily relegated to decorative blocks, lightning rods, and spyglasses. Its integration into the tool progression system marks a significant shift, providing players with an accessible and valuable upgrade path during their crucial early-game adventures.
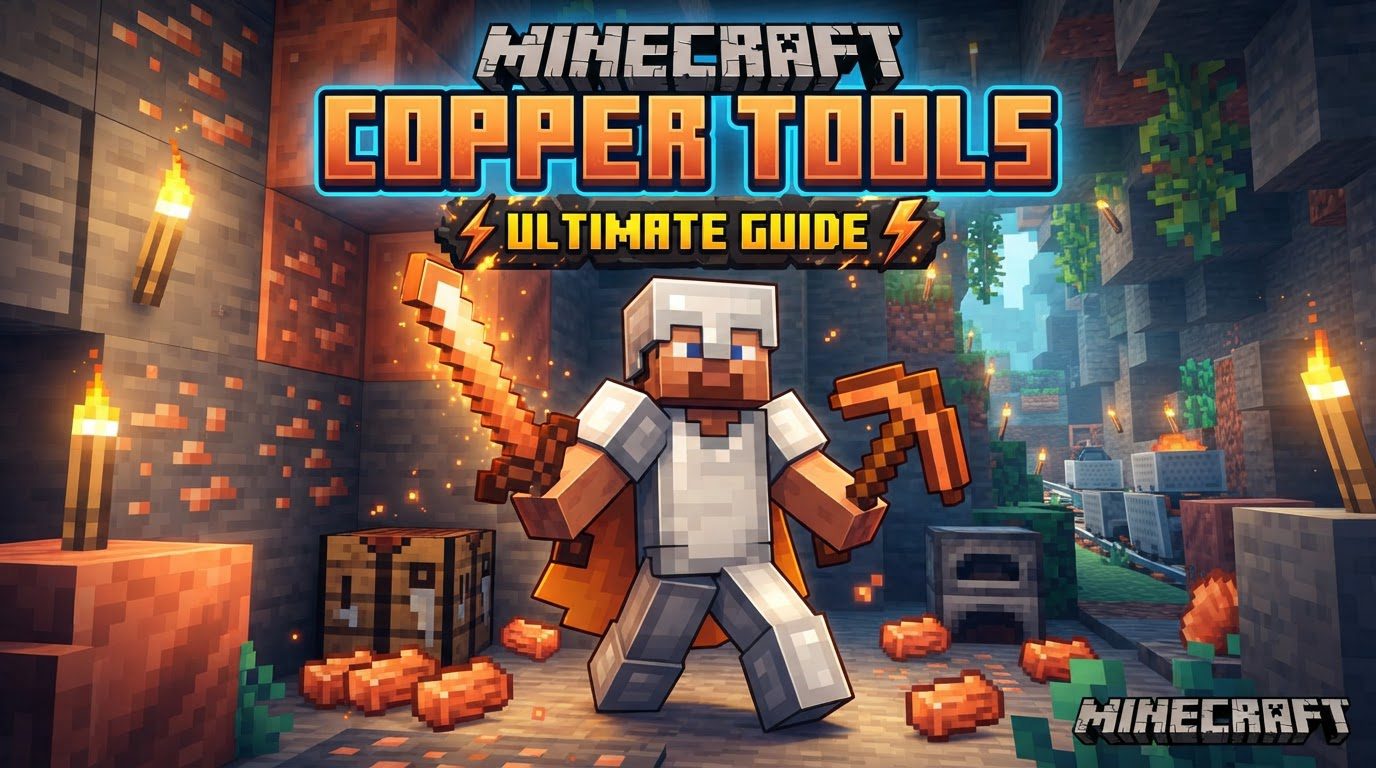
The introduction of copper tools addresses a long-standing gap in Minecraft’s early-game progression. For years, players transitioned directly from basic stone tools to more advanced iron equipment. This leap, while manageable, sometimes felt abrupt, especially for new players or those seeking a more gradual power curve. Copper tools now serve as an excellent intermediary, offering a noticeable improvement over stone without requiring the deeper mining and smelting efforts associated with iron. They are designed to streamline the initial stages of survival, allowing for more efficient resource gathering and a smoother journey towards establishing a robust base and advanced infrastructure.
The Strategic Placement of Copper in Your Arsenal
Understanding where copper tools fit within Minecraft’s hierarchy is key to utilizing them effectively. They are positioned as an early-game upgrade, providing a crucial stepping stone:
- Better than Stone: Copper tools boast superior durability and effectiveness compared to their stone counterparts. A copper pickaxe, for instance, will mine blocks faster and last longer than a stone pickaxe, significantly speeding up early resource collection. Similarly, a copper sword offers a damage boost over a stone sword, making early combat encounters slightly less perilous.
- Preceding Iron: While a significant improvement over stone, copper tools do not surpass iron equipment in terms of speed, durability, or damage output. Iron remains the next major tier for tools and weapons, offering even greater efficiency and opening up access to more valuable blocks (like diamonds, which require an iron pickaxe or better). Copper’s purpose is not to replace iron, but to make the journey to iron more manageable and productive.
- Abundance and Accessibility: One of copper’s greatest strengths is its relative abundance. Copper ore veins are commonly found throughout the overworld, particularly in dripstone caves. This widespread availability ensures that players can quickly gather enough material to craft a full set of copper tools early in their playthrough, making them an accessible and practical choice for immediate upgrades.
From Ore to Ingot: The Acquisition Process
Crafting your first set of copper tools begins with locating and processing the raw material. The steps are straightforward and mirror the process for other metallic resources in Minecraft.
Mining Raw Copper
Your journey starts deep underground. Copper ore generates frequently in various biomes, with a notable concentration in dripstone caves. These distinctive cave systems, characterized by pointed dripstone blocks, are excellent places to find large veins of copper.
- The Right Tool: To successfully mine copper ore, you will need a stone pickaxe or higher. Attempting to mine copper ore with a wooden pickaxe will unfortunately result in the ore block being destroyed without yielding any raw copper. This is a common mistake that can lead to frustration and wasted time, so always ensure you have at least a stone pickaxe equipped before targeting copper veins.
- Gathering Raw Copper: Once mined, copper ore drops “raw copper.” This raw form is what you’ll need to process further. You can also sometimes find raw copper blocks, which drop nine raw copper when mined.
Smelting into Ingots
With a healthy supply of raw copper in hand, the next step is to transform it into usable copper ingots. This process requires a furnace and some fuel.
- Furnace Setup: Place a furnace down, open its interface, and add a fuel source (such as coal, charcoal, wood, or lava buckets) to the bottom slot.
- Smelting: Place your raw copper or even entire copper ore blocks (though raw copper is more efficient as it doesn’t consume as much furnace time per ingot) into the top slot of the furnace. The furnace will then begin smelting, converting each piece of raw copper into a shiny copper ingot.
Crafting Your Copper Arsenal
Once you have a sufficient number of copper ingots, you’re ready to craft your new tools. The crafting recipes for copper tools are identical to those for other material types, such as stone, iron, or diamond.
- Crafting Table: You will need a crafting table (crafted from four planks) to assemble your tools.
- Standard Recipes:
- Copper Pickaxe: Three copper ingots in the top row, two sticks in the middle column (middle and bottom slots).
- Copper Axe: Three copper ingots in a ‘T’ shape (top row, and middle-left slot), two sticks in the middle column (middle and bottom slots).
- Copper Shovel: One copper ingot in the top-middle slot, two sticks in the middle column (middle and bottom slots).
- Copper Sword: One copper ingot in the top-middle slot, one copper ingot in the middle-middle slot, one stick in the bottom-middle slot.
- Copper Hoe: Two copper ingots in the top row (left and middle slots), two sticks in the middle column (middle and bottom slots).
By following these familiar patterns, you can quickly equip yourself with a full set of copper tools, ready to take on the challenges of the early game.
Debunking the Oxidation Myth for Tools
It’s important to address a common misconception regarding copper tools and the oxidation mechanic. While copper blocks and copper armor are famously known to oxidize over time, changing color and potentially affecting enchantments or trims on armor, copper tools themselves do not undergo this oxidation process in a way that impacts their functionality, durability, or enchantments.
The research notes explicitly clarify that “While a similar oxidation mechanic’s impact on tool effectiveness has been speculated, official confirmation for tools beyond armor suggests it impacts enchantments and trims on armor.” This means you can craft and use your copper pickaxe, sword, or shovel without worrying about it turning green and losing its effectiveness or any applied enchantments. The oxidation mechanic is specific to copper *armor* and decorative copper blocks, adding a unique aesthetic and gameplay element to those items, but not to the functional tools.
Maximizing Your Copper Tool Usage
Copper tools, while not endgame material, are invaluable for efficient early-game progression. Here are some tips for making the most of them:
- Bridge the Gap: Use copper tools to smoothly transition from basic stone gear to more advanced iron equipment. This allows you to mine resources faster and more efficiently than with stone, enabling you to gather the iron needed for superior tools, armor, and utility items (like buckets or anvils) much quicker.
- Early Expeditions: Equip copper tools for your first significant mining expeditions. Their increased durability means fewer trips back to the crafting table for replacements, and their enhanced speed accelerates the acquisition of essential materials like coal, iron, and even diamonds (once you have an iron pickaxe for those).
- Combat Advantage: A copper sword provides a small but noticeable advantage in early combat against common hostile mobs like zombies and skeletons. This can be crucial in the initial nights when you might not yet have iron armor or advanced weapons.
- Resource Management: By using copper tools, you can conserve your precious iron ingots for items that strictly require them, such as armor, buckets, or redstone components. This strategic allocation of resources optimizes your early-game economy.
Avoiding Common Pitfalls
While copper tools are generally straightforward, a couple of common mistakes can hinder your progress:
- Mining Copper with a Wooden Pickaxe: As mentioned earlier, attempting to mine copper ore with a wooden pickaxe will destroy the block without yielding any raw copper. Always ensure you have at least a stone pickaxe equipped. This is a fundamental rule for many ore types in Minecraft and is particularly relevant for new players eager to get their hands on new resources.
- Confusing Tool Oxidation with Armor Oxidation: Do not fall into the trap of thinking your copper tools will oxidize like copper armor. While copper armor can oxidize, leading to the loss of enchantments or decorative trims over time, copper tools are immune to this functional degradation. You do not need to wax or de-oxidize your copper pickaxe. This distinction is vital for understanding the mechanics of copper items in Minecraft.
In conclusion, copper tools represent a thoughtful and welcome addition to the Minecraft universe. They provide an accessible, effective, and strategically placed upgrade path for early-game players, bridging the gap between rudimentary stone and advanced iron. By understanding their mechanics, efficient acquisition, and proper usage, players can significantly enhance their initial survival experience, paving the way for more complex builds, deeper explorations, and grander adventures in the vast world of Minecraft.
Tags:
YOU MAY ALSO LIKE...


