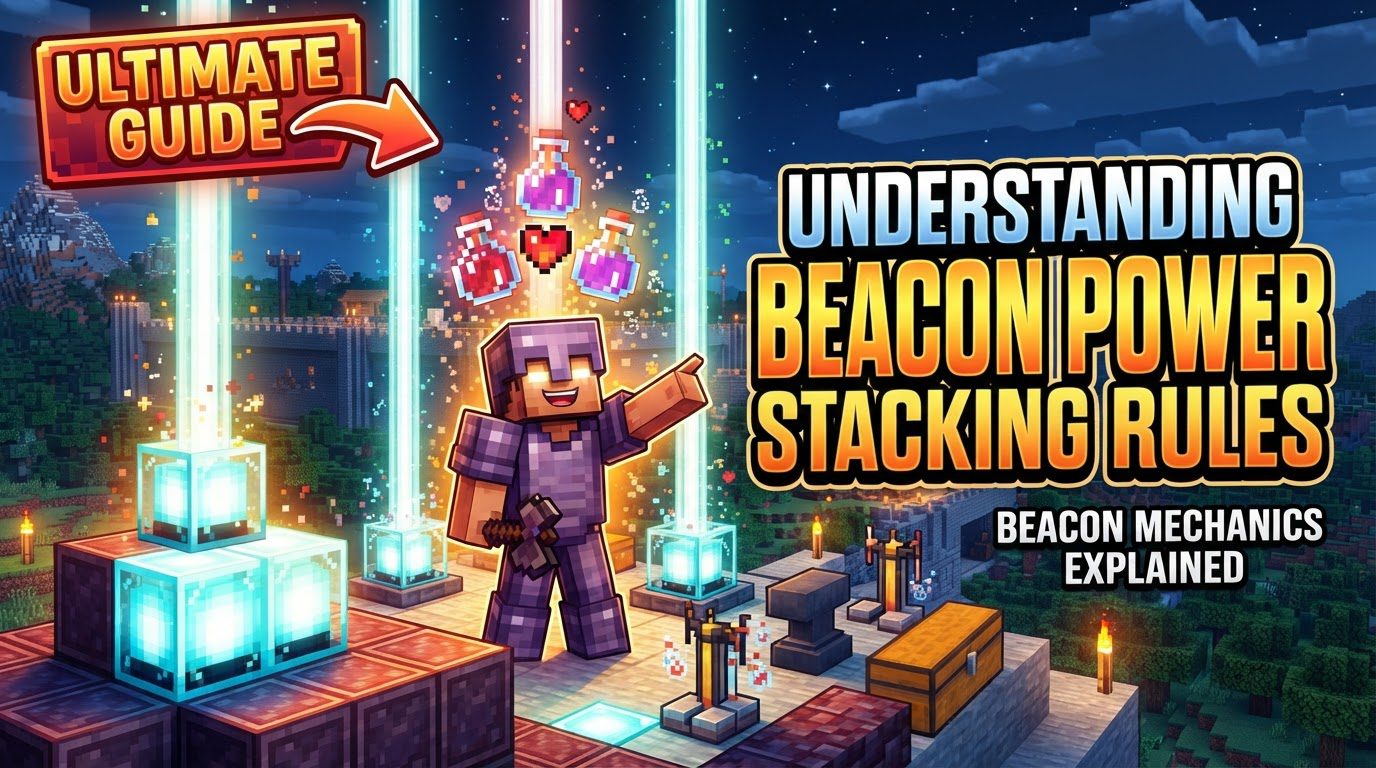
Understanding Beacon Power Stacking Rules
A common misconception among Minecraft players is that placing two Haste II beacons next to each other will magically grant Haste IV. This simply isn’t how the powerful beacon block operates, and understanding this fundamental rule is key to efficiently harnessing their full potential in your world.
The Core of Beacon Functionality
At its heart, a beacon is a potent utility block designed to bestow beneficial status effects upon players within its radius. These effects include Speed, Haste, Strength, Regeneration, Jump Boost, and Resistance. To activate this powerful block, it must be strategically placed atop a pyramid constructed from precious mineral blocks: iron, gold, emerald, diamond, or netherite.
The size and structure of this pyramid are paramount, directly influencing the beacon’s capabilities. A larger pyramid, specifically one with up to four layers, not only extends the range of the primary effect but also unlocks the ability to choose a secondary, more powerful effect. Crucially, for any beacon to function, it must have an unobstructed path to the sky directly above it. While opaque blocks will prevent activation, transparent blocks like glass do not impede the beacon’s luminous beam.
Pyramid Tiers and Effect Selection
The pyramid beneath your beacon is not merely decorative; it’s the engine that drives its power. The pyramid’s size dictates the strength and reach of the primary effect, and whether a secondary effect can even be chosen. Here’s a breakdown of how the layers work:
- 1-Layer Pyramid (3×3 base): Activates the beacon, allowing selection of a Level I primary effect.
- 2-Layer Pyramid (5×5 base, 3×3 top): Increases the range and allows selection of a Level I primary effect.
- 3-Layer Pyramid (7×7 base, 5×5 middle, 3×3 top): Further increases range and allows selection of a Level I or Level II primary effect.
- 4-Layer Pyramid (9×9 base, 7×7 second, 5×5 third, 3×3 top): Provides the maximum range, allows selection of a Level I or Level II primary effect, and unlocks the option to choose a secondary effect (Regeneration I or a Level II version of your primary effect). This largest pyramid requires a total of 164 blocks of the chosen material.
The materials for these pyramids are expensive – iron, gold, emerald, diamond, or netherite blocks. This high cost underscores the significant power and utility beacons bring to late-game Minecraft. Once a beacon is placed on a pyramid and has sky access, you interact with it to open its interface. Here, you’ll select your desired effect and “pay” for its activation using an iron ingot, gold ingot, emerald, diamond, or netherite ingot. This payment is consumed to apply the chosen effect.
The True Nature of Beacon “Stacking”
This is where the most common misunderstanding about beacons arises. When players refer to “stacking” beacon effects, they often incorrectly assume that multiple beacons providing the same effect (e.g., two Haste II beacons) will combine to create a higher level effect (like Haste IV). This is not how it works in Minecraft.
Instead, if you are within the radius of multiple beacons providing the *same type* of effect, the game will simply apply the highest level effect available. For example, if you have one beacon giving Haste I and another giving Haste II, you will only receive Haste II. The effects do not add together to increase their intensity beyond their maximum level for a given pyramid size.
However, the concept of “stacking” does apply in a different, incredibly useful way: providing *different* beacon effects simultaneously. This means you can strategically place multiple beacon blocks on a single, shared pyramid base to receive a multitude of beneficial effects at the same time. For instance, one beacon could be configured to provide Haste II, while an adjacent beacon on the same pyramid provides Speed II. Both effects would then be active for players within their combined radius.
Therefore, “stacking” in the context of beacons refers to the ability to layer various, distinct status effects concurrently within the same area, not to augment the strength of a single effect beyond its inherent limits.
Constructing Your Multi-Effect Beacon Hub
Achieving a versatile, multi-effect beacon setup is a highly efficient way to manage resources and maximize utility. Here’s a step-by-step process:
- Craft Beacons: Each individual beacon block is a precious commodity, requiring 3 obsidian, 5 glass, and the incredibly rare 1 Nether Star. The Nether Star is obtained by defeating the challenging Wither boss, making beacon construction a significant late-game endeavor.
- Build a Pyramid: To unlock the full potential of your beacons, you’ll want to construct a 4-layer pyramid. This requires a 9×9 base, a 7×7 second layer, a 5×5 third layer, and a 3×3 top layer. This massive structure demands 164 blocks of iron, gold, emerald, diamond, or netherite. While costly, this shared base is significantly more resource-efficient than building separate full pyramids for each beacon.
- Place Beacons: Once your pyramid is complete, place multiple beacon blocks on its topmost 3×3 layer. Each beacon must have a direct, unobstructed path to the sky above it to ensure activation. You can place up to nine beacons on a single 3×3 top layer of a 4-layer pyramid.
- Activate Effects: Interact with each placed beacon individually. Within its interface, select your desired primary effect (and a secondary effect if it’s a 4-layer pyramid). To finalize the selection and activate the effect, you must “pay” with an iron ingot, gold ingot, emerald, diamond, or netherite ingot. Repeat this process for every beacon you wish to activate, assigning different effects to each to create your multi-effect hub.
Strategic Deployment and Optimization
Beyond the basic setup, a few strategic considerations can greatly enhance your beacon’s utility:
- Resource Efficiency: Using a large, shared pyramid for multiple beacons is the most resource-efficient approach. Instead of building 5 separate 4-layer pyramids (which would require 164 * 5 = 820 blocks), you can build one 4-layer pyramid and place multiple beacons on top, saving hundreds of precious blocks.
- Maximize Vertical Range: Beacons project their effects in a spherical radius. By burying your beacon pyramid at bedrock level, you can maximize its effective range upwards through the entire world, covering immense areas above it. This is particularly useful for large-scale mining operations or extensive building projects.
- Aesthetic Customization: While not affecting functionality, placing colored stained glass on top of a beacon will change the color of its beam. This allows for personalization and can help differentiate between multiple beacon setups if you have several in your world.
Avoiding Common Beacon Blunders
Even experienced players can fall victim to simple mistakes when dealing with beacons. Being aware of these pitfalls can save you time and resources:
- Blocking the Beam: The most common error. If any opaque block (dirt, stone, wood, etc.) is directly above the beacon, its beam will be interrupted, and the beacon will not activate. Always ensure a clear path to the sky.
- Incorrect Pyramid Material or Structure: Only blocks of iron, gold, emerald, diamond, or netherite are valid for the pyramid. Using other blocks, or failing to construct the pyramid in the correct layered structure, will prevent the beacon from activating.
- Expecting Level Stacking: As discussed, this is a pervasive misconception. Do not expect two Haste II beacons to grant Haste IV. Focus on applying different beneficial effects concurrently rather than trying to intensify a single one beyond its maximum level.
- Not Feeding the Beacon: After placing the beacon and pyramid, and selecting an effect in the interface, you must pay an ingot (iron, gold, emerald, diamond, or netherite) for the effect to become active. Forgetting this step means your beacon will remain inert.
By understanding these rules and avoiding common mistakes, you can master the powerful beacon block, transforming your Minecraft experience with persistent, valuable status effects across your creations and adventures.
Tags:
YOU MAY ALSO LIKE...