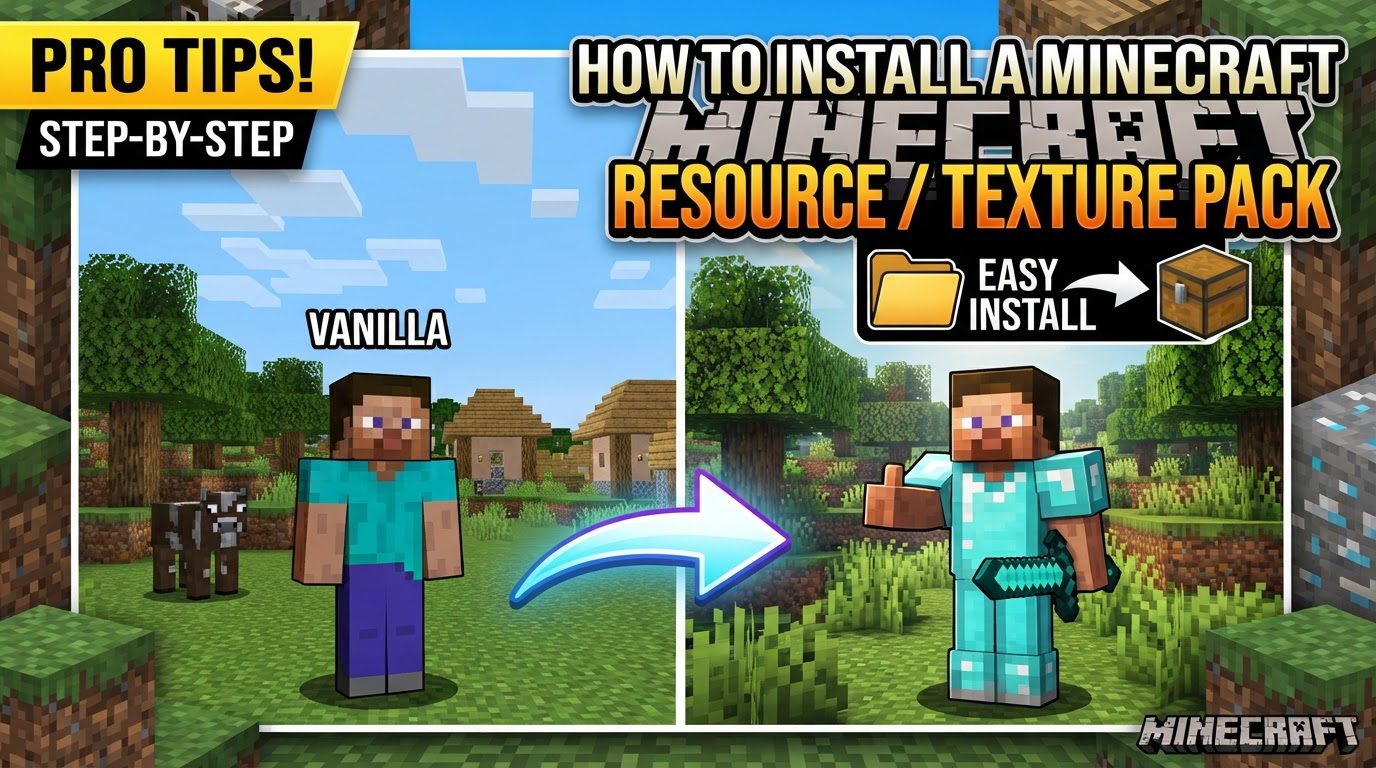
How to Install a Minecraft Resource / Texture Pack
A common pitfall for new Minecraft players diving into customization is prematurely unzipping their downloaded resource pack files, an action that can prevent the game from recognizing them entirely. While the term “texture pack” might still be widely used, the modern and more accurate designation is “resource pack,” reflecting their expanded capabilities beyond just visual changes. These powerful customization tools allow you to completely transform the look and feel of your Minecraft world, from the smallest block to the grandest sky, and even alter sounds and user interface elements. This guide will equip you with all the knowledge needed to confidently install and manage resource packs across various Minecraft editions, ensuring your game looks and sounds exactly how you envision it.
Understanding Resource Packs: The Core Concepts
Before installation, it’s crucial to grasp what resource packs are and how they function:
- Transformative Functionality: Resource packs change the appearance of blocks, items, mobs, skies, and menus. They can also alter sounds and fonts, offering a comprehensive visual and auditory overhaul.
- Cosmetic Enhancements: These packs are primarily cosmetic; they do not alter gameplay mechanics or add new items.
- Resolution Matters: Packs come in various resolutions (e.g., 16x, 32x, 64x, 128x, up to photorealistic). Higher resolutions offer more detail but demand greater processing power.
- Version Compatibility: Resource packs must be compatible with your specific Minecraft version. An incorrect version can lead to visual glitches, missing textures, or crashes. Always verify compatibility.
- Layering and Overrides: When multiple packs are active, their assets load based on their order in the “Selected resource packs” list. Higher packs override conflicting assets below, allowing layered customization.
Installation Pathways: A Step-by-Step Guide
Installation methods vary by Minecraft edition and preferred approach. Here’s how to get your packs running:
Java Edition: Manual Mastery
The most common method for Java Edition involves direct file placement:
- Acquire Your Pack: Download the resource pack as a
.zipfile from a trusted source (e.g., CurseForge, Modrinth). Do not extract it unless instructed. - Locate the Resource Packs Folder:
- In-Game: Launch Minecraft, navigate to Options -> Resource Packs -> Open Pack Folder.
- Manually: On Windows, press
Win + R, type%appdata%\.minecraft\resourcepacks, and Enter. On macOS, navigate to~/Library/Application Support/minecraft/resourcepacks.
- Deposit the Pack: Drag and drop the downloaded
.zipfile directly into the openedresourcepacksfolder. - Activate In-Game: Relaunch Minecraft (or refresh the menu). Go to Options -> Resource Packs. Move your new pack from “Available” to “Selected Resource Packs” and click Done.
Bedrock Edition: Seamless Integration
Bedrock Edition often simplifies the process with automatic imports:
- Download the Pack: Obtain the resource pack, typically as a
.mcpackfile. - Automatic Import: Double-click the
.mcpackfile. Minecraft Bedrock Edition should launch and automatically import the pack. - Activate the Pack:
- Globally: Go to Settings -> Global Resources and activate.
- Per World: When creating or editing a world, find the “Resource Packs” section in world settings and activate it.
Third-Party Launchers: Streamlined Management
For Java Edition, launchers like the CurseForge App offer convenience:
- Install the Application: Download and install the CurseForge App.
- Browse and Install: Launch CurseForge, link your Minecraft, then browse for resource packs. Click “Install.”
- Launch and Activate: Launch Minecraft through the CurseForge app. In-game, go to Options -> Resource Packs and activate your new pack.
Bedrock Marketplace: Official Options
Bedrock players can also use the official in-game Marketplace:
- Access the Marketplace: From the main Bedrock menu, click Marketplace.
- Explore and Purchase: Browse for “Texture Packs” or “Textures & More.” Options include free and paid packs.
- Download and Activate: Select, download, or purchase your pack. Activate it directly from its Marketplace page or via Settings -> Global Resources.
Optimizing Your Experience: Expert Tips
Enhance your resource pack experience with these crucial tips:
- Match Game Versions: Always ensure the resource pack’s intended version aligns with your Minecraft game version for proper functionality.
- Performance Considerations: Higher resolution packs demand more hardware resources. If you experience lag, choose a lower resolution (e.g., 32x or 64x) suitable for your system.
- Trusted Download Sources: Only download packs from reputable websites (CurseForge, Modrinth, official Minecraft Marketplace) to avoid malicious files.
- Manage Layering Order: If using multiple packs, arrange them in the “Selected Resource Packs” list. Higher packs override conflicting assets below, allowing precise customization.
- Resource Toggle Mods (Java Edition): For frequent pack switching in Java, consider mods like “Resource Toggle” for quick in-game changes.
Troubleshooting Common Pitfalls
Quickly resolve issues by understanding these frequent installation mistakes:
- Incorrect Version: Using a pack for a different Minecraft version is the most common issue, leading to missing textures (purple/black squares) or game crashes. Always check compatibility.
- Extracting
.zipFiles (Java Edition): For manual Java installation, resource packs must remain in their.zipformat. Unzipping them prematurely prevents Minecraft from recognizing them. - Wrong Folder Placement: Placing the resource pack file in any directory other than the specific
resourcepacksfolder will prevent the game from detecting it. Double-check your file path. - Forgetting In-Game Activation: Successfully placing the file is only half the battle. Remember to activate the pack by moving it from “Available” to “Selected Resource Packs” within Minecraft’s options.
- Nested
.zipFiles: Ensure the.zipfile (or the main pack folder containingpack.mcmeta) is directly inside theresourcepacksdirectory, not buried within an extra subfolder.
Transforming your Minecraft experience with resource packs is a rewarding endeavor that unlocks a new level of personalization. Whether you prefer a subtle refresh, a high-definition overhaul, or a whimsical visual style, there’s a pack out there for you. By following these clear installation steps and heeding the expert tips, you’ll be well-equipped to navigate the world of custom textures and sounds, making your blocky adventures truly your own. Don’t hesitate to experiment with different packs and find the perfect visual symphony for your next build or exploration!
Tags:
YOU MAY ALSO LIKE...