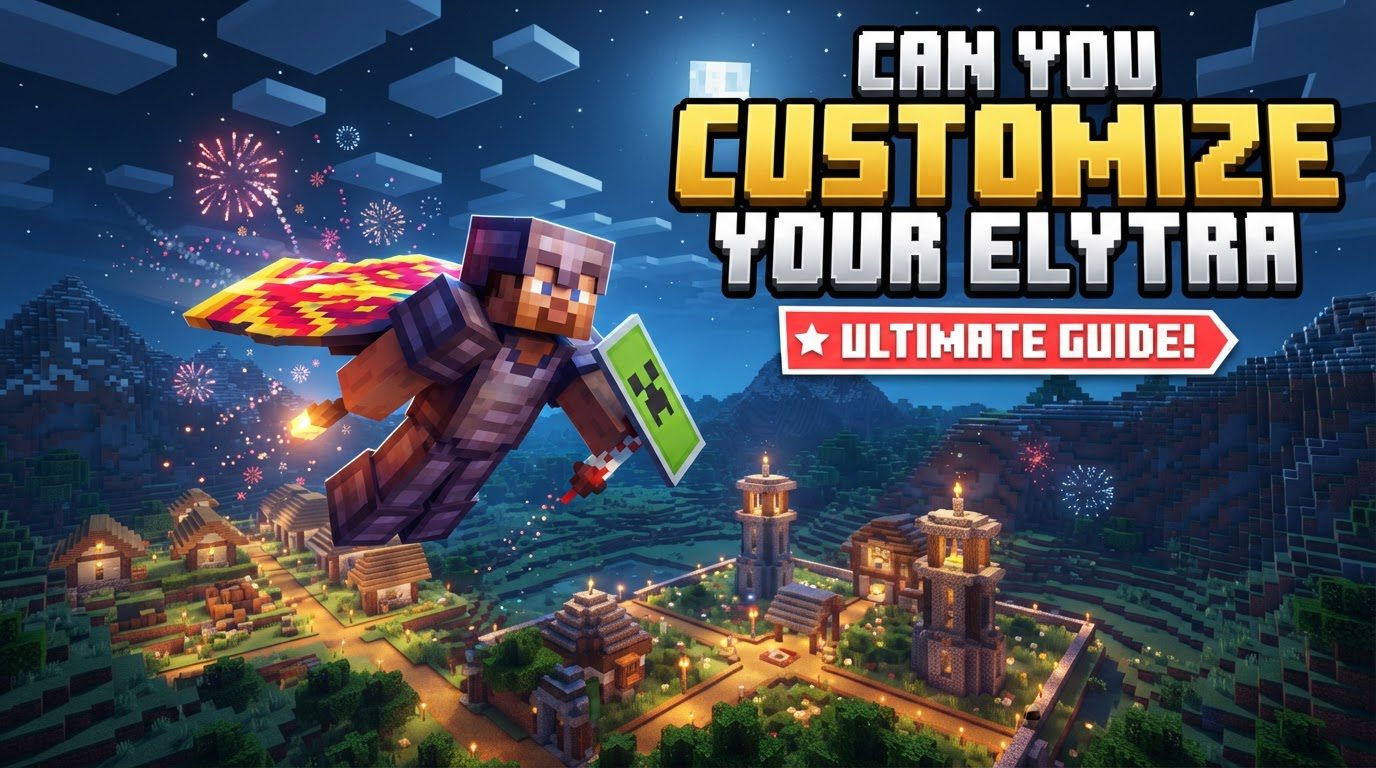
Can You Customize Your Elytra
Your Elytra doesn’t have to be a drab, utilitarian brown. While the default appearance might get you soaring across your Minecraft world, the ability to personalize these crucial flight tools is far more extensive than many players realize, transforming them from mere travel items into true statements of individual style.
The journey to a custom-look Elytra varies significantly depending on your Minecraft edition and your willingness to delve into resource packs or even mods. From simple color changes in Bedrock to intricate patterns and textures in Java, a world of aesthetic possibilities awaits your wings.
Bedrock Edition: Simple Color Changes
In Minecraft’s Bedrock Edition, Elytra customization is a straightforward process, focusing on applying a single color. This is achieved using a unique item called an “Elytra Cover,” which offers a quick and easy visual update without needing complex installations.
How to Dye Your Elytra in Bedrock:
- Gather Your Materials: You’ll need an Elytra and any dye of your choice. Dyes are crafted from various natural resources found throughout your world, such as flowers, lapis lazuli, or cactus.
- Craft an Elytra Cover: At a crafting table, arrange six phantom membranes in a ‘U’ shape in the crafting grid, with your chosen dye placed in the center. Phantom membranes are dropped by Phantoms, hostile flying mobs that appear if you haven’t slept for three or more in-game days.
- Apply the Cover: With the crafted Elytra Cover in your hand, simply right-click (or use the equivalent “use item” button on your platform) while holding your Elytra. The Elytra’s texture will instantly change to the color of the dye used.
Bedrock Edition’s vanilla customization is limited to these single-color changes. For more intricate designs, you would need to explore third-party add-ons or texture packs available on the Bedrock Marketplace, though these often apply universally rather than to specific items.
Java Edition: Unleashing Creative Textures with Resource Packs
The Java Edition of Minecraft offers a far deeper level of visual customization, primarily through the use of resource packs. When combined with the popular optimization mod OptiFine, players can unlock a vast array of custom Elytra textures, even allowing for different designs based on the Elytra’s name.
OptiFine and Resource Packs Explained:
OptiFine is a crucial component for advanced Elytra customization in Java Edition. It enables features like custom item textures (CIT), which allow resource packs to assign different textures to items based on their names. This means you can have multiple custom Elytra designs simultaneously, each activated by renaming your Elytra in an anvil.
Implementing a Custom Elytra Resource Pack:
- Install OptiFine: First, download and install the correct version of OptiFine for your Minecraft client. Follow the installation instructions provided by OptiFine, usually by running its JAR file.
- Acquire a Custom Elytra Resource Pack: Search online for resource packs designed for custom Elytra textures (e.g., “Elytra+” or “Additional Elytras Resource Pack”). Download the pack, typically a .zip file.
- Place the Resource Pack: Open your Minecraft game, navigate to “Options,” then “Resource Packs,” and click “Open Pack Folder.” Drag and drop the downloaded .zip file into this folder.
- Activate the Pack: Back in Minecraft’s Resource Packs menu, move your newly added pack from the “Available” column to the “Selected” column. Ensure it is active.
- Rename Your Elytra: In-game, place an Elytra into an anvil. Rename it to a specific name that corresponds to one of the custom textures provided by your resource pack. The pack’s description or included documentation will usually list these specific names.
- Reveal Your New Wings: Collect the renamed Elytra from the anvil. When you equip it, you’ll see its new, custom texture in action!
Crafting Your Own Elytra Textures:
For the truly creative Java Edition player, the canvas extends beyond pre-made packs – you can design your very own Elytra textures. This process involves creating a custom texture file and packaging it within your own resource pack.
- Design Your Texture: Using an image editing program (like GIMP or Photoshop), create your custom Elytra texture. You’ll need to follow a specific template to ensure the texture maps correctly onto the Elytra model. Save your file as a
.png. - Structure Your Resource Pack: Create a new folder for your resource pack (e.g.,
MyCustomElytraPack). Inside this, create the following folder structure:assets/minecraft/textures/entity/. Place your custom.pngtexture file inside theentityfolder, naming itelytra.png. - Create a pack.mcmeta File: In the root folder of your resource pack, create a text file named
pack.mcmeta. This file tells Minecraft about your resource pack. A basic example:{ "pack": { "pack_format": [your_minecraft_version_pack_format], "description": "My Custom Elytra Pack" } }Replace
[your_minecraft_version_pack_format]with the correct number for your Minecraft version (e.g.,15for 1.20.1). - Install and Activate: Place your entire resource pack folder (or a zipped version of it) into your Minecraft
resourcepacksfolder and activate it in-game, just like any other resource pack. Your Elytra will now display your custom design.
Java Edition: Expanding Customization with Mods
Beyond resource packs, the Java Edition’s robust modding community has developed powerful tools to further enhance Elytra customization. Mods can introduce features that aren’t possible with vanilla mechanics or even OptiFine alone, such as dynamic dyeing, banner patterns, or integration with armor trims.
Utilizing Elytra Customization Mods:
- Install a Mod Loader: You’ll first need a mod loader like Fabric or Forge installed for your Minecraft version. These are platforms that allow you to run mods.
- Download a Compatible Mod: Search for mods specifically designed for Elytra customization (e.g., “Customizable Elytra”). Ensure the mod is compatible with your Minecraft version and your chosen mod loader.
- Place the Mod File: Download the mod file (usually a
.jarfile) and place it into themodsfolder within your Minecraft directory. - Follow Mod Instructions: Each mod will have its unique method for customization. This might involve special crafting recipes to apply dyes or banner patterns, or a dedicated GUI. Consult the mod’s documentation for specific usage instructions.
Essential Tips for Seamless Elytra Customization
To ensure your customization efforts go smoothly, keep these crucial tips in mind:
- OptiFine is Key for Java Resource Packs: If you’re using custom texture resource packs in Java Edition that rely on renaming, OptiFine is almost always a prerequisite.
- Precise Naming Matters: When renaming Elytras in an anvil for custom textures, the exact spelling of the custom name from the resource pack is critical. While capitalization often doesn’t matter, matching the name precisely ensures the correct texture loads.
- Enchantments and Names Persist: Customizing an Elytra, whether by dyeing it in Bedrock, renaming it in Java, or using a mod, typically preserves any existing enchantments or custom names.
- Removing Customization: Some mods or Bedrock’s Elytra Covers allow for removal of customization. For Bedrock, simply apply another Elytra Cover. For certain mods, right-clicking a cauldron or placing the Elytra alone in a crafting table might revert its appearance.
Avoiding Common Pitfalls
Even with clear instructions, customization can sometimes hit snags. Be aware of these common mistakes:
- Incorrect Resource Pack Installation: A frequent issue is not placing the resource pack into the correct
resourcepacksfolder, or forgetting to activate it within Minecraft’s options menu. - Missing OptiFine in Java: Attempting to use advanced custom texture resource packs in Java Edition without OptiFine installed is a guaranteed way to see only the default Elytra.
- Typos in Renaming: Even a single character error when renaming an Elytra in an anvil will prevent the custom texture from loading. Use the exact name specified by the resource pack.
- Mod Incompatibilities: When using multiple mods, conflicts can arise. Certain shader mods might not correctly render custom banner patterns on Elytras from other customization mods.
- Outdated Packs/Mods: Using resource packs or mods that are not compatible with your current Minecraft version can lead to crashes, visual glitches, or a lack of functionality. Always ensure your downloads match your game version.
Whether you prefer the simplicity of Bedrock’s dyeing, the extensive texture libraries of Java’s resource packs, or the dynamic possibilities of mods, personalizing your Elytra is a fantastic way to add a unique flair to your Minecraft adventures. So go ahead, let your wings reflect your style, and soar with confidence!
Tags:
YOU MAY ALSO LIKE...