How to Use Armor Trims on Elytra
Many Minecraft players dream of customizing their Elytra with the same intricate armor trims they apply to their diamond chestplates, envisioning personalized wings soaring through the skies. However, here’s a crucial fact that often surprises players: applying armor trims to the Elytra is not a feature currently available in vanilla Minecraft. This highly desired customization is exclusively achieved through the use of third-party modifications, such as community-created mods or datapacks.
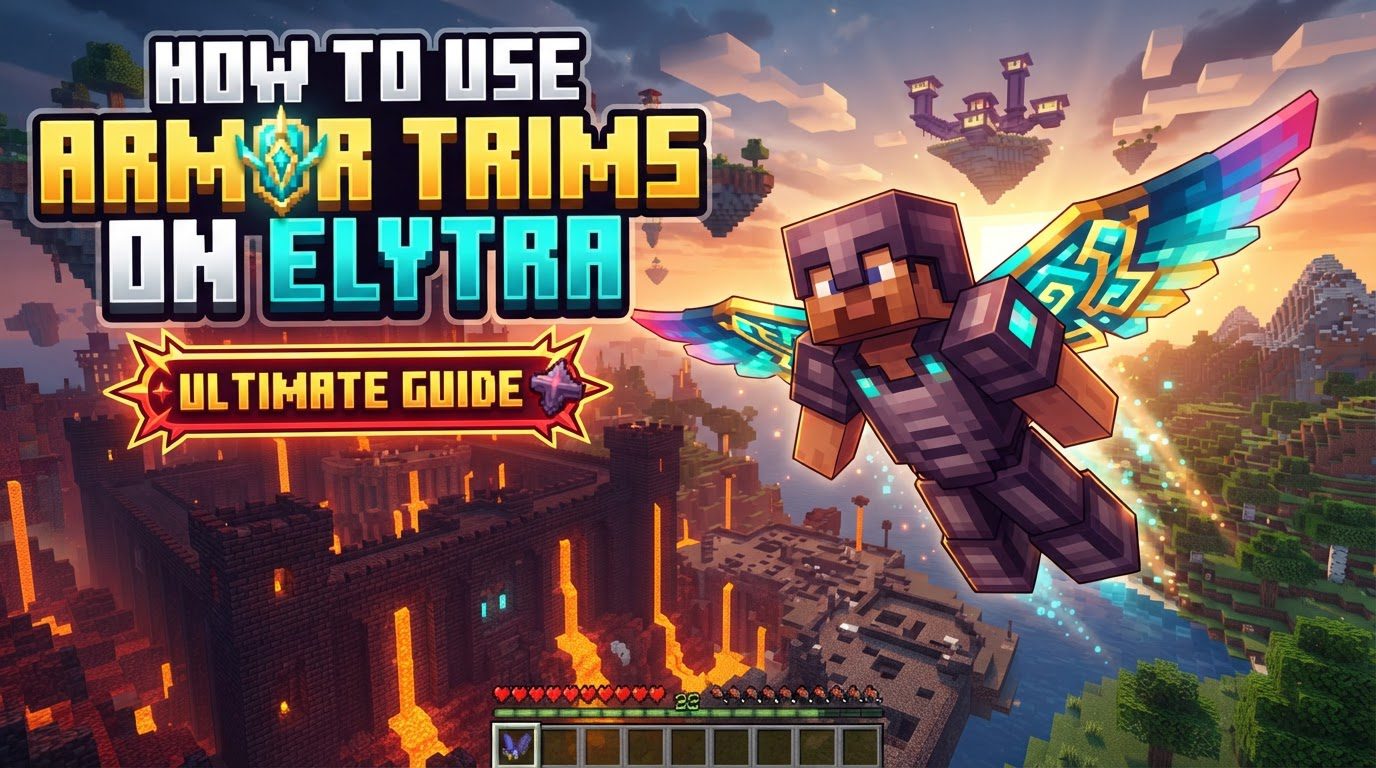
This guide will delve into how you can bring this aesthetic vision to life, leveraging the power of the Minecraft community. We’ll cover everything from understanding the necessary tools to the step-by-step process of adorning your wings, ensuring you can fly in style.
The Gateway to Custom Wings: Mods and Datapacks
Since Mojang has not yet implemented official Elytra trimming, the entire process relies on external content. These community-made additions extend Minecraft’s functionality, allowing for features like Elytra trims. You’ll typically encounter two main forms: mods and datapacks.
- Mods: These are more extensive modifications that often require a mod loader (like Forge or Fabric) to run. They can introduce significant changes and new mechanics. Examples include “Elytra Trims Mod.”
- Datapacks: These are lighter-weight additions that can be installed directly into a world’s save file. They primarily modify existing game mechanics or add new recipes and advancements. An example might be an “Elytra Armor Trims Data Pack.”
Regardless of the type, the core principle remains: you need to install one of these to enable the feature. Without them, any attempt to trim an Elytra in a smithing table will simply yield no result.
First Flight Preparation: Installing Your Customization Tool
Before you can begin decorating your Elytra, you must correctly install the chosen mod or datapack. This is the most critical first step, as an incorrect installation will prevent the feature from working.
For Mods:
- Ensure you have a compatible mod loader (e.g., Forge, Fabric, Quilt) installed for your specific Minecraft version.
- Download the “Elytra Trims” mod that matches your Minecraft version and mod loader.
- Place the downloaded mod file (usually a .jar file) into the ‘mods’ folder within your Minecraft directory.
- Launch Minecraft using the profile associated with your mod loader.
For Datapacks:
- Download the “Elytra Armor Trims” datapack compatible with your Minecraft version.
- Open your Minecraft world’s save folder (usually in `/.minecraft/saves//`).
- Navigate to the ‘datapacks’ folder within your world’s save.
- Place the downloaded datapack (often a .zip file, do not extract it) directly into this ‘datapacks’ folder.
- If the world is already loaded, you might need to use the `/datapack enable ` command or simply restart your world for it to take effect.
Crucial Tip: Always double-check that the mod or datapack you download is compatible with your exact Minecraft game version. Using an incompatible version is a common cause of game crashes or features not working.
Gathering Your Materials: The Fashion Essentials
Once your chosen modification is successfully installed, the process of trimming an Elytra mirrors that of trimming standard armor. You’ll need three key components:
- An Elytra: Naturally, you’ll need the item you intend to customize. This can be a brand-new Elytra or one you’ve been using for countless flights. Its durability status generally doesn’t affect the trimming process.
- An Armor Trim Template: These are the patterns that dictate how the trim will appear on your Elytra. Just like with armor, you’ll need a specific template such as the Sentry, Wild, Coast, Dune, Eye, Spire, Vex, Ward, Silence, Snout, Rib, Wayfinder, Raiser, Shaper, or Host templates. These are found in various structures across the Minecraft world.
- A Trim Material: This determines the color and texture of the applied trim. You can use a variety of materials, including:
- Diamonds: For a bright, classic blue sheen.
- Gold Ingots: To add a luxurious, golden touch.
- Netherite Ingots: For a dark, prestigious appearance.
- Emeralds: To introduce a vibrant green.
- Redstone Dust: For a striking red accent.
- Lapis Lazuli: To achieve a deep blue.
- Amethyst Shards: For a unique purple hue.
- Copper Ingots: To give an orange-brown, oxidizable look.
- Iron Ingots: For a metallic gray finish.
- Quartz: To add a bright, white trim.
Experimentation is highly encouraged! Different templates combined with different materials can lead to truly unique and personalized Elytra designs.
The Smithing Table: Your Customization Hub
With your modification installed and materials gathered, the actual application of the trim is straightforward, mimicking the vanilla armor trimming mechanic. Head over to a smithing table, which is your primary tool for this transformation.
Here’s the general step-by-step process:
- Open the Smithing Table: Right-click on a smithing table to open its interface.
- Place the Elytra: In the designated input slot for the item to be upgraded (usually the left-most slot), place your Elytra.
- Insert the Armor Trim Template: In the slot for the upgrade template (often the middle slot), place the armor trim template you wish to use.
- Add the Trim Material: In the third slot (typically the right-most slot), place your chosen material (e.g., a Diamond, Gold Ingot, etc.).
- Preview and Collect: A preview of your newly trimmed Elytra should appear in the output slot. If you’re satisfied with the look, simply take the finished item from the output slot. The template and material will be consumed in the process.
Congratulations! Your Elytra now boasts a unique design, reflecting your personal style.
Beyond the Basics: Advanced Customization and Tips
While armor trims offer a significant visual upgrade, some community-created mods take Elytra customization even further. If you’re looking to truly stand out, keep an eye out for mods that offer:
- Elytra Dyeing: Certain mods allow you to dye your Elytra using various Minecraft dyes, similar to how you would dye leather armor. This opens up a vast new palette of colors for your wings.
- Banner Pattern Application: Imagine having the intricate designs from your favorite banners emblazoned on your Elytra! Some advanced mods provide this functionality, allowing for incredibly detailed and personalized wing patterns.
When searching for these additional features, always check the mod’s description and documentation to understand its full capabilities. The more options a mod provides, the more unique your aerial adventures can become.
Navigating Potential Pitfalls: Common Mistakes and Troubleshooting
Even with clear instructions, issues can arise. Understanding common mistakes can help you troubleshoot effectively:
- Vanilla Expectations: The most frequent error is attempting to apply armor trims to Elytra in vanilla Minecraft without any mods or datapacks installed. This will simply not work, as the functionality does not exist natively.
- Installation Woes: Incorrectly installing the mod or datapack (e.g., wrong folder, incompatible version, forgetting a mod loader) is a primary cause of the feature not appearing or leading to game instability. Always double-check your Minecraft version against the mod/datapack version.
- Missing Dependencies: Some mods require other “library” mods to function. Always read the mod’s installation instructions carefully for any listed dependencies.
If you encounter problems, first retrace your installation steps. Check the mod/datapack’s official page for troubleshooting tips or community forums for solutions.
Multiplayer Considerations: Flying in Formation
When playing on a multiplayer server, the situation becomes slightly more complex regarding Elytra trims:
- Server-Side Installation: For the trimming feature to be available and for players to craft trimmed Elytras, the “Elytra Trims” mod or datapack must be installed on the server itself. If it’s only on your client, you won’t be able to craft them on the server.
- Client-Side Visibility: If you want other players to see your custom Elytra trims, they generally need to have the necessary client-side mod installed as well. Without it, they might just see a regular, untrimmed Elytra, even if the server supports the feature. This is a common point of confusion; both server and client often need to be aligned for a fully shared visual experience.
Always communicate with your server administrators or fellow players to ensure everyone is on the same page regarding mod installations for the best multiplayer experience.
Customizing your Elytra with armor trims opens up a new realm of personal expression in Minecraft’s skies. While it requires a bit of setup with community-made content, the ability to soar with unique, personalized wings is a reward well worth the effort. Happy flying, and may your trimmed Elytra always carry you to new adventures!
Tags:
YOU MAY ALSO LIKE...