Is Elytra Trims Mod Client Side
The question of whether the “Elytra Trims Mod” for Minecraft is purely client-side has a nuanced answer: it depends entirely on what functionality you expect from the modification. While it can indeed operate on a client-only basis for visual effects, achieving its full potential, including the ability to apply these stunning customizations, necessitates a server-side installation as well. This dual nature is crucial for understanding how to best integrate this popular mod into your Minecraft experience.
Understanding Client-Side Functionality
At its most basic, the “Elytra Trims Mod” can be installed solely on a player’s Minecraft client to enable a significant portion of its visual appeal. When installed in this manner, players will gain the ability to see custom armor trims, unique banner patterns, and vibrant dye colors applied to Elytras. This means that if another player (who has the mod installed on their client) has customized their Elytra, you, with your client-side mod, would be able to perceive those visual changes. The game client, armed with the mod’s textures and rendering logic, knows how to display these enhanced Elytras.
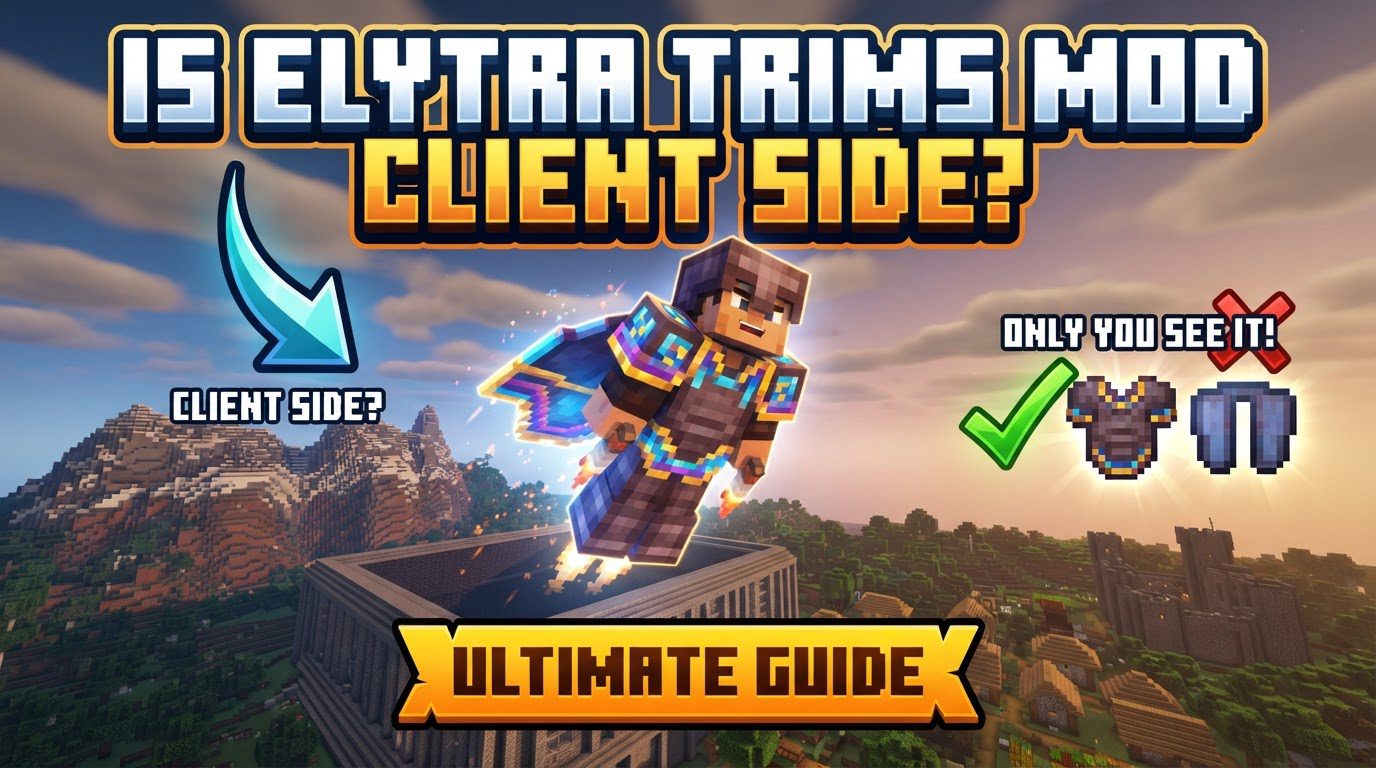
However, this client-side-only installation comes with a significant limitation. While you can *see* the custom Elytras, you will not be able to *create* them yourself through in-game crafting. The recipes and mechanics for applying trims, patterns, and dyes are typically handled by the server. Without the server-side component, the game’s crafting system remains oblivious to these new customization options, meaning any attempts to craft a decorated Elytra will fail or result in the vanilla item.
The Critical Role of Server-Side Installation
For players to fully engage with the “Elytra Trims Mod” and apply their own personalized designs, the mod must also be installed on the Minecraft server. This server-side presence is what unlocks the mod’s crafting mechanics, allowing players to utilize smithing tables and crafting grids to transform their Elytras. If the mod is exclusively installed on the server, an interesting scenario unfolds:
- Players without the client-side mod can still join the server and craft customized Elytras. The server processes the crafting recipes, and the decorated Elytra is created.
- However, these players, lacking the client-side mod, will not be able to *see* the visual customizations on their own Elytras or those of others. To them, all Elytras will appear as their default, unadorned selves, despite technically possessing the applied trims, patterns, or dyes.
This highlights the distinction between the mod’s functionality for game logic (crafting, item data) and its functionality for visual rendering.
Achieving the Optimal Experience: Combined Installation
The truly comprehensive and satisfying experience with the “Elytra Trims Mod” is achieved when it is installed on both the client and the server. This synergistic approach ensures that all players who have the mod installed on their client can both craft customized Elytras and visually appreciate the intricate designs. With a combined installation:
- Players can apply armor trims, banner patterns, and dyes to their Elytras using the mod’s recipes.
- All players with the client-side mod will see these customizations rendered correctly in the game world.
- The server maintains the integrity of the customized items, ensuring they persist and function as intended.
This setup provides a seamless experience, where the visual flair perfectly aligns with the in-game mechanics.
Core Customization Mechanics of the Mod
The “Elytra Trims Mod” introduces several exciting ways to personalize your flight. These mechanics are enabled when the mod is properly installed on the server:
- Applying Armor Trims: Similar to how armor trims are applied to vanilla armor pieces, Elytras can be customized using a smithing table. Players combine their Elytra with a trim template and a desired material (e.g., netherite, gold, emerald) to impart a unique design. The mod typically supports all vanilla trim patterns and often extends compatibility to custom trims from other mods, especially with extensions like “Elytra Trims Extensions.”
- Adding Banner Patterns: For a truly unique touch, banner patterns can be transferred to an Elytra. This is usually done in a crafting table by combining the Elytra with a banner or shield. It’s important to note that only the pattern itself is transferred; the Elytra’s base color remains unchanged and must be dyed separately.
- Dyeing Your Elytra: Much like dyeing leather armor, Elytras can be colored with any dye. By combining an Elytra with a dye in a crafting table, players can change its primary hue, allowing for extensive color coordination with their armor and chosen patterns.
- Special Effects: Glowing and Cosmic: Beyond basic aesthetics, the mod offers special visual effects. Combining an Elytra with a glow ink sac in a crafting table will make it emit a subtle, ethereal glow. For the ultimate visual statement, an expensive “cosmic effect” can be applied using a nether star, offering a unique and eye-catching appearance.
General Process for Customization
Getting started with Elytra customization is straightforward once the necessary installations are complete:
- Installation: Begin by installing the “Elytra Trims Mod” on your Minecraft client. For full functionality, ensure it’s also installed on your server.
- Dependencies: Verify that all required dependencies are present. For Fabric users, this often includes Fabric Language Kotlin, and for Forge, Kotlin Lang Forge. Newer versions for Fabric (1.20/1.21) might also require YACL and ModMenu. Missing these can prevent the mod from loading or functioning correctly.
- Applying Trims: Head to a smithing table. Place your Elytra in the primary slot, a trim template in the template slot, and your chosen material (e.g., diamond, copper) in the material slot.
- Applying Banner Patterns/Dyeing: Use a crafting table. Combine your Elytra with the desired banner (or shield) for patterns, or with any dye for coloring.
- Adding Special Effects: To make your Elytra glow, combine it with a glow ink sac in a crafting table. For the cosmic effect, combine it with a nether star.
Troubleshooting Common Issues
Even with careful installation, players might encounter issues. Here’s how to address them:
- Trims Not Visible: If your customized Elytra appears plain, the most common culprit is that the “Elytra Trims Mod” is not installed on your Minecraft client. Alternatively, conflicting mods could be interfering with its rendering.
- Unable to Apply Customizations: If crafting recipes for trims, patterns, or dyes don’t work, it’s a strong indicator that the mod is missing from the server-side installation. Without the server’s knowledge of these recipes, they cannot be processed. Conflicting mods on the server can also cause this.
- Cosmic Effect Not Rendering: Certain shader packs can sometimes interfere with the rendering of the cosmic effect. If you experience this, try disabling your shaders or checking for mod compatibility patches.
- Mod Not Loading/Crashing: Always double-check your dependencies. Missing Fabric Language Kotlin or Kotlin Lang Forge is a frequent cause of the mod failing to initialize.
- Missing Features: Be aware that some features, like NeoForge ports, full 3D Elytra models, or specific animations, might not be available in all versions or development stages of the mod. Consult the mod’s official documentation or changelogs for specific version capabilities.
Maximizing Your Elytra Trims Experience
To get the most out of this powerful customization mod, consider these tips:
- Expand Your Trim Library: Look into “Elytra Trims Extensions” or similar add-ons. These often provide compatibility with armor trims introduced by other mods, vastly increasing your design possibilities.
- Consult Resources: The mod’s wiki or changelogs are invaluable resources for specific crafting recipes, new features, and troubleshooting guides. They often contain detailed information not immediately obvious in-game.
- Server Configuration: If you’re a server administrator, explore the mod’s configuration options. Many “Elytra Trims Mod” versions are highly configurable, allowing you to disable specific crafting recipes (e.g., the cosmic effect if deemed too powerful or resource-intensive) or toggle off cape visuals with trims for aesthetic preferences.
In conclusion, while the “Elytra Trims Mod” offers client-side visual enhancements, its true power and functionality, particularly the ability to craft and apply these unique designs, are unlocked through a comprehensive installation on both the client and server. Understanding this distinction is key to transforming your Elytra into a personalized statement piece in the skies of Minecraft.
Tags:
YOU MAY ALSO LIKE...