Comparing Automatic Wheat vs Manual Farming Speed
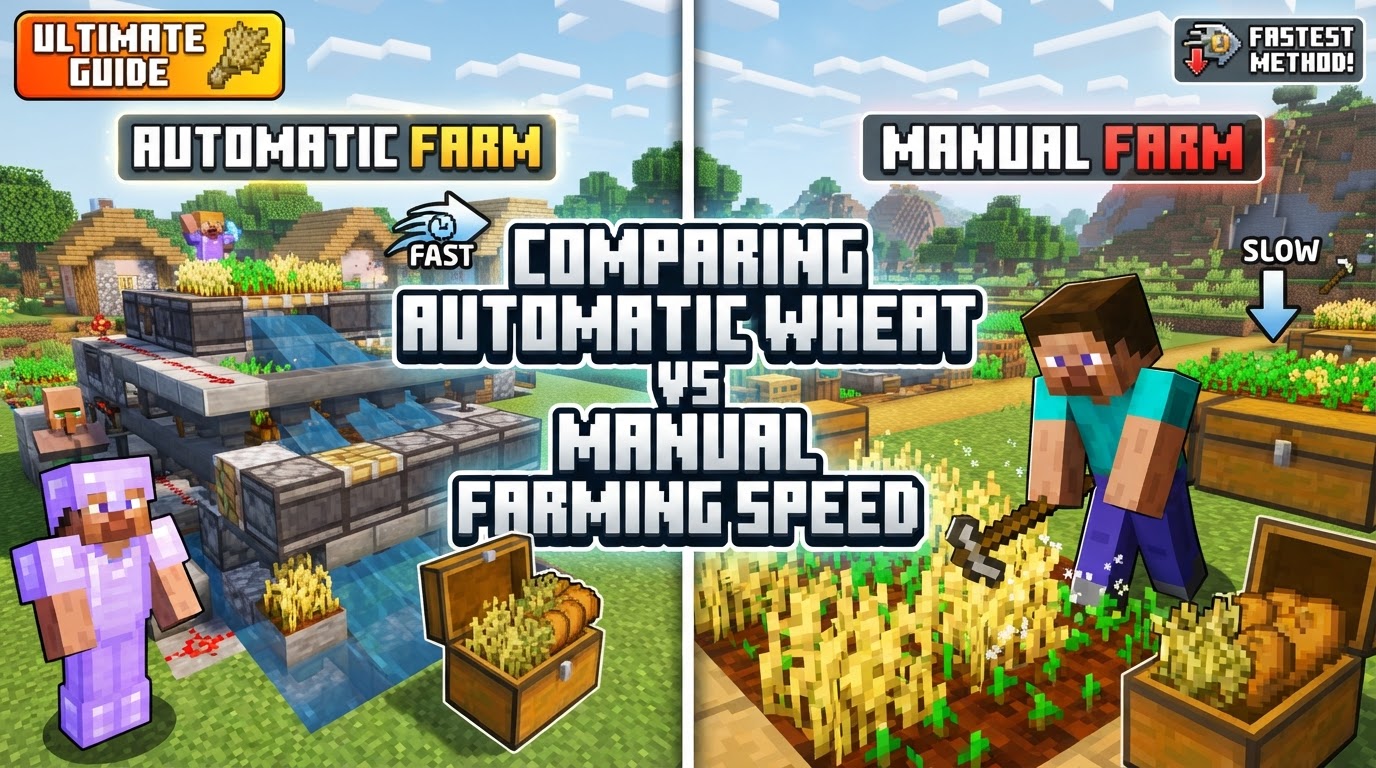
Many new Minecraft players assume that manually harvesting crops is always the fastest way to gather resources, especially wheat. However, while a player can indeed achieve quick bursts of harvesting, true long-term efficiency and sheer volume often lie in the clever design of automated systems. Understanding the distinct mechanics and speed profiles of both manual and automatic wheat farms is crucial for any aspiring agriculturalist in Minecraft, allowing you to optimize your resource gathering based on your immediate needs versus your long-term goals.
The Foundations of Wheat Cultivation
Regardless of your chosen farming method, the fundamental principles of wheat growth remain constant. Wheat demands tilled soil (farmland), consistent hydration from a water source, and a light level of 9 or higher to flourish. A single water block can hydrate farmland up to four blocks in any direction, meaning a central water source can effectively irrigate a 9×9 area. For those in a hurry, bone meal can be applied to instantly advance crop growth, a technique pivotal in certain high-speed farming designs.
The Hands-On Approach: Manual Wheat Farming
Manual farming is the most intuitive method, involving direct player interaction at every stage. Its primary advantage is speed for immediate, small-scale demands, especially when bone meal is readily available.
Manual Farming Speed Profile
For a player focused on a small patch, manually planting, bone-mealing, and harvesting can be incredibly fast. This method excels when you need a handful of wheat quickly for bread or animal breeding. However, this burst speed comes at the cost of high labor intensity. Scaling up manual farming means scaling up player effort exponentially, making it unsustainable for producing vast quantities without significant time investment. Even ultra-fast manual farms that utilize bone meal dispensers still require continuous player input to plant and hold down the harvest button.
Step-by-Step Manual Cultivation
- Prepare the Land: Locate a suitable area and clear any obstacles.
- Till the Soil: Equip a hoe and right-click on dirt blocks to transform them into fertile farmland.
- Ensure Hydration: Place water source blocks within four blocks of your tilled soil. Consider placing water one block higher or covering it with a slab to keep the area safe from accidental falls and to prevent items from washing away.
- Plant Seeds: Acquire wheat seeds (typically by breaking tall grass) and plant them on the hydrated farmland.
- Wait & Harvest: Allow the wheat to progress through its eight growth stages. Once fully grown, break the plant to collect your wheat and seeds.
Embracing Automation: The Power of Machines and Villagers
Automatic farms, while requiring a greater initial setup investment, are engineered for unparalleled efficiency, high yield, and minimal ongoing player effort. They truly shine when quantity and continuous production are paramount.
Automatic Farming Speed Profile
Automatic farms, once constructed, operate with remarkable efficiency, often requiring little to no player interaction (AFK-ability) over extended periods. Their “speed” is measured not in quick bursts, but in consistent, high-volume output over time. Villager-based farms, in particular, can run continuously, harvesting and replanting without player intervention. Water-based farms offer rapid harvesting of an entire field at the press of a button, though they typically require manual replanting unless integrated into a more complex, fully automated system.
Automatic Water/Redstone-based Farming Process
- Dig a Collection Basin: Create a trench or channel at one end of your farm where water will flow. This channel should lead to a collection system, typically consisting of hoppers feeding into chests.
- Design the Fields: Construct a platform of dirt blocks for your farm. Remember that water flows 8 blocks from its source, so plan your field dimensions accordingly to ensure all crops can be reached by the water flow during harvest.
- Water Sources & Redstone: Position dispensers or pistons containing water buckets strategically above your fields. Connect these to a redstone circuit, activated by a button or lever, which will release the water to harvest mature crops.
- Till & Plant: Prepare the farmland with a hoe and plant your wheat seeds.
- Activate Harvest: Once the wheat is fully grown, activate the redstone system. The released water will flow over the crops, breaking them and pushing the drops into your collection system.
Automatic Villager-based Farming Process
- Enclose the Area: Create a secure 9×9 block perimeter for your farm. This prevents the villager from wandering off and ensures all crops are within their working range.
- Set Up Collection: Install a robust collection system. A common method involves a hopper minecart running underneath the farmland, or a series of hoppers leading to chests.
- Hydration & Light: Place a water source in the center of the 9×9 area to hydrate all farmland. Cover this water source with a composter (which attracts farmer villagers) and ensure adequate light (e.g., a glowstone block) to promote continuous growth.
- Introduce Your Farmer: Place a villager with the farmer profession (indicated by a brown robe and straw hat, or by assigning a composter block) within the enclosed area. The villager will automatically plant, harvest, and replant crops. To ensure they drop harvested wheat for collection, manage their inventory by giving them a full stack of seeds. This prevents them from hoarding wheat.
Optimizing Your Wheat Yields: Essential Tips
- Strategic Water Placement: A single water block in the center can hydrate a 9×9 area of farmland. Cover water sources with slabs or trapdoors to prevent freezing in cold biomes and to stop items from falling in.
- Consistent Light Levels: Crops need a light level of 9 or higher to grow at night. Supplement natural light with torches, glowstone, or other light-emitting blocks.
- Bone Meal Efficiency: Utilize bone meal for instant crop growth, especially for rapid, on-demand harvests or in designs that integrate bone meal dispensers for continuous, fast production.
- Villager Inventory Management: In villager farms, ensure your farmer villager has enough seeds to continue planting but also drops excess wheat. A full stack of seeds in their inventory often prompts them to drop other harvested items. Providing a bed nearby can also influence villager mechanics positively.
- Flawless Collection: For water-based farms, meticulously test your water flow to guarantee all harvested items are efficiently directed into your hoppers. Remember water flows 8 blocks.
- Start Small, Scale Up: Especially for automatic designs, begin with a smaller, manageable farm to understand the mechanics before expanding to larger, more complex systems.
Pitfalls to Avoid: Common Farming Mistakes
- Inadequate Hydration: Failing to place water sources close enough to all farmland blocks will result in unhydrated soil, slowing growth and causing farmland to revert to dirt.
- Insufficient Lighting: Without a light level of 9 or higher, crops will grow slowly or not at all, particularly during nighttime or in enclosed spaces.
- Faulty Collection Systems: Ensure water flow reaches every crop, and hoppers or minecarts are precisely positioned to capture all drops in automatic setups.
- Villager Management Errors: Villagers in automatic farms can become ineffective if their inventories are full (preventing them from dropping items), if their pathing is blocked, or if the initial setup for item transfer is incorrect.
- Overplanting Manually: Attempting to manage an overly large manual farm area makes harvesting and replanting a tedious and time-consuming task, drastically reducing overall yield efficiency per hour.
- Suboptimal Farm Layout: Poor spacing for water sources or inefficient designs can limit the amount of hydrated farmland and reduce the farm’s overall productivity.
- Edition Differences: Be aware that some automatic farm designs, particularly those involving villagers, can have different mechanics or requirements between Minecraft’s Java and Bedrock editions. Always check design compatibility for your specific game version.
In conclusion, while manual wheat farming offers immediate gratification for small needs, its labor-intensive nature makes it impractical for large-scale production. Automated farms, whether water-based or villager-driven, are the clear winners for sustained, high-volume wheat generation with minimal player input. The initial time investment in building an automatic farm pays dividends in long-term efficiency, freeing you to pursue other endeavors in your Minecraft world while your crops grow and harvest themselves.
Tags:
YOU MAY ALSO LIKE...